DIY stylus for tablet
 A stylus is a special small stick that is necessary to control the touch screens of tablets or phones. Many will wonder why this is necessary, since there are fingers? But unfortunately, sometimes you have to click small icons. Doing this with your finger is quite problematic. Therefore, you have to use a stylus, since the speed and accuracy of clicks is much higher.
In this article we will tell you how you can make a stylus for your tablet with your own hands.
The content of the article
What is needed for making
 Currently, there are several types of screens. The stylus will not work on every device. The fact is that the principle of operation of the screen is different. That's why Before production you need to do a small test.
What kind of screen is needed?
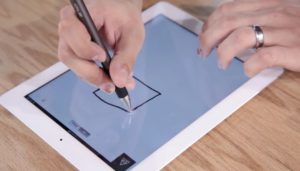
Take your device and use the pen cap to swipe across the screen.
If you managed to do this, then this means that resistive screen. Its advantage is that to control you can use any stick or similar object.
If you are unable to control the screen with the pen cap, this means that capacitive screen. There is a thin conductive layer on its surface. Such a screen can only be controlled using conductive elements. A person is capable of conducting current, so a finger can interact with a phone.
What material is suitable
To make a stylus Foil works great, since it can conduct electric current well.
IMPORTANT! We strongly do not recommend using only foil.
Because foil is still metal, albeit thin. This will soon seriously scratch the screen. We will use foil as the main conductive material. We advise you to take chocolate foil, as it is much thicker compared to food foil.
What additional materials and tools will be needed?
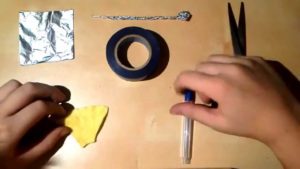
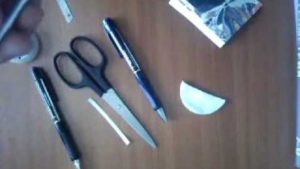 To make a safe stylus for a tablet, in addition to foil, we will also need the following materials.
- Pen tube.
- Double sided tape.
- Cotton swab.
- Hot melt glue pencils.
During the creation process we will need tools.
- Scissors.
- Glue gun.
ATTENTION! If a child is involved in making a stylus on his own, this should be done under the close supervision of his parents.
The fact is that scissors, and even more so a glue gun, are highly dangerous tools.
How to make a stylus with your own hands
- Take an unnecessary ballpoint pen and remove all the elements from it, since we only need a tube.
- Next, use scissors to cut off one end of the cotton swab and insert it into the empty ballpoint pen barrel. This should be done so that the soft cotton edge is located on the outside.
- Then plug the glue gun into the outlet and wait a couple of minutes. In this case, the glue will have time to soften well.
- After this, pour glue inside the tube from the handle to firmly fix the cotton swab.
IMPORTANT! Do not leave the glue to warm up for more than 5 minutes.Since the glue, when heated to a high temperature, can melt the plastic body of the handle.
- Cut a strip of foil the length of the pen body. Apply double-sided tape to the edges of the foil for better fixation. Otherwise, it will simply slide off the tube.
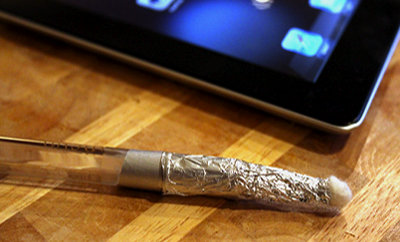
- Then glue the edge of the foil onto the pen tube and begin to wind the foil tightly. In this case, you need to press one edge tightly against the cotton swab. A shiny layer of foil should be placed on the outside. It has better conductive properties.
- Moisten a cotton swab with a drop of water on a homemade stylus. Now he is completely ready to control the tablet. Such a stylus will need to be wetted periodically, since during use the water from the cotton wool will evaporate.
IMPORTANT! When the stylus does not work, it is worth checking the fit of the foil to the moistened cotton wool. If there is no good contact in this place, then the capacitive screen will refuse to work with such a stylus.
We hope that our article helped you understand how you can make a stylus for your tablet. Try to create a stylus following our instructions, and then you will definitely succeed. We wish you success!