Laptop screen calibration
 Many laptop owners have never calibrated the screen after purchasing it. However, not every device initially has optimal brightness, contrast or image sharpness values. The setup procedure is quite simple. By performing a few manipulations and spending a minimum of time on this, you can get the highest quality image on your laptop display.
The content of the article
Preparing to calibrate your laptop screen
Before you begin directly setting up the device display, you need to perform a number of simple, but mandatory, manipulations.
It is recommended to do the following:
- Reset your graphics adapter to factory settings.
- A very important indicator is the temperature of the device matrix. It should be uniform. To achieve this, you should include a video file with a total duration of about 5 hours. The media player must first be maximized to full screen. Thus, the laptop matrix will have the same temperature indicators over the entire surface.
- Next, you need to choose the right lighting. First, it is desirable to ensure its stability. It is optimal to carry out the setup in the afternoon. In this case, the lighting will be the most stable and calm. Do not forget that a laptop screen tends to distort color depending on the viewing angle.
- For the calibration to be most effective, your eyes must be exactly in the center of the screen.
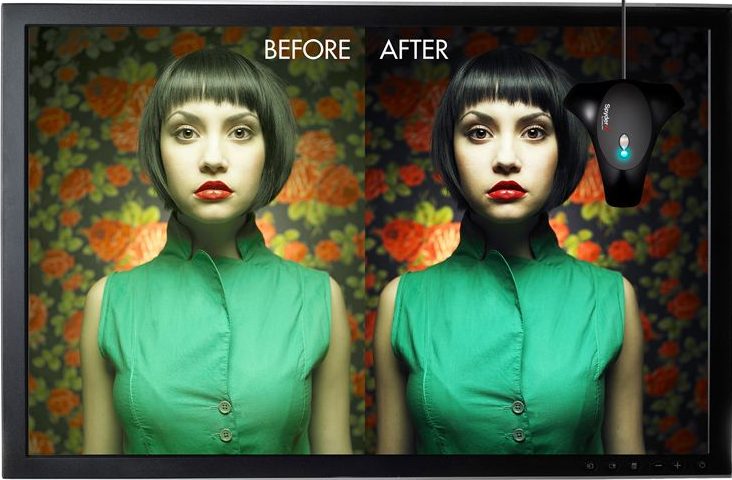
Attention! The calibration process is individual. This is explained by the fact that people's eyes perceive the same picture differently. Therefore, you need to do it yourself.
Screen calibration methods
In order to configure the laptop display, you can use one of two methods - hardware or software. The optimal and simplest option is the software option. It is easy to implement, but does not allow you to achieve the same result as hardware.
The hardware version is more complex. It requires certain qualifications, the presence of special equipment and the installation of the necessary software.
This method includes three stages:
- setting up the main graphic indicators of the device matrix, which is performed in such a way as to correspond to certain parameters of the spectrometer and installed utilities;
- reconfiguring the video card to linear mode;
- testing the system and saving the settings made in the appropriate file on the laptop.
Reference! To somewhat simplify the procedure for hardware calibration of a laptop display, you can pre-print a color image that will serve as a standard. After this, by changing the required screen parameters, achieve maximum consistency between the image on the laptop screen and the reference image.
Calibrating a laptop screen using programs
You can adjust the optimal image using several programs. First of all, you can use standard Windows tools. To do this you need:
- Go to “Search” and type “Calibration”. A corresponding window will open, which you should go to.
- Select “Calibrate screen colors” and click the “Next” button.
- Follow the prompts of the “Calibration Wizard” and make the necessary settings.
- Then you need to save the changes made and close the program.

You can also use special programs. One of the most popular is Atrise Lutcurve. It has a simple and intuitive interface, with a completely Russified menu.
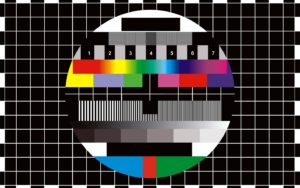
The essence of setting up the display using this program is to change the main characteristics - “Black”, R, G and B. Their value needs to be changed until the corresponding squares become visible. In this case, the background should remain as black as possible.
- The white is adjusted first. The resulting color should be as neutral as possible and not have any shades.
- Next, the gamma is adjusted. The colors in the corresponding columns should have minimal differences from the main background.
- The next step is “Color Balance”. You need to make sure that all tones of gray are practically bleached.
If the screen is configured correctly, the gray tones in the utility's test image will be uniform. The presence of any other shades of colors is not allowed.
Screen calibration is an optional laptop setup. However, it allows you to achieve the highest quality image on the device display. This is especially important for people involved in photography or design.


