How to enable HDMI on a laptop
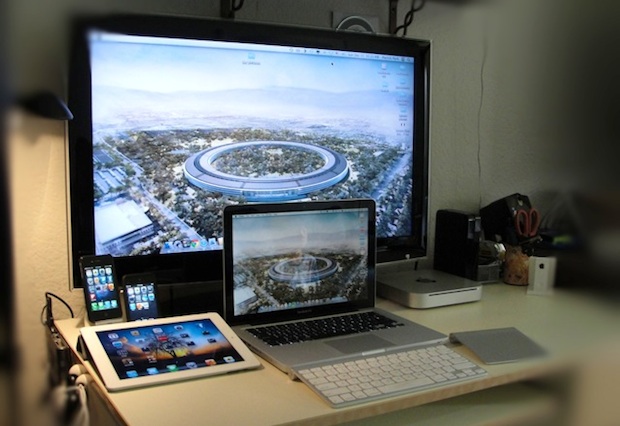
If the laptop screen seems very small, then the best way out of this situation is to connect the mobile PC to the TV using an HDMI cable. So, you can comfortably watch all the information from your laptop while lying on your bed, or do it with friends - it doesn’t matter whether it’s a movie, travel photos, or a social network page.
The content of the article
Enabling HDMI on a laptop: step by step
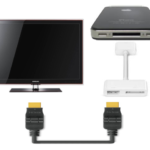
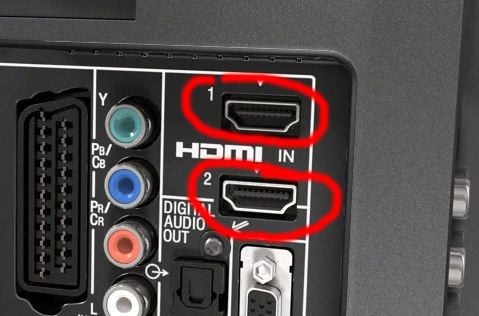
To connect a laptop to a TV using HDMI, you first need to find this same HDMI port. Typically it is located on the side or back of the TV. Moreover, the TV often has more than one HDMI port, so you need to find the connector that is located in the “Input” block and is marked as “1”.
The same port needs to be found on the laptop. By and large, any HDMI port is suitable.
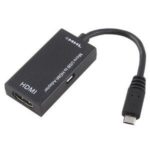
There may be cases when one of the devices does not have an HDMI port. Then you can use a DVI/HDMI adapter, but in this case the connection may be complicated and separate audio transmission settings will be required. Another way is to choose one of the connection options: using tulips, VGA, Wi-Fi.
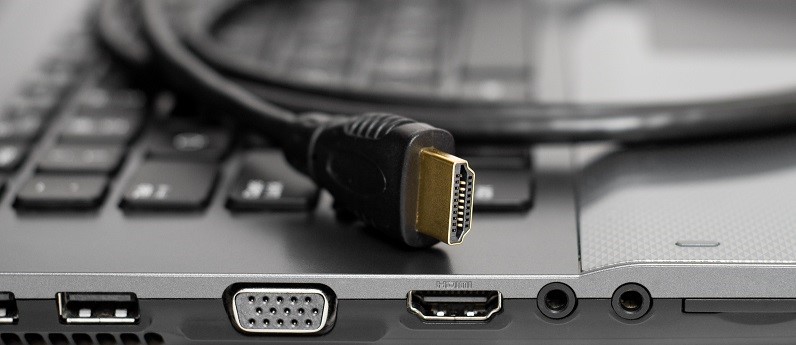
Reference! Then, when all the ports are found, you need to install the wire in them. When inserting the cable, you need to check the quality of the connection - the wire must be installed completely. Once both devices are connected, they need to be turned on.
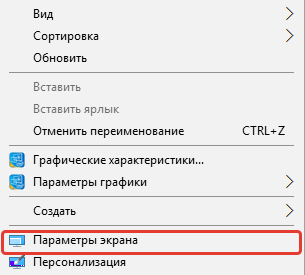
On your laptop, you need to check that the display resolution is set correctly.For Windows OS, you will need to right-click and find the “Screen Resolution” item in the menu that appears, then find out the set resolution. If your TV supports Full HD, the best resolution will most likely be 1920x1080 pixels. If the TV is only “HD Ready”, the maximum quality is 1366x768.
There are several ways to connect a TV and PC (taking into account personal preferences):
- If you select "Duplicate screens", the TV screen will display what is happening on the PC monitor.
- If you select "Expand Screens" with your PC screen as the main screen, your desktop will appear on your TV.
Once the resolution has been checked, you need to set the monitor's refresh rate. Why use the “Advanced Settings” menu, where you select the television device. Most likely, it will be detected as a monitor, since Windows, as a rule, defines all such connected additional screens in the display as a “monitor”.
Having found the TV in the “Color Rendering Quality” column, you need to set it to “True Color”, and in the “Screen Frequency” column – more than 65 Hz. If your TV screen can support 100Hz, it is recommended to install it. But you can try to set different frequencies and test the picture quality and possible interference at any of them.
What difficulties may arise when connecting?
In some cases, problems occur in the operation of these two devices; the connection interface may be the cause.
When using HDMI, two main difficulties often arise - normal operation of audio and video on the TV screen. The causes of the malfunction are usually: mechanical failures, old drivers, incorrect settings.
How to fix problems
When connecting a PC to a TV, the picture is not always immediately displayed on the screen; in some cases, adjustments are required.
Standard laptop settings:
- Go to Display Settings on your laptop.
- Then click “Detect” so that the operating system finds a TV already connected via HDMI.
- In the “Display Manager” menu that appears, you need to find and connect the TV (label labeled TV). Click on it. If there is no icon, you need to check the wire connection. Provided that everything is in order, the same image of the 2nd device will appear next to the schematic drawing of the 1st monitor.
- For correct operation, you must select “Display desktop 1:2” in the menu that appears.
No sound on TV
If the TV connected via the HDMI connector does not play audio, then you need to specify it as the default main playback device:
- To do this, right-click on the sound shortcut in the notification menu and find the “Playback devices” item. The laptop and TV must be connected using a cable.
- A new window will appear, where all playback devices will be listed and the TV icon will be shown.
- Right-click on the TV device.
- Check the box next to “Set as default”.
- Then click “OK”. The audio will start playing on the TV.
Adjusting the image and sound settings does not always guarantee that both devices will work 100%, since the problem is sometimes in other elements of the laptop or directly in the connected TV.


