How to take a screenshot on a laptop
 Often when using computer equipment, users may need to take a screenshot. This is usually necessary for quickly saving information and transferring data. Taking a screenshot is very easy, but the problem is that few computer users know how to do it. In our article, we will share different options for taking a screenshot.
The content of the article
The standard way to make a screenshot using Print Screen
First, let's look at the most common method of taking a screenshot of a laptop screen. The classic method uses standard hotkeys installed on the keyboard. To quickly take a screenshot, you need to perform the following manipulations:
- Connect your laptop and start the system in standard mode.
- Select the desired dialog box or page to photograph. Carefully watch the edges so that all the necessary information falls into the field.
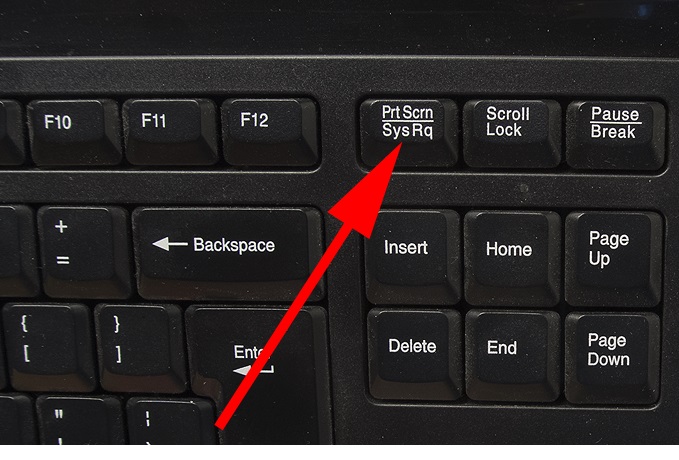
- After that, press the Print Screen key (located to the right of the row of hot keys F1-F12). The system will automatically take a photo.
- To format, open a graphics editor or Word document. Paste the resulting image into the free field.
- After this, using a standard set of settings, you can adjust the format and size of the image, and also remove unnecessary parts of the image.
- If you can't take a picture, try additionally using the Fn key (usually located to the right of Ctrl). The Fn+PrtSc combination should solve the problem, after taking the photo, follow the steps described above in the editor.
- If desired, you can send the file for printing or save it in your computer database.
This method is distinguished by its simplicity and ease of implementation. Also, when using this method, there is no need to download additional programs and applications, which makes the user’s work easier.
Attention! Additional information about the purpose of hot keys can be found in the instructions, on special websites on the Internet, or in the main BIOS settings menu when booting the computer.
An easy way to take a screenshot using Scissors
Another simple way is to use the “Scissors” program in the main menu of the system. This option may be useful if the Print Scree key is missing or damaged. In any case, this method is also easy to use:
- Go to your desktop in standard mode.
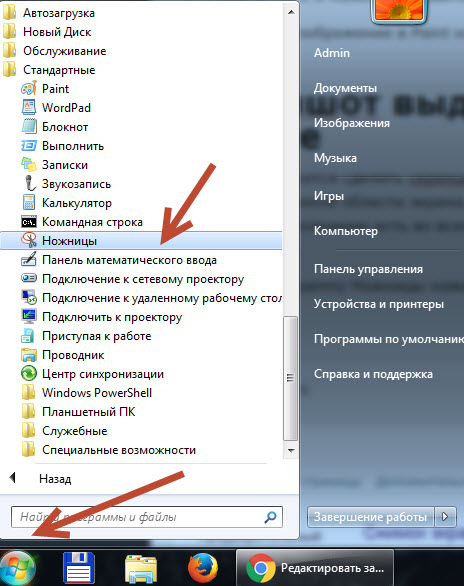
- Open the main Start menu using the checkbox key or the button on the taskbar at the bottom of the screen.
- In the search bar, type the word “Scissors”, click on the program that appears from the list, and log in.
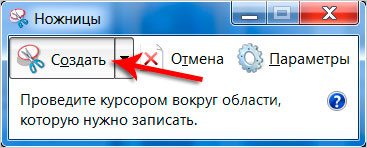
- Launch the program, click on the “Create” button in the upper corner of the dialog box that opens. Select the format of the desired photo from the proposed options; when clicked, a screenshot will be automatically taken.
- Save the resulting image in the program by clicking on the floppy disk image.
Attention! The Scissors program allows you to quickly format the resulting image. Try taking several pictures in different formats to find the best format.
How to take a screenshot on a laptop in Windows 10
Performing certain tasks when working with a modern version of the Windows operating system may be difficult for users due to the changed interface. The developers changed the names, changed the appearance and added additional functions to the main screen. However, the screenshot function remains unchanged. You can also use one of the options described:
- using hot keys installed on the laptop;
- through special system applications;
- using additional programs downloaded from the Internet from the official website.
Using third-party programs to take a screenshot
If the standard set of features used in a laptop is not enough for you, you can use special programs and applications. They can be installed via the Internet in a browser or downloaded from PlayMarket. One such program is LightShot; its use gives the user access to additional features.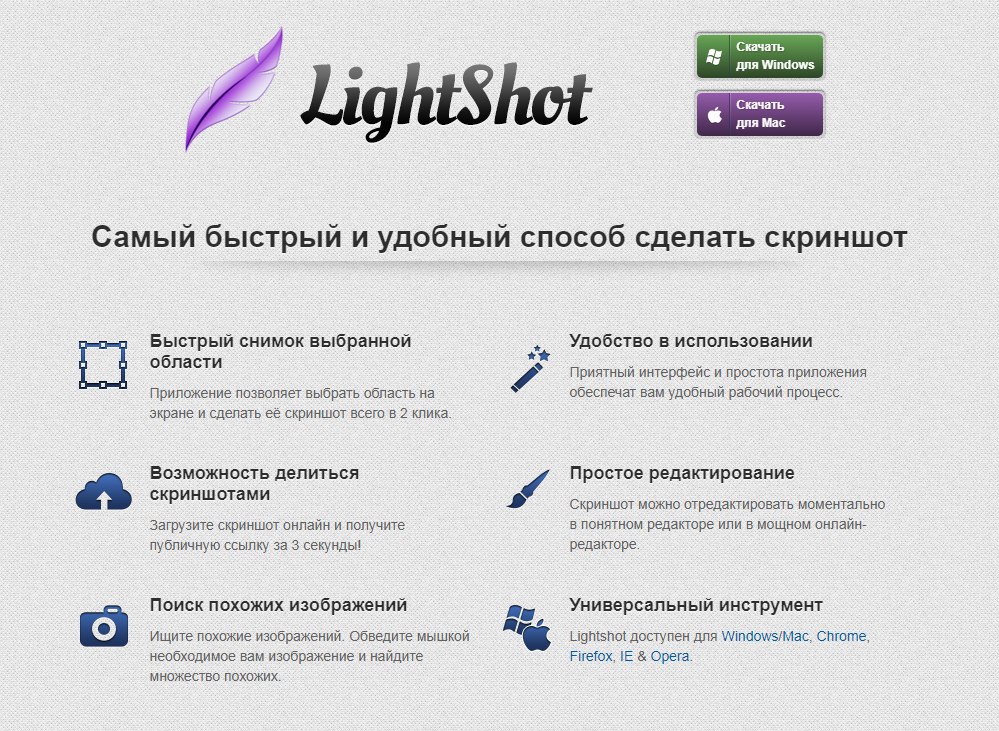
The application works according to the following principle:
- Go to the browser on your laptop and type the name of the program you need.
- Download the file and complete the installation, following the prompts of the download wizard.
- An image of the installed application should appear on the taskbar on the right side; go to its settings.
- Set your hotkeys to quickly take and save screenshots.
- Additionally, explore the main menu and options, here you can find many useful functions and additional features.
Download files and programs only from official sites and with an antivirus connected to prevent damage to the system.