How to make a keyboard backlight on a laptop
Modern laptop models already have the option of keyboard backlighting, which is convenient for work. This is especially true for people who have to work in the dark or for those who like to sit at a laptop at night. When the backlight is working, you don’t need to strain your eyes to see a certain sign on the buttons. There are several options for turning on the backlight; the differences lie only in the models or manufacturer. You can also make your own keyboard lighting.

The content of the article
Materials and tools
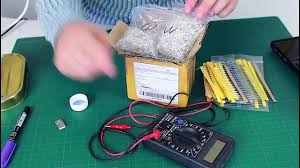
First of all, you need to prepare materials and tools. To carry out the work you will need:
- soldering iron;
- diode strip;
- power cable;
- battery cells (if built-in lighting is provided);
- screwdriver;
- adapter from 2/4-pin to 1/6-pin;
- switch;
- insulating tape;
- glue (for certain devices with a collapsible keyboard panel);
- sharp knife;
- tester for checking the operation of the entire electrical circuit.
Reference! Almost all the necessary improvised tools and accessories, if required, can be purchased at an electrical goods store. This also applies to LED strips for Multi-color lighting.
Important points before work
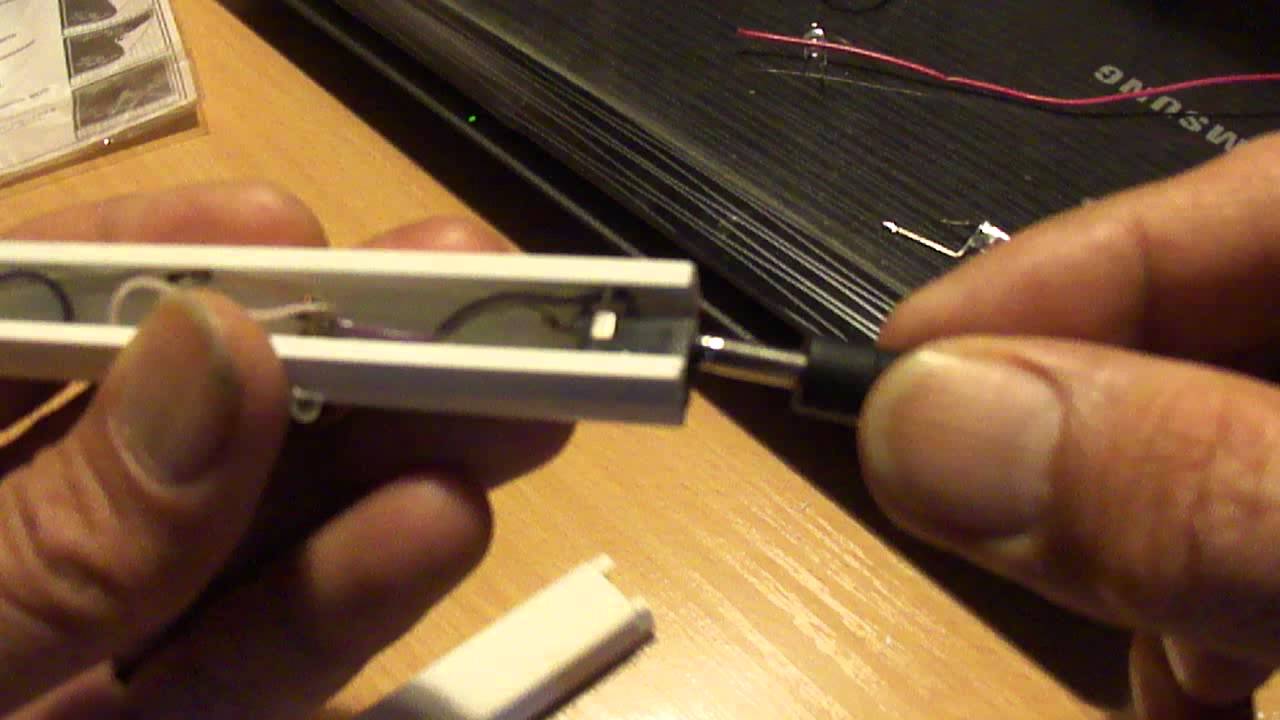
To solve the problem with the backlighting of the buttons on the keyboard, you will need to buy a diode strip.Standard versions of LED strips can be purchased at any hardware store or on the market. If, according to the conditions of the created project, some special conditions or parameters are required for lighting, similar options can be searched on the Internet.
Typically, an LED strip consists of:
- installed LEDs that are connected in series;
- flexible polymer tape;
- separation areas marked with special markings;
- exit areas of elements for connecting to the power supply.
In the case of Multi-color diode fabric, there are certain differences. Pairs of diodes of different colors are connected in parallel at a short distance. But all other soldering (connection) areas are standard.
Reference! Taking into account the markings, one output contains 5 V, the other - 12 V. This must not be forgotten when connecting the lighting circuit to the terminals. At the same time, during the option of connecting the blade using a charger, you need to take into account that charging the laptop should not be pulsed, only transformer.
Keyboard backlight on a laptop: step by step
To organize an external backlight for a laptop keyboard, you will need a 5 Volt power supply from the USB port and a white diode. We connect it to the connector for power supply from the USB port. But we must not forget that the diode has a voltage of 3.5 Volts and a current of 0.02 Amperes, that is, a 1.5 V quenching resistor is required, its resistance is 1.5 V / 0.02 A, which is equal to 75 Ohms .
Since the USB port produces a current of 0.5 A, then, accordingly, 25 diode lamps can be connected to it, but it is necessary to control the current consumed by the diodes, the main reason is that the difference of 17-21 mA significantly reduces the operating time of the diode .
After checking the collected external lighting and the power of the light beam, if necessary, increase the brightness of the light, you can additionally connect in parallel a number of diodes with the installation of the same resistor. The required current consumption is set by selecting resistors.
So the external keyboard lighting is ready, you can fix it in the required place and start working on the laptop.
Interior lighting
The most common question is how to connect keyboard lighting in Asus devices. Since these laptops do not have a very bright glow. Many users are not satisfied with the quality of the LED element. But the laptop itself is quite suitable in terms of its performance indicators.
To install a diode element, you first need to select the type of future lighting. For users who are not strong in electronics, it is best to make lighting along the contour. This will help reduce the potential risk of causing performance damage during inept installation.
The main stages of installing an LED strip will require:
- disconnecting the battery;
- removing all fasteners (certain of them can be recessed into the body, and at first glance almost invisible);
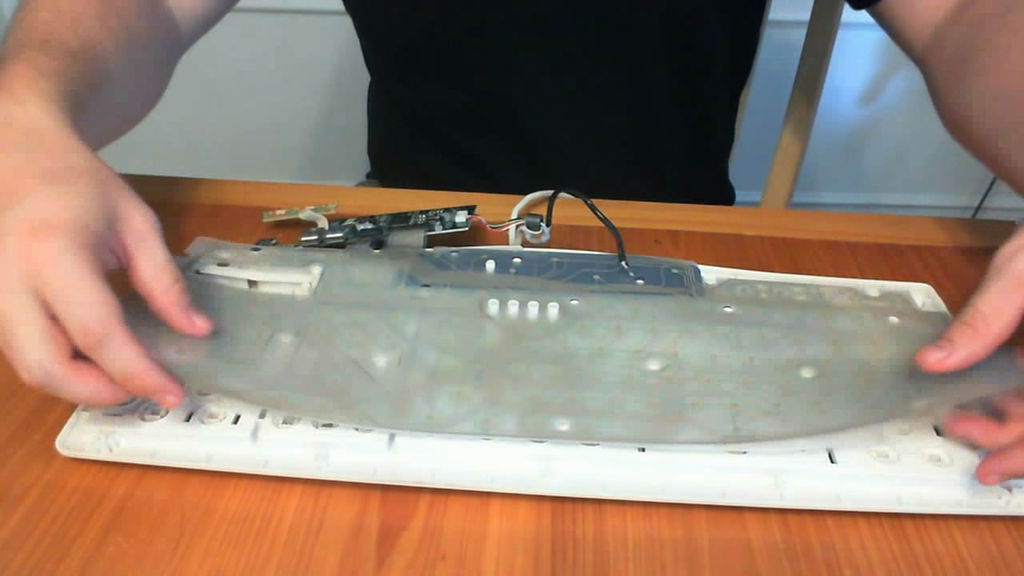
- Next, you need to carefully remove the hard drive and remove the drive;
- remove the keyboard panel from the mount;
- pull out the screen cord that is connected to the motherboard;
- disconnect the loop;
- disconnect WLAN.
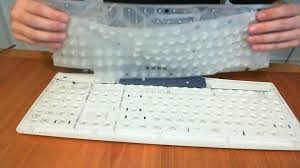
The LED strip must be inserted directly into the free contour from the edge of the keyboard. Moreover, it is necessary to take into account the mounting location of the battery or other flat-panel power source for installation in the case. The main disadvantages of this lighting method include similar disassembly when replacing the power source.


“An article about nothing”….or “how to increase popularity in search engines when there is nothing to write about.”
Horror, just horror, half a ton of garbage and a grain of sand...