How to disassemble a laptop power supply?
 The laptop power supply is capable of ensuring uninterrupted operation of the laptop in the absence of a battery or when it is completely discharged. It can also be used to charge the battery, thereby enabling the laptop to operate autonomously - without the use of an electrical network. Sometimes it happens that the power supply fails, and the user is faced with the question: is it possible to repair the device independently or will he have to buy a new one? Purchasing a new device will cost a pretty penny, so first you should try to repair the device yourself.
The content of the article
How to disassemble a laptop charger
Before starting repairs, it is necessary to establish the cause of the malfunction and its location. To determine the fault, the user will most likely be required to penetrate the “heart” of the power supply. Before opening your laptop's power supply, it's best to check with experts for advice, as the process may differ for different models.
The design of a small laptop battery is quite simple. If, in your opinion, the reason for the lack of charging lies in a malfunction of the adapter, then you can check this option using a special program. The most common causes of power supply failure are:
- damage to the nest;
- power surges;
- cord fracture.
Tools for work
To work you will need a set of simple tools:
- a knife, scalpel or other similar tool for opening the block body;
- screwdrivers;
- soldering iron with solder;
- napkins, gauze or other fabric;
- glue and syringe;
- gasoline or other solvent (optional). According to a number of experts, these tools greatly simplify opening the power supply.
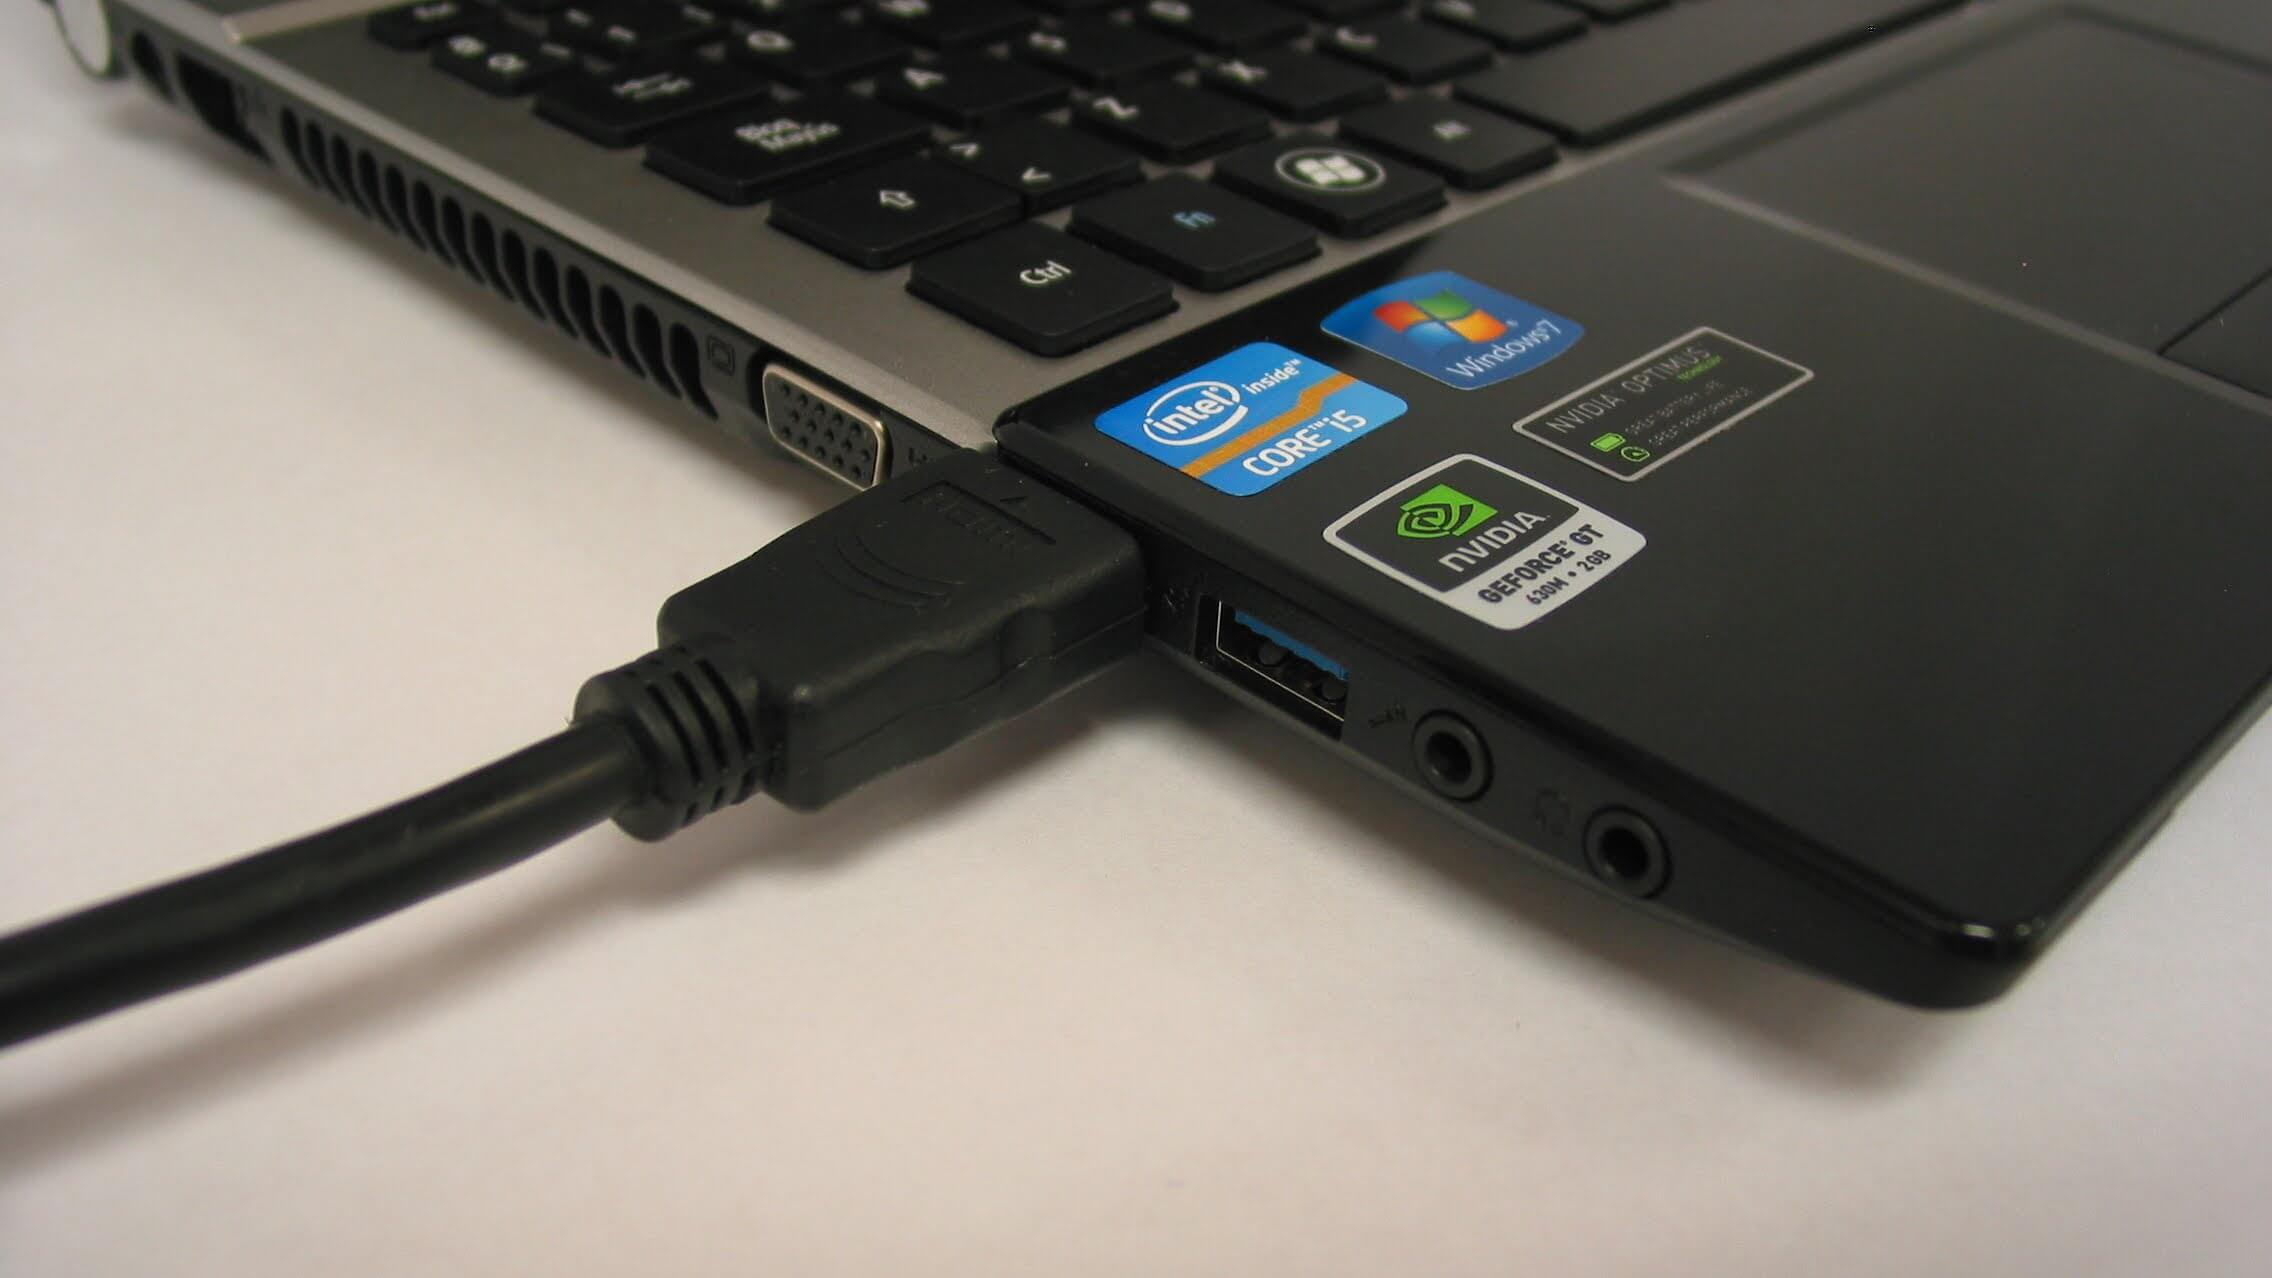
How to open a laptop's internal power supply
Accessing the internal power adapter is much more difficult than accessing an external one. The reason lies in the need to open the laptop case.
Removing the bottom panel
All known laptop models can be disassembled in approximately the same way, that is, they have identical internal structure and components that require dismantling.
Important. It is worth remembering that independently removing the bottom panel of the device deprives the user of the right to warranty service, that is, if the laptop is still under warranty, then it is better to take it to a service center for repairs.
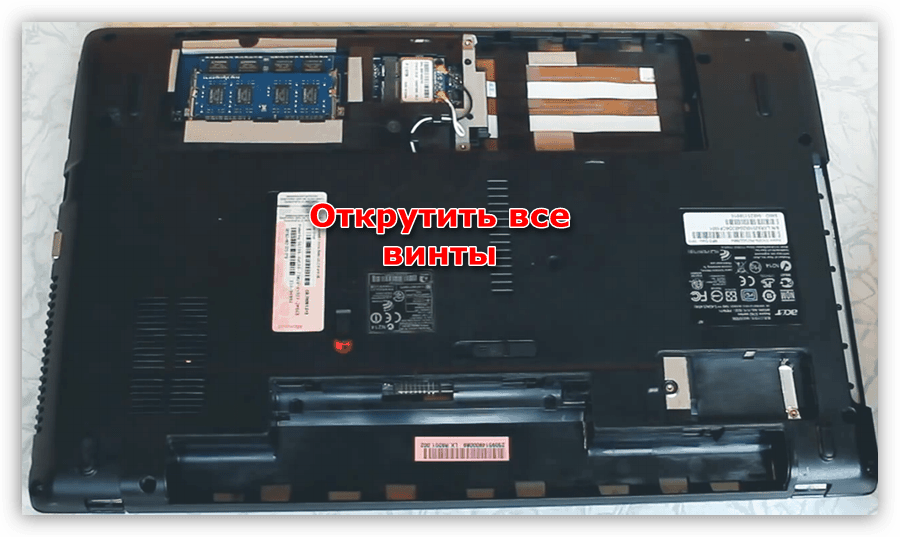
The bulk of the work comes down to unscrewing a large number of mounting screws. In order not to confuse or lose the screws, it is better to prepare a container with several compartments in advance.
Important. Before disassembling the laptop, be sure to disconnect the battery. If this is not done, there is a risk of a short circuit, which will inevitably lead to expensive repairs.
When performing work, the following sequence of actions must be observed:
- removing the protective plate from the RAM and hard drive;
- dismantling the hard drive, otherwise it may interfere with further work;
- The RAM does not need to be removed, but you will have to get rid of the drive by unscrewing just 1 screw;
- then unscrew all remaining screws. It is necessary to get rid of all fasteners, otherwise there is a high risk of breaking the plastic elements of the case;
- The keyboard can be removed without any problems - on the side facing the screen there is a special snap-on fastener that can be snapped off with a regular screwdriver;
- To completely dismantle the keyboard from the case, you need to disconnect the cable;
- after the keyboard, all remaining cables are disconnected;
- uncoupling the top and bottom covers;
- to dismantle the motherboard, all cables are disconnected and the screws are unscrewed;
- There may be power cables on the inside of the case - they are also disconnected.
Disabling the board, diagnostics
To remove the power supply connector from the motherboard, you must do the following:
- Use a screwdriver to unscrew the screws securing the connector to the housing. For some models, it will initially be easier to dismantle the “adjacent” elements and then disconnect the cables;
- The appearance and size of the board may differ depending on the model;
- you should be careful, since one of the fixing screws may be common with the screen;
- dismantling the connector;
- dismantling the clamp.
Important. When diagnosing yourself and wanting to repair the connector, you should be careful. If it is damaged, there is a high probability of problems with the operation of the entire laptop.
The main causes of malfunction of the internal power supply are power surges and careless connection of external devices. Do-it-yourself repairs can lead to more serious consequences.
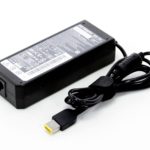
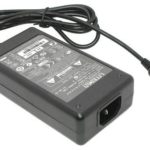
How to disassemble an external laptop charger
For an external adapter, the main difficulty in disassembling it is the lack of fasteners. The reason is that, according to the manufacturer, the device cannot be repaired at home and therefore it is sealed from the inside.
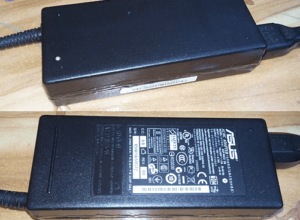
Opening the Case and Removing the Board
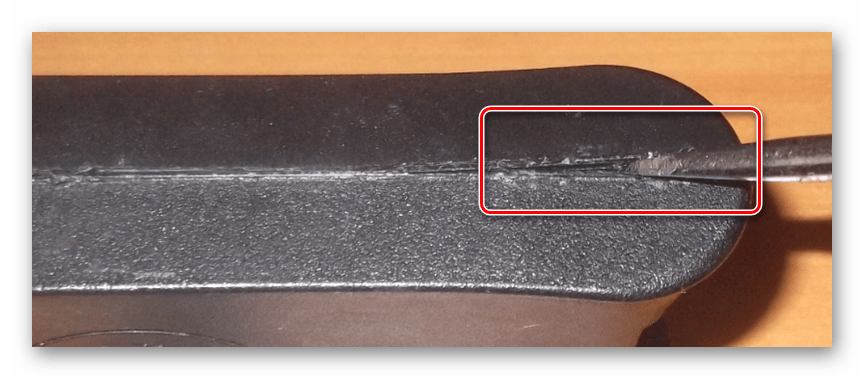
You can open the external adapter housing using a screwdriver, knife or other sharp object. Before opening, a number of craftsmen carefully pour gasoline into the seam through a syringe, which supposedly dissolves the plastic and makes it easier to open the case.
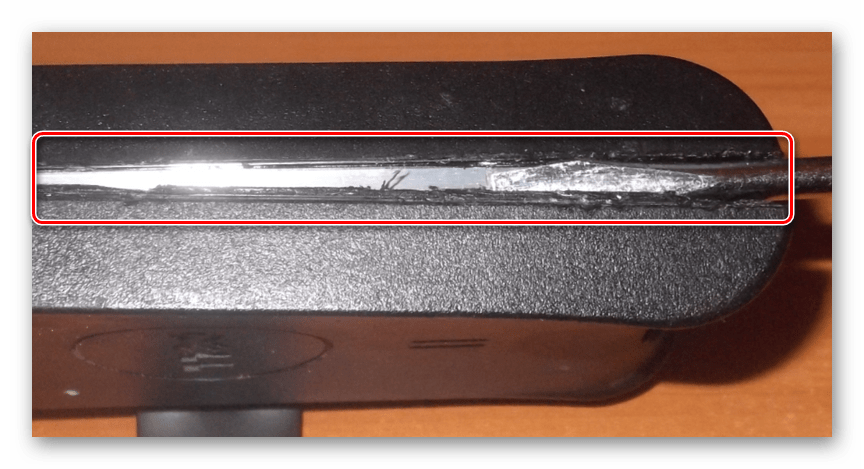
By gently hitting the handle of a screwdriver inserted into the groove with your palm, you can open the adapter. Some power supplies have a special “strap” located on the long side of the unit - it will automatically detach after opening the case.
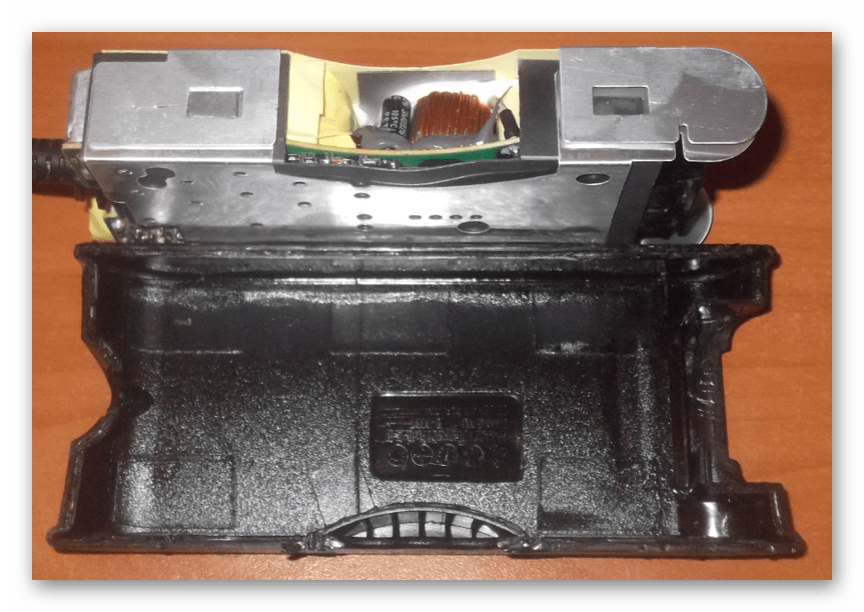
After dividing the case into 2 parts, it will not be difficult to locate the battery. It should be inspected for mechanical damage. If they are not identified, then you should move on to the board, which is carefully removed from the case.
We take out and disassemble the board
The board is carefully removed from the case; it is not attached to the case, so it is better to try to keep it in its original form. Now it’s time to start troubleshooting.
Board inspection and soldering
After an external inspection of the board and if there are no visible damages, you need to measure the voltage at the output of the board. If the output voltage matches, you will need to remove the metal case by unsoldering it from the board. The plug stop is carefully cut and excess wire elements are cut off. Whole parts of the wire are soldered to the connector,
The power adapter body is glued onto the glue - it is working again.If disassembled carefully, the case will not be damaged.
Important To repair more serious faults in the laptop power supply, you will need a number of professional instruments, such as an oscilloscope, tester, etc. Therefore, it is better to entrust serious repair work to professionals who have the necessary equipment in their “arsenal”.