How to disable updates on a laptop
Every Windows OS user sooner or later faces a problem when the system starts updating at the most inopportune time.
For example, you are working on an important project, you spent many hours in front of your laptop, there are only a few minutes left before the deadline and, as luck would have it, at just such a moment a window pops up notifying you that in 10 minutes the computer will restart and install updates. And everything would be fine, but this installation does not take two seconds at all - it is more likely that the computer will be unavailable in the next hour (or two or three). Sound familiar?
Or here’s another example: you’re in a hurry and hastily turn off your computer, planning to take it with you (or turn it on because you need to launch a presentation for a speech right now). At this moment, the computer reports that now “Installation 1 of 108 is in progress”... And how can you not panic, especially if you are in front of a huge audience?
The resulting disappointment can be avoided. In such cases, in order not to wait until everything that is needed is finally installed, you can simply delay the moment itself. How to take control of the situation and not allow the operating system to dictate its rules is discussed in this article.
The content of the article
How to disable Windows 10 and Windows 7 updates
We suggest that you familiarize yourself with possible action algorithms for the two most common versions of the system.
Important! It must be remembered that such actions should only be resorted to in special cases. In fact, they are important for your computer and help maintain the security of Windows (we are talking about licensed versions; when using unlicensed assemblies, the computer may not only freeze, but also download something inappropriate).
Via control panel
To open the “Control Panel” in Windows 7, you need to go to “Start” and select the item of the same name in the menu on the right.
For Windows 10, the easiest way is to enter the key name in the search. Click on the magnifying glass icon at the bottom left of the screen and enter “Control Panel” in the line. The first result will be exactly what you are looking for.
The following process is absolutely identical for each OS version:
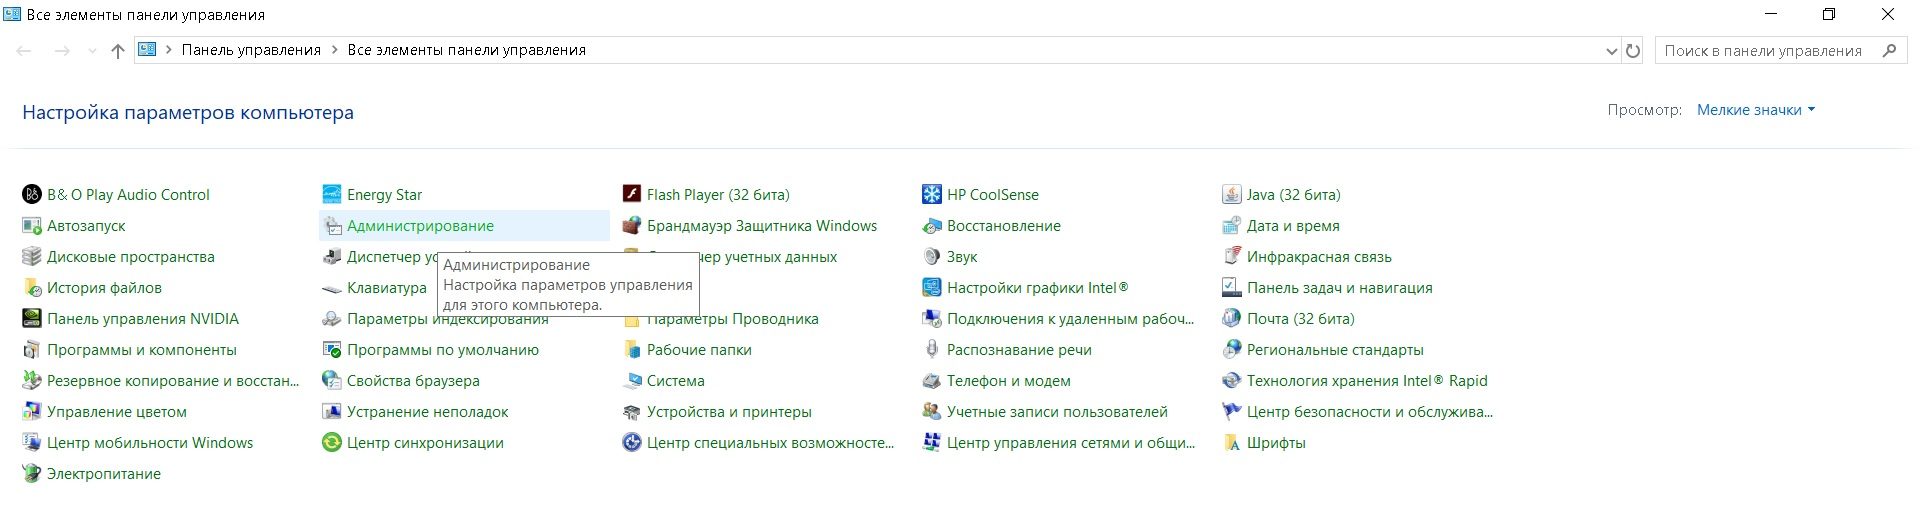
- At the top right near the “View” line, select the “Small icons” item;
- double-click on “Administration”;
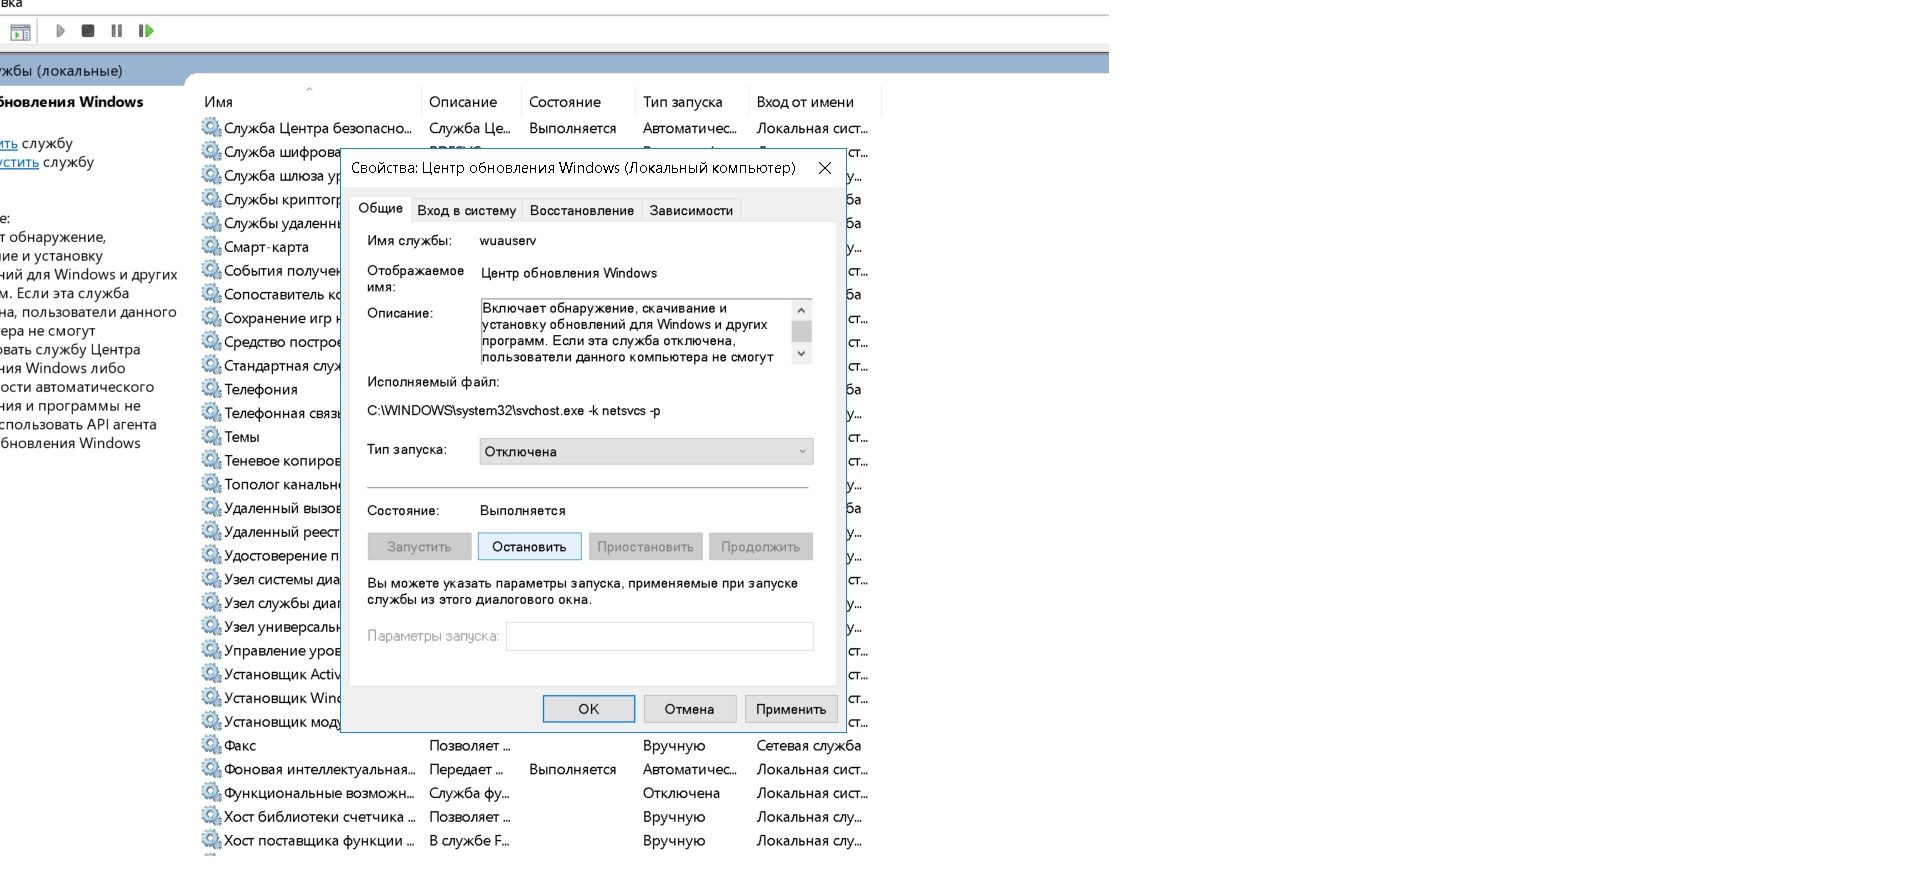
- open “Services” in the same way;
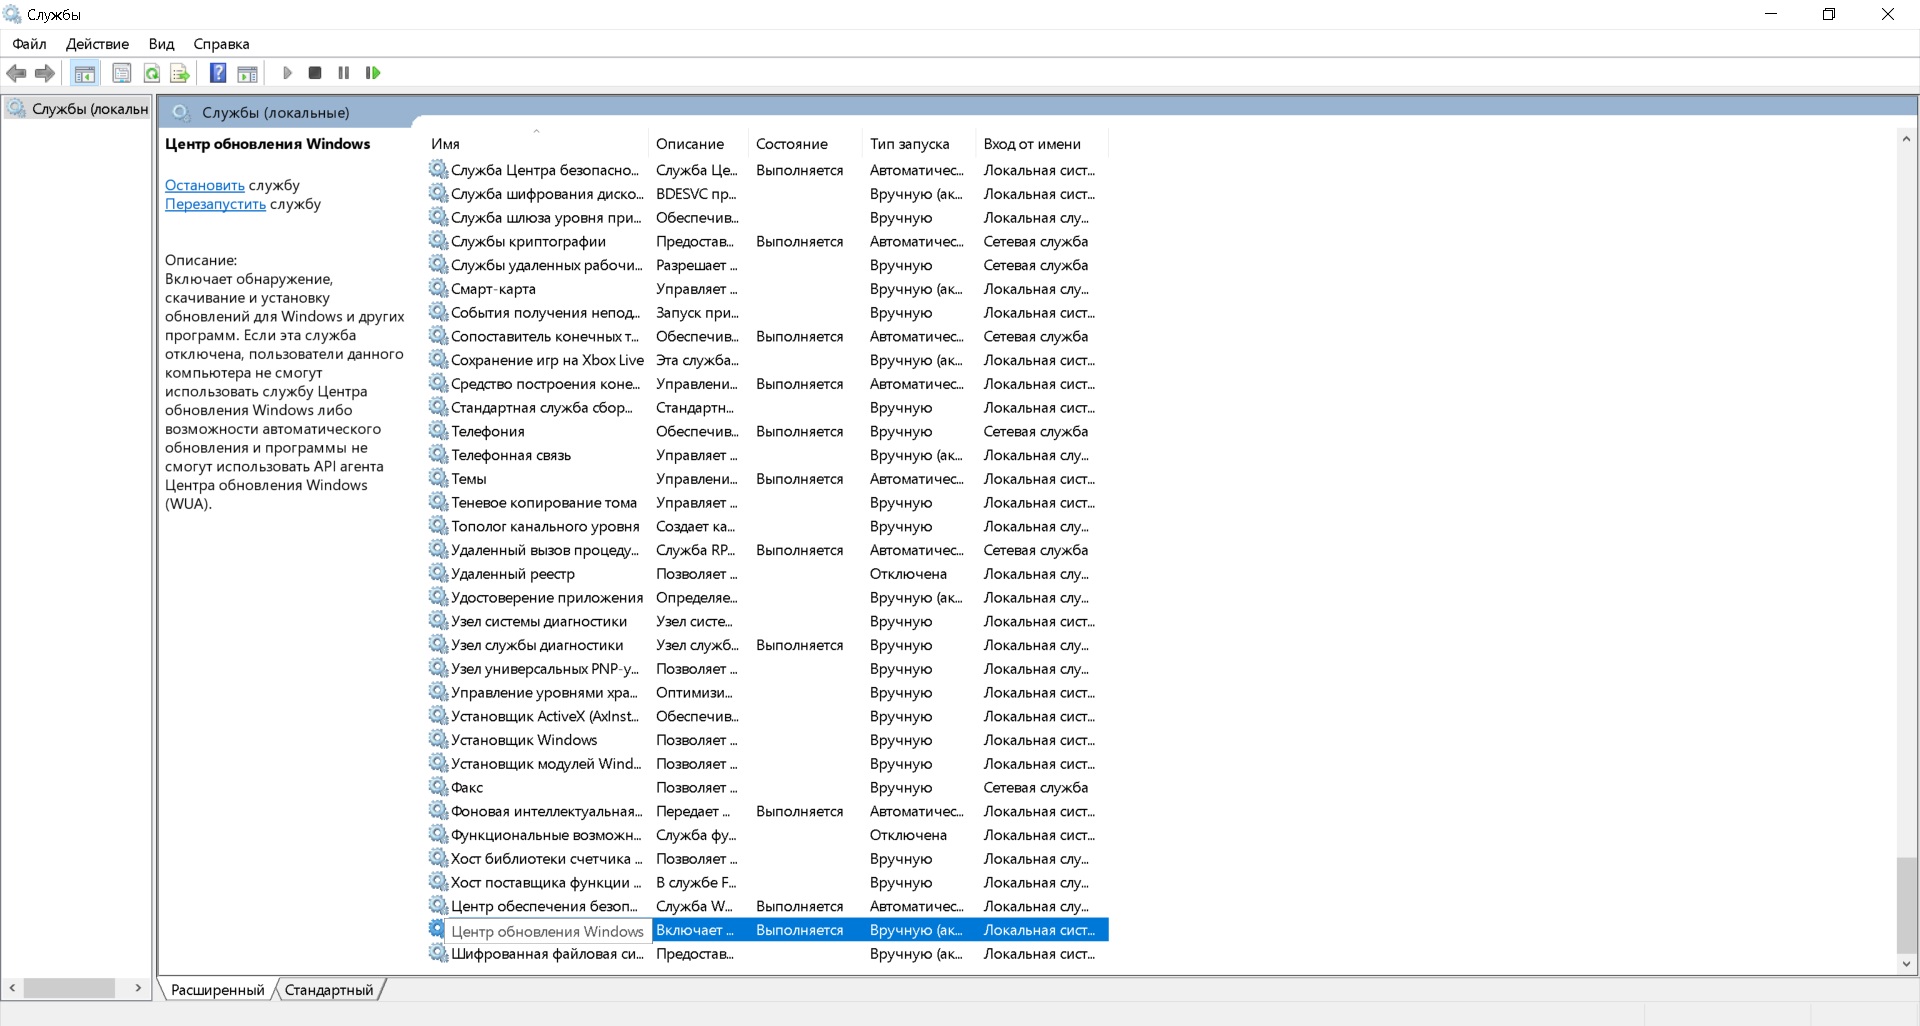
- at the very bottom of the list, find “Windows Update” and double-click on it;
- on the “General” tab, find the line “Startup type” and change the state of this parameter to “Disabled”, then click the “Stop” button below, then “Apply” and “OK”.

Now the system will not update until you turn it on in the same way.
Reference! The Services window in both versions of the OS can be opened as follows:
- simultaneously press the “Win” and “R” keys on the keyboard;
- In the “Run” window, type the command “services.msc” and press “Enter”.
Via the sidebar
In version 7 of Windows there is no sidebar. Windows 10 has it, but not every version allows you to cancel updates.
Attention! In Windows 10 Home, you cannot disable system updates (you can only disable the update center completely, as discussed in the previous paragraph).This feature is only available in Windows 10 Pro.
If you have a professional version of the OS, then you will need:
- On the side of Start, click “Settings” (gear icon);
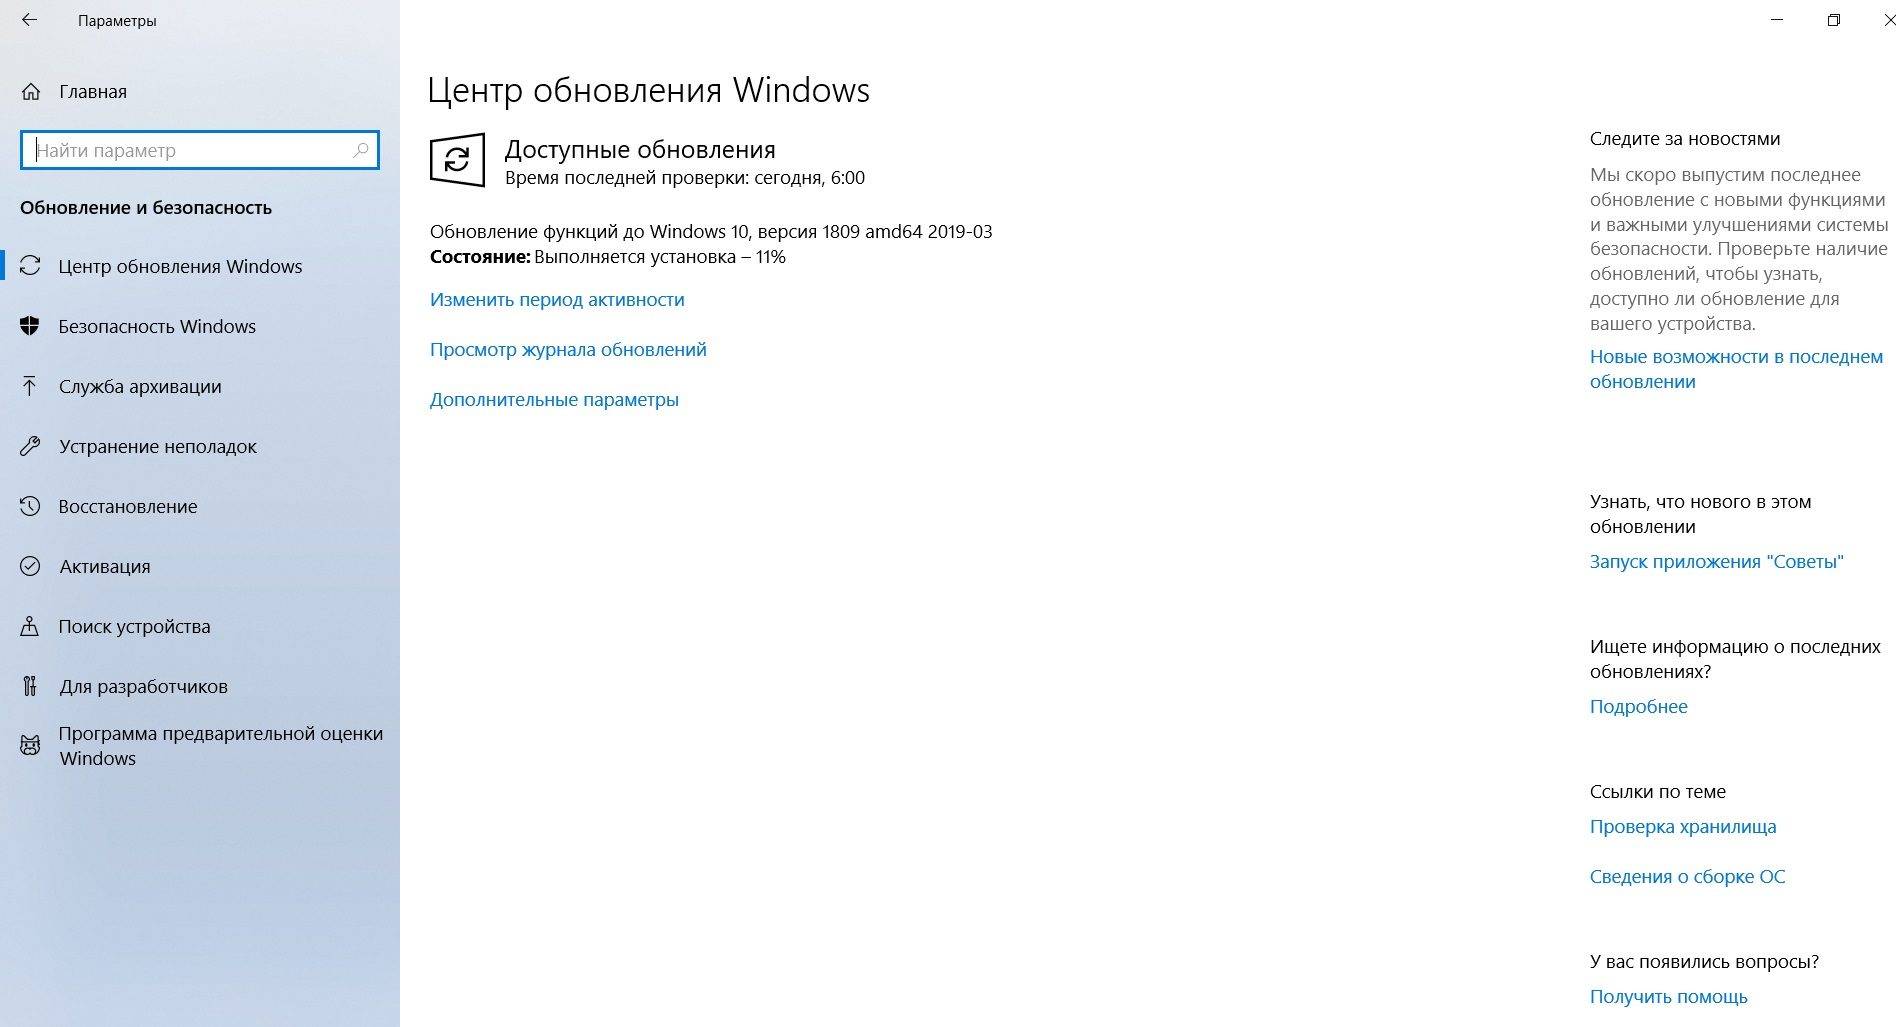
- go to “Update and Security” and there in the list on the left find “Windows Update” - here you will most likely see what updates are currently downloading;
- click “Advanced options”;
- Check the box next to “Delay updates”.

Here you can also configure the further process in the “Choose how to install updates” menu (in particular, “Notify when a reboot is scheduled”).
Ready! Now downloading and installing updates will begin only if you click the corresponding button in Windows Update.
By the way, if you configure Wi-Fi as a metered connection, the system will not download updates at the first opportunity. You can solve this problem as follows:
- go to “Settings” again;
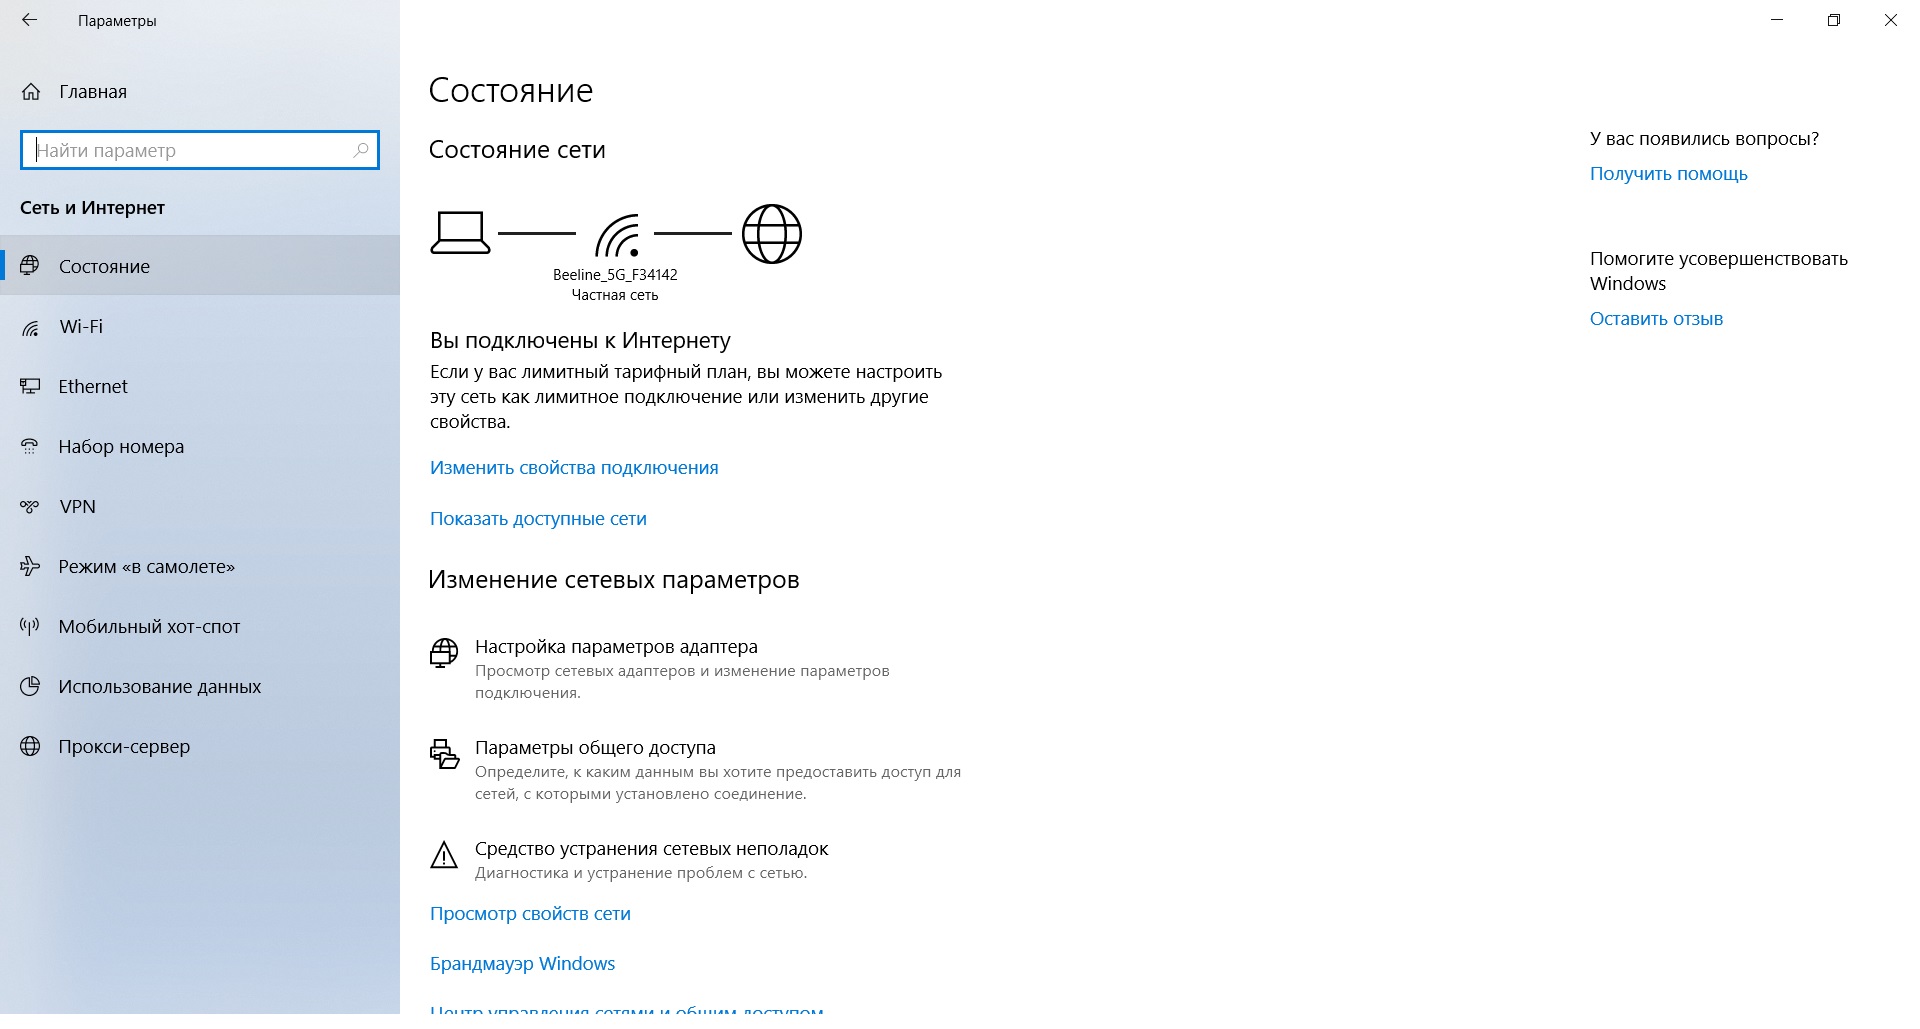
- open “Network and Internet” and select “Status” in the left menu;
- click “Change connection properties”;
- Move the slider in the “Set as metered connection” column.

After reading this article, you will definitely be able to correctly configure the process of downloading updates on your computer. It remains only to remind you that this should only be done in emergency cases. Good luck!