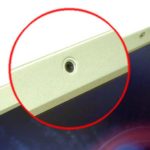
How to disable the camera on a laptop
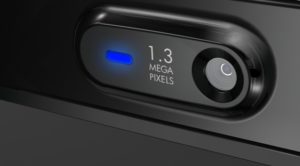 A built-in camera is one of the mandatory attributes of every laptop. Many users turn off the device as unnecessary or for other reasons. You can cope with this task using several simple and accessible methods.
The content of the article
The need to disconnect
The main feature of the camera built into a laptop is its constant operation. When started, the device is ready to work in any required application or program. With prolonged use, the element may fail, which leads to the purchase and connection of an external device.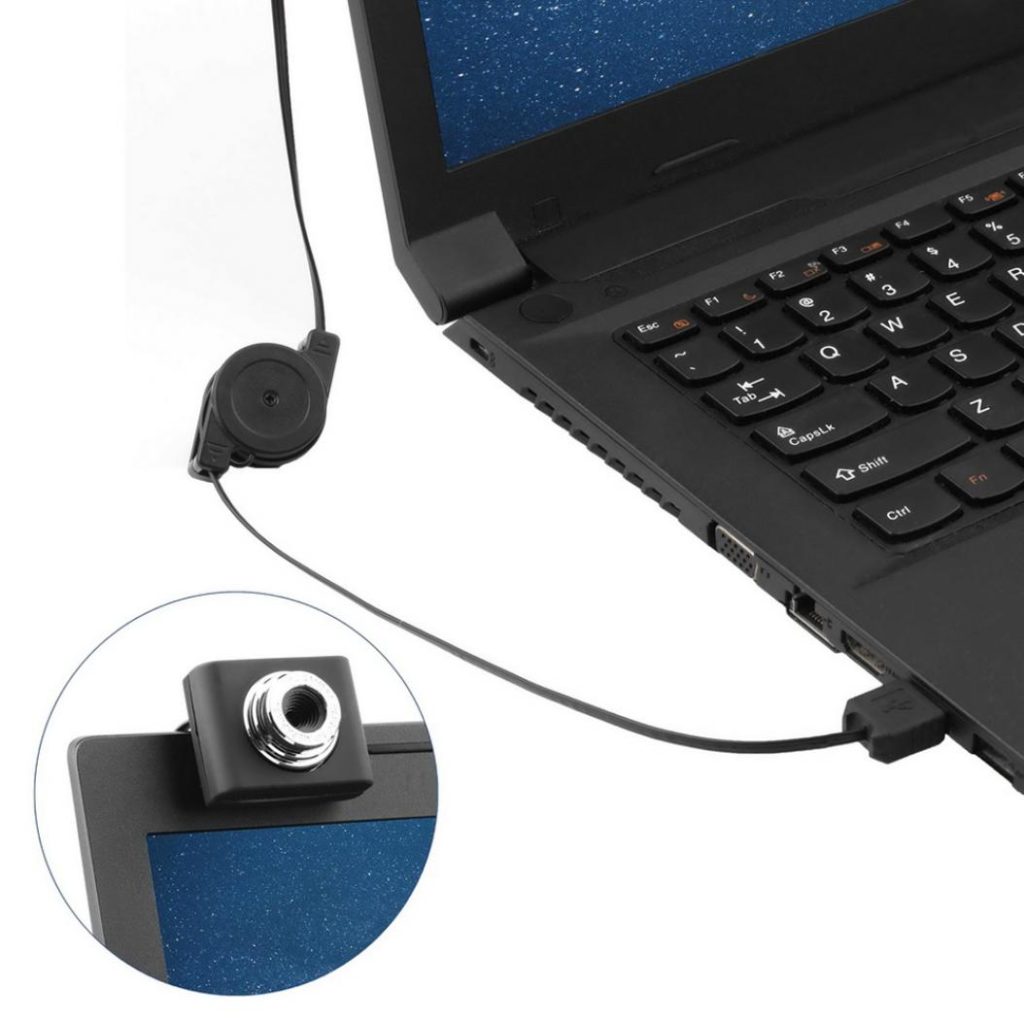
In some cases, users prefer an external camera instead of a built-in one. This is due to improved image quality. After connecting, the owner is faced with the problem of lack of connection. This is due to the system being blocked. The laptop interrupts the signal because the built-in hardware is a priority for the system. You can connect an external camera only after disconnecting the built-in one.
For some users, disabling is mandatory. This is due to personal reluctance to regularly be under her gun.
Reference! Manufacturers also offer special small silicone covers for the camera.
How to disable the camera in Windows 7
This operating system is the most popular and in demand on both laptops and personal computers. On Windows 7, you can disable the camera directly in the menu. In this case, the driver itself is disabled, which means the built-in element ceases to function in the previous mode.
First of all, you need to go to “Device Manager”. In the window that opens, a list of device drivers that are available on this laptop will be available. In the proposed list, select the section with video devices. When you click, a window will open in which there is one item - webcam. The device can simply be turned off in case it will be used later, or deleted.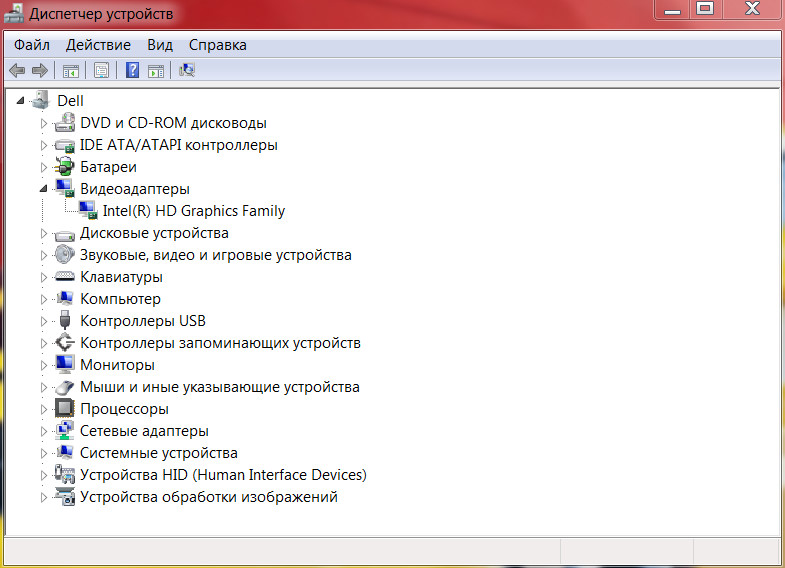
How to disable the camera on a Windows 10 laptop
This operating system is becoming increasingly popular. Most new laptop models are released based on Windows 10. The functions of such devices differ in many ways from the usual Windows 7. The shutdown process is more simplified than described above.
By clicking on the “Start” button, the “System Settings” item is called up. In the settings you need to find the “Privacy” section. This section contains the “Camera” window. After clicking, a window with general application settings will become available. In order to deactivate the device, move the slider in the opposite direction. This way you can disable the camera on a Windows 10 laptop.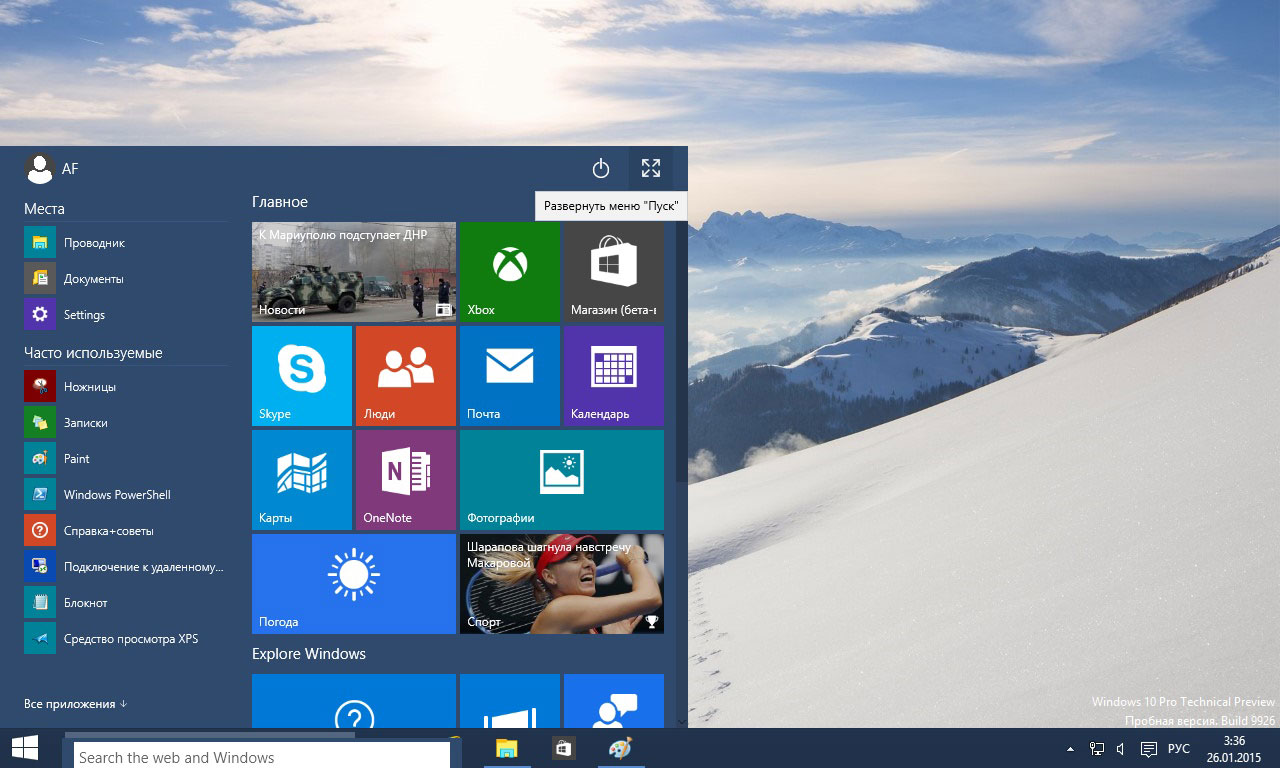
Reference! You can disable it in the same way as on devices with Windows 7.
Disabling the camera via BIOS
This option for stopping the camera’s functioning can be called the most reliable. With other shutdown methods, it is possible to restart the driver if the program is infected with viruses.When turned off via BIOS, this possibility is completely eliminated.
First of all, you should enter the BIOS. To do this, press the Del key at startup. It is located on the bottom line of the keyboard on the right side.
Reference! Another key can be used to enter. You can find out the desired name in the corner of the screen when you start the device. The element is determined by the manufacturer himself.
After logging in, you need to find the USB Functions section. Please note that the name of the folder itself may be changed depending on the BIOS version. When searching, you need to find the Onboard Device Configuration folder and log in.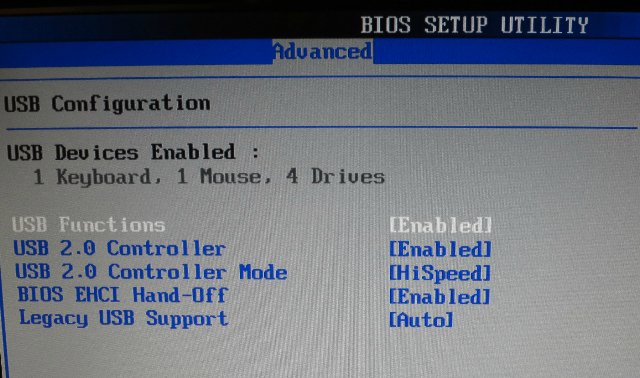
This folder contains the Onboard Camera section, which is responsible for the operation of the camera on the device. The slider located nearby is moved to the inactive position. For precise shutdown, you should save the new settings. This requires an adjacent tab with a Save and Exit section. When saving, the program will be reloaded and the camera will be disabled.
Important! These instructions may vary for each model. When working, it is recommended to find the exact steps of the process on the manufacturer's website or in the included instructions for use.
How to disable the camera on macOS
Apple products are currently the most popular. Users note the high quality, wide range of functions and stylish design of smartphones, MacBooks and tablets. The camera itself on these devices is called iSight, and a special script is required to disable it.
This script is called isight disabler and is available for download on the Internet. By typing the desired name into a search engine, it is easy to find the required program. After downloading, the script needs to be run. When launched, a pop-up window opens with 2 buttons.One button is responsible for turning on and operating the equipment, the second is for turning it off. To turn off the device, select the Disable Isight button.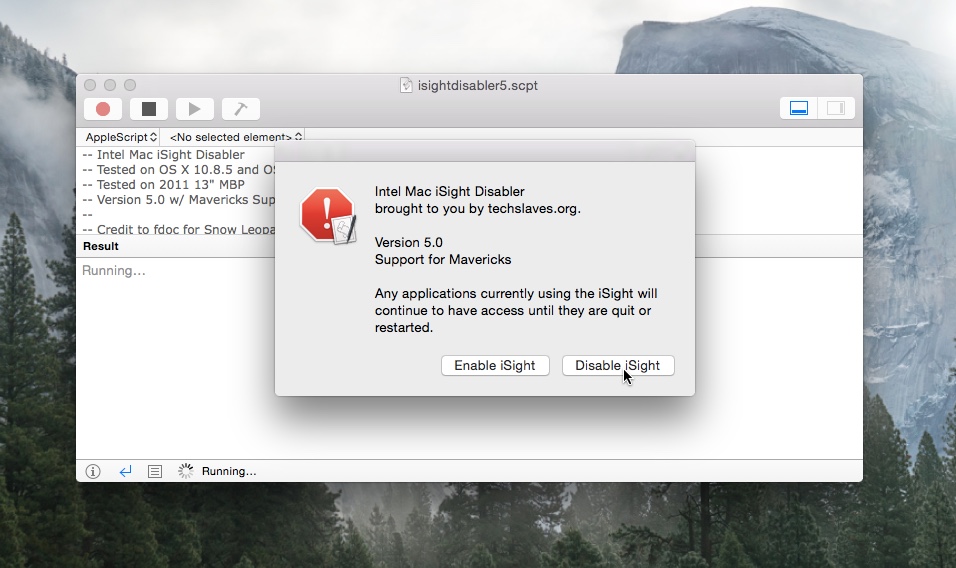
Attention! If it becomes necessary to turn on, the process is carried out in the same way when using another key in the window.
Disabling via browser
Many sites trigger hardware functions when used. You can carry out the disabling process through the settings of the browser itself.
Example of shutdown on Google Chrome:
- The menu is opened by clicking on the three dots in the upper right corner.
- Select the “Settings” item.
- The “Advanced” section opens, which is located at the bottom of the window.
- Next, you need to right-click on the “Content Settings” line.
- Then click on the line “Camera”.
- Next, move the slider to the opposite side in the “Access Permission” section.
The procedure is carried out in a similar way in the Yandex and Opera browsers.
A laptop simplifies working with documents, helps you carry out financial transactions and spend your free time comfortably. Having a camera helps with video communication, recording videos and taking photos. Built-in hardware is not always of high quality, which leads to the purchase of a third-party device. To install the external camera correctly, you must disable the built-in one in the laptop.


