How to adjust colors on a laptop
With prolonged contact with a laptop, many users complain of eye fatigue. In order to avoid these inconveniences, you should correctly configure the color rendition of the laptop display. Doing this yourself will not be difficult, and our article will help you complete all the setup steps correctly.

The content of the article
Initial setup of the laptop screen
Most users experience eye discomfort when working with a new laptop. First of all, you need to check the installation of the standard video adapter.
- Launch “My Computer” by double-clicking on this shortcut on the desktop;
- select “Properties”, “Device Manager”;
- Click on “Video adapters”.
If “Standard PnP video adapter” appears in the list, this means that the standard video adapter drivers are not installed for your device.
To install them, you need to select a standard video adapter in the list and open the “Properties” item, and in the “Driver” tab click on “Update”. In the window that opens, select “Automatic search”.

Important! During this procedure, the laptop must be connected to the Internet.
After downloading, the device must be rebooted and checked the installed driver in the settings - it should be under the name Intel(R) HD Graphics.
How to Correct Colors Using Monitor Features
There are two ways to adjust the color gamut of the display using the monitor functions:
- Through “Start” go to “Control Panel”, select “Display”. Then in “Brightness Settings” set the brightness level you need.

- On the desktop, right-click and select “Graphics characteristics”. In the Intel(R) window that opens, select “Display” and adjust the screen color settings: brightness, contrast, saturation, etc.
Adjusting color on a laptop using Windows
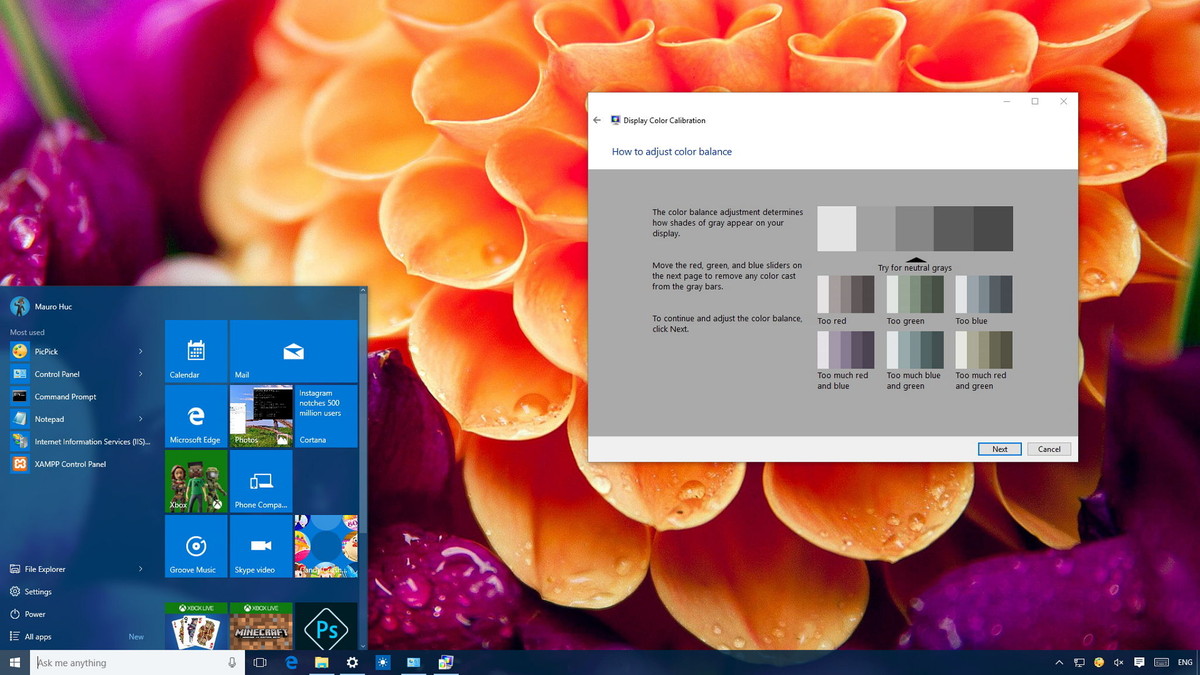
The easiest way to adjust color on a laptop using Windows is calibration. To do this, select “Control Panel” from “Start”. Then, under “Color Management,” select “Details” and “Calibrate Screen.” Then follow the suggested requests.
Important! When setting the color scheme, you will be listed with acceptable values, but you should only select those marked as “Recommended”.
How to customize buttons on a laptop
Any computer equipment has special function keys with which you can turn the touchpad on or off, change the brightness or volume level, etc.
In this case, we are interested in the combination of keys with which you can adjust the color and brightness of the display. But first, we need to check if the drivers for your device's keyboard are installed. To do this, you need to go to “Device Manager” and check the installation of this program. If such drivers are missing, then they can be downloaded from the manufacturer’s official website and installed after checking them with an antivirus program. Then you should reboot this device.
After fulfilling the above conditions, check the functionality of the keyboard.For example, to increase or decrease the brightness of the display, hold down the Fn keys + the brightness key.
Attention! If you have a disk with drivers for the keyboard and touchpad, then insert it into the drive and install them.
Adjusting Color Using Apps
There are many programs with which you can adjust the color of the display: Adobe Gamma, Corel Draw, Ati Catalist Control Center and others.
Let's look at setting the color gamut of a laptop screen using the Adobe Gamma application.

To get started, first of all you need to find the program on the Internet and download it to your existing device. Then you need to change the existing screensaver on your desktop to a gray background. To do this, you need to go to the “Personalization” section by right-clicking on the desktop, and then in the “Desktop background” item select “Image location”, “Solid colors”.
After launching this program, you need to select “Settings Wizard” and “Profile Color”.
Important! It is recommended to leave the profile color as default.
Then click “Next” and in the “Contrast” item set the value to maximum. Adjust “Brightness” so that the tone of the black inner square is different from the tone of the outer one.
Next you need to configure gamma correction - it is called WindowsDefault. In the field on the right you need to enter its value - 2.2 (optimal) and uncheck the View Single Gamma Only parameter. Then use the mouse to make all three squares have the same color as their background.
At the final stage, you will need to set the color temperature value - in the field that appears, enter the value 6500 K.When everything is set up, you can compare the result with the original one.
After closing the application, the desktop screensaver can be changed to any picture.


