How to set up a camera on a laptop
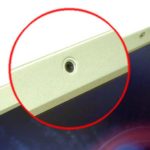
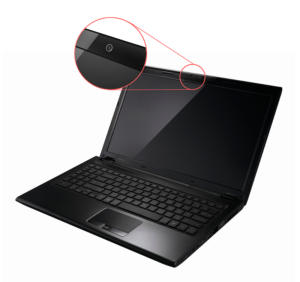 Most laptop models are equipped with built-in webcams. With their help, it is convenient to communicate on the Internet and take photographs. It happens that the equipment is not configured properly - this manifests itself in the absence of a picture or its poor quality. The question arises: “How to set it up?”
The content of the article
Connecting a camera on a laptop
If your PC has Windows 7 or 8 installed, simply turning on the webcam may be sufficient. Follow the following instructions:
- Go to Control Panel and go to Task Manager. Find the Hardware and Sound section.

- In the list of installed devices, find a tab called “Image Processing Devices”. It is usually located at the very bottom of the list. If it is missing, it means that a webcam is not installed on your computer.
- If you find a tab, click on it. A line with the device name will open. Click on it with the right mouse button.
- In the window that appears, you can see the current state of the camera, turn it on, and update the drivers.
For computers with Windows 10 installed, do the following:
- Open the Start menu.
- Tap All Apps.
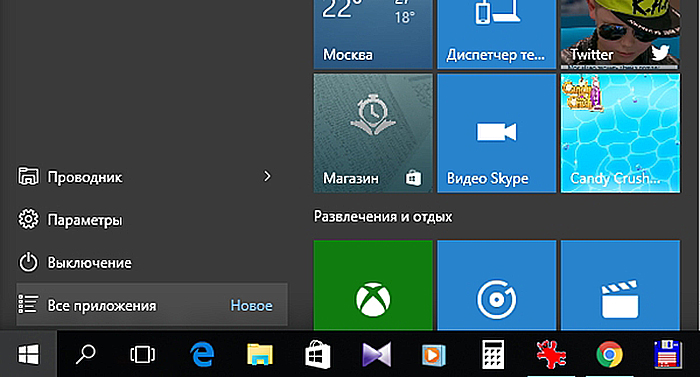
- Find the Camera service and move the slider to On.
- The equipment should turn on and the corresponding image will appear on the screen.
Attention! The activation methods may vary depending on the laptop model.For example, Lenovo and Asus provide the ability to turn on via hot buttons.
Setting up a camera on a laptop
It happens that the camera is turned on and working properly, but the picture is blurry, the colors do not correspond to reality, etc. In this case, adjustment is necessary. It is performed using special programs. They usually come packaged with device drivers. The programs make it possible to change the brightness, contrast, and clarity of the picture:
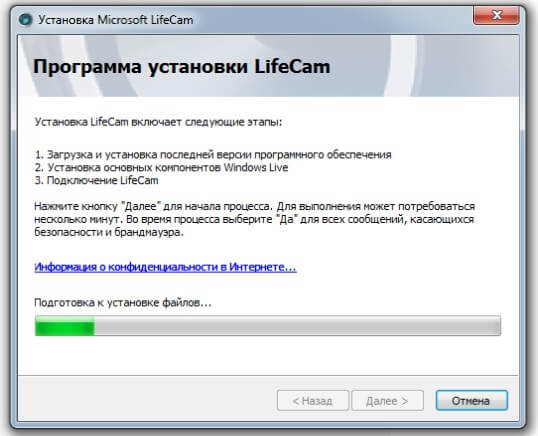
- Launch your image management software. For Microsoft devices, this is the LifeCam program. If the application is not installed, download it from the manufacturer's official website and install it.
- Find the Settings or Options section. There are options for settings to change the image quality.
- Use the on-screen sliders to adjust the settings to your liking.
- Save your changes.
You can change settings in Skype:
- Go to “Program Settings”.
- Click on "Video Settings".
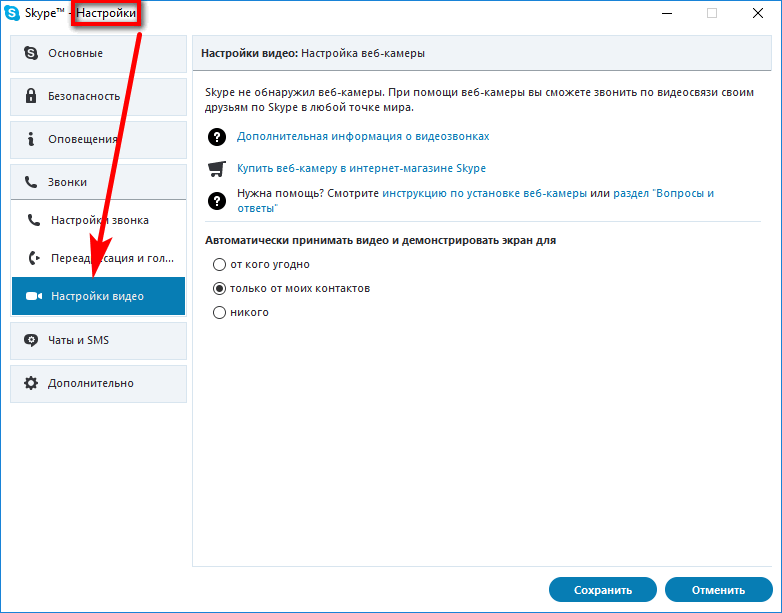
- Find the "Webcam Settings" tab. Adjust the image by moving the sliders to the settings that suit you.
- Click the "Save" button.
Important! When downloading third-party utilities for adjusting images and videos, do not forget to check them with an antivirus.
How to check the connection if the webcam is not working
If there is a camera on the laptop, but you cannot turn it on, you need to determine what the problem is - its malfunction or the settings. To do this, you need to check the device.
Pay attention to the wires and connectors - are they all connected? Try pulling out the wires and putting them back into the connectors. This applies to external equipment.
To check the camera built into the PC, special programs are required. This is usually done using special sites.Once you get there and click on the “Allow” button, you will see yourself on the screen.
Another way to check is to contact the device manager:
- Go to “Control Panel” – “Device Manager”.
- Find the “Image Processing Installation” column at the bottom.
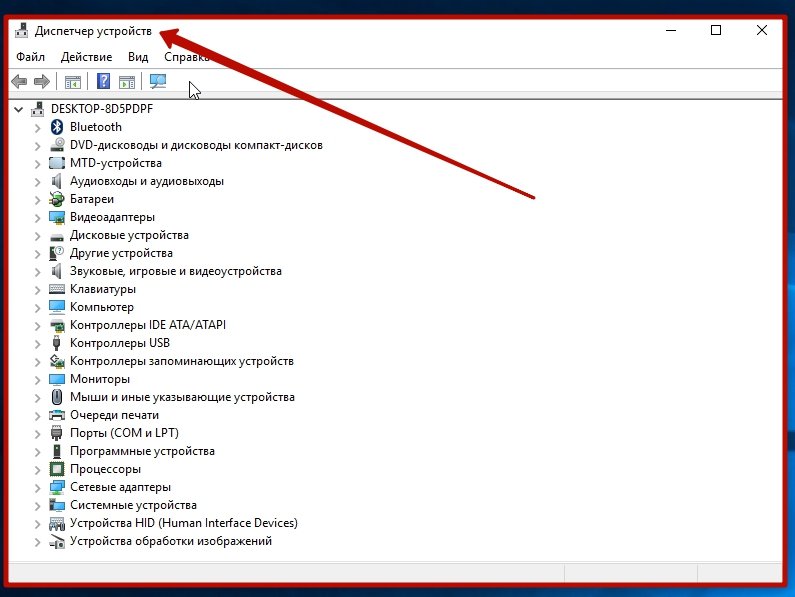
- See if your webcam is displayed there, as well as its name.
Reference! If the computer sees the equipment, but the model name is missing, or a yellow triangle with an exclamation mark is visible on the device, you need to update the drivers. This can be done via the Internet or using the installation disk included with the laptop.
Sometimes the webcam on a computer does not work because it is disabled in the BIOS settings. To correct the situation, you need to reboot the system. During a new boot, press F9 (depending on the OS version and PC model, this could be F1, F2, etc.). Going to the BIOS settings, find the Advanced item, then Onboard Device Configuration and Onboard Camera. Change the value from Disabled to Enabled. Continue booting your laptop.
If all else fails, you will have to take the laptop to a service center for diagnostics.