What to do if you spill water on your laptop
 A modern person spends most of his time at the computer - working or spending leisure time. There are situations when users, due to lack of free time, consume food and drinks while sitting at a laptop. This may lead to a situation where the device is flooded with some kind of liquid. What to do in this case?
The content of the article
First steps if you spill water on your laptop
If you spill liquid on your laptop, you must immediately perform the following steps:
- Disconnect the device from the network and remove the battery or use the emergency shutdown: hold down the power button for a few seconds;
- remove from all ports and connectors the devices that were currently connected to the computer;
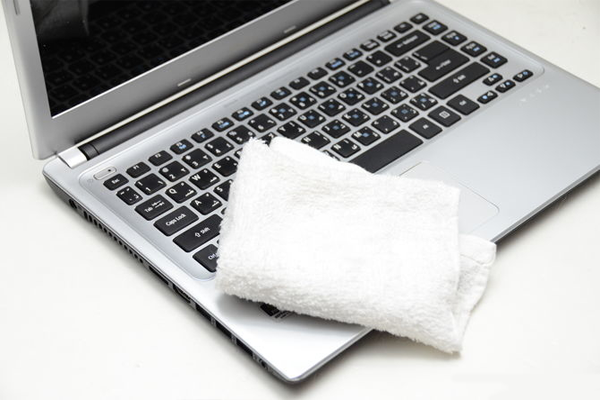
- remove all liquid from the surface of the laptop with a napkin, and then turn it over with the keyboard down and allow the remaining water to drain;
Important! You should not connect your computer device to the network for several hours after it has been exposed to liquid, as this may lead to its complete breakdown.
- contact the service center for specialized assistance.
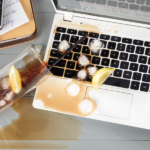
In most cases, the laptop is not flooded with water - coffee, tea or juice gets on it. These substances pose a danger not only at the moment of contact, but also after drying.Penetrating inside the case, these drinks can short-circuit the microcircuits or speed up the process of corrosion of laptop parts.
Preparing for Remediation
In order to eliminate the consequences of a liquid spill on an electronic device, you need to prepare:
- a gadget with Internet access, with the help of which we can find out answers to questions that interest us;
- desk;
- napkins;
- ethanol;
- toothpicks;
- a toothbrush with soft bristles;
- distilled water for cleaning electronic components;
- a Phillips screwdriver and a hard plastic spatula to disassemble the laptop;
- 2 containers (large and small) - one container will be needed for water, and the second to put all the screws in it.
Laptop disassembly sequence
First of all, we will use the Internet to find out how to properly disassemble a certain model of electronic device. Then we unscrew all the existing fasteners, and carefully pick up the slides for the additional hard drive and take them out to the side.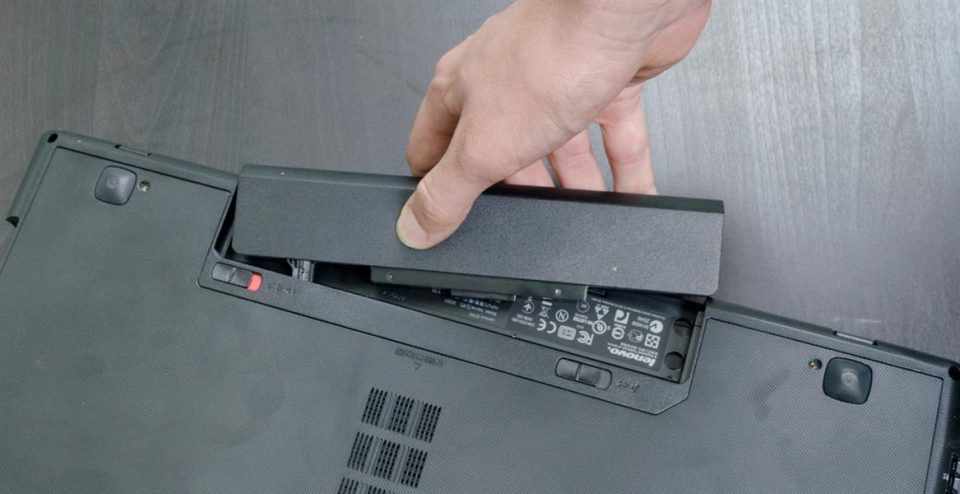
Attention! If during disassembly something does not work out, then you should not make any efforts, as this may harm the integrity of the appearance of the computer.
We remove the cover and remove the hard drive, motherboard battery, RAM stick (by slightly bending the spring-loaded latches at the edges) and the Wi-Fi module. Then unscrew the keyboard and all the screws on the case.
Important! The keyboard can be unscrewed in several ways: unscrew three screws and move it to the side, move the latches that are located in a circle and bend the latch.
After that, we insert a spatula into the gap between the halves of the body and begin to push them apart.When everything is done, insert a toothpick into the separated area so that they do not close together. We disconnect all the cables and unscrew the screws, pull out the motherboard and all the parts adjacent to it. Next, remove the connector of the cable going to the monitor, unscrew the hinges of the cover and disconnect the frame around the display.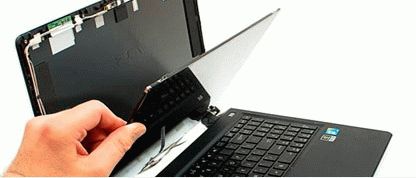
Cleaning your laptop
After the laptop is disassembled, we move on to cleaning the device. We carefully inspect every detail, remove all sticky drops or stains using a napkin soaked in ethyl alcohol. If the parts have a textured surface, then it is better to use a toothbrush dipped in alcohol.
Attention! To see traces of liquid ingress, you can shine a flashlight on the surface of the parts at an acute angle.
If you find that there is too much liquid, then first you should rinse all the parts in distilled water, and only then wipe with alcohol.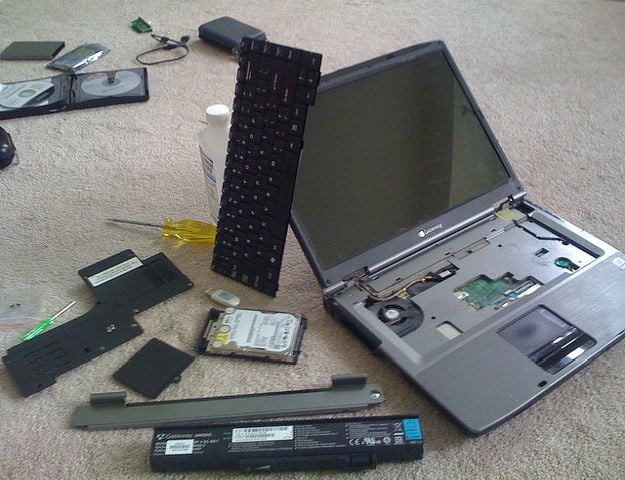
Important! When wiping parts with a toothbrush, this should be done with light movements, without the use of physical force.
The keyboard should be completely wet, but this is unlikely to help clean it of all dirt.
After all the parts have been wiped and cleaned, they need to be dried with a hairdryer.
Assembling a laptop
When the laptop is cleaned of dirt, it is necessary to reassemble it, performing all disassembly procedures in the reverse order. First of all, you need to sort all the fasteners by size and type, then correctly lay the cable and all the wires.
Do not rush to screw the case on right away; it is better to first try to turn on this device and check its functionality. If something goes wrong, then you need to disassemble the laptop again and reassemble everything.
When turning on an electronic device, do not forget to check the functionality of Wi-Fi and battery charging.