DIY headphone amplifier
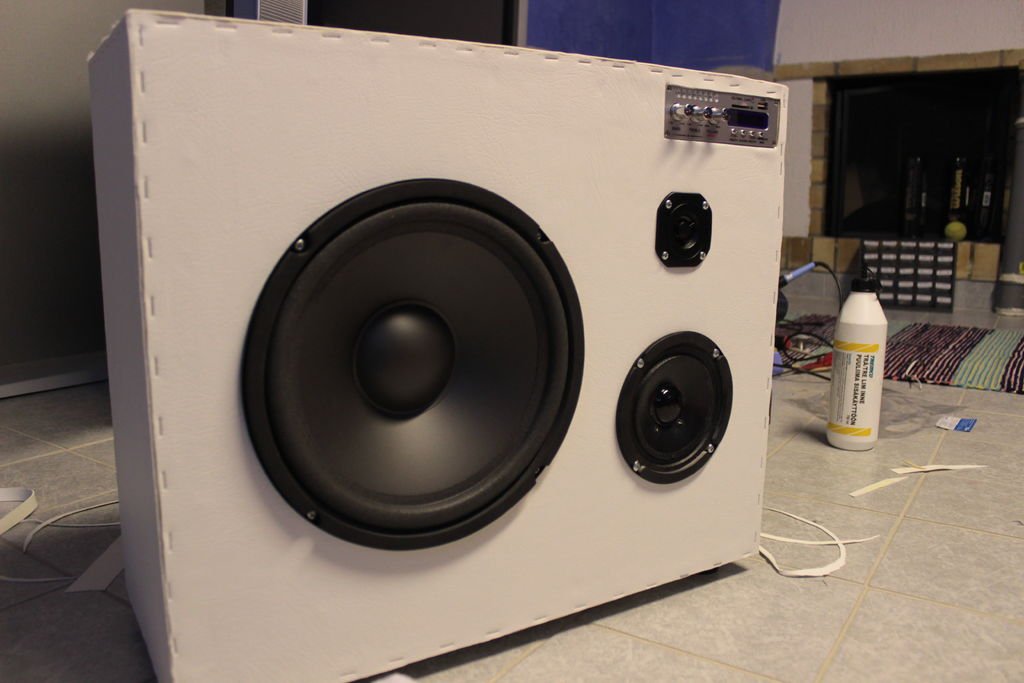 Situations often occur when headphone speakers are not able to correctly reproduce your favorite music. The situation is quite common. This is most often encountered by lovers of classical chamber music. This genre, due to its age, was recorded on old records, which are quite difficult to digitize. This is why such recordings sound the worst. The method listed below is suitable for both beginners in radio electronics and people who have never encountered a soldering iron and rosin. Despite the fact that the product is very simple, the sound quality can be compared with high-quality Chinese devices.
The content of the article
Amplifier benefits
The advantages stand out:
- The ability to hear the full potential of the device;
- If the amplifier was assembled correctly, most likely there will be no problems with operation;
- Cheap cost of assembling the device;
If these advantages really seem interesting, and the need for an amplifier prompts self-assembly, you can assemble the device yourself.
What materials and tools will be needed
In order to assemble this device, it is enough to make do with a number of small radio components, which, if desired, can be found in any old tape recorder or other equipment.
- It is best to initially purchase dip 8 chips.They will also need panels.
- It is better to purchase 0.25W resistors.
- Capacitors must correspond to a voltage of 35V or more.
- If you plan to install an LED, it is best to purchase a holder in advance.
- You will also need additional tinning tools.
- Pay.
- Soldering and marking tools.
- Iron.
- Connectors.
First of all, you need to put forward the requirements that are imposed on the product being manufactured. According to most experts, an amplifier should have the following characteristics:
- Produce stereo quality audio recordings.
- Have a connection to external power so you don’t have to spend money on spare batteries.
- Have small dimensions.
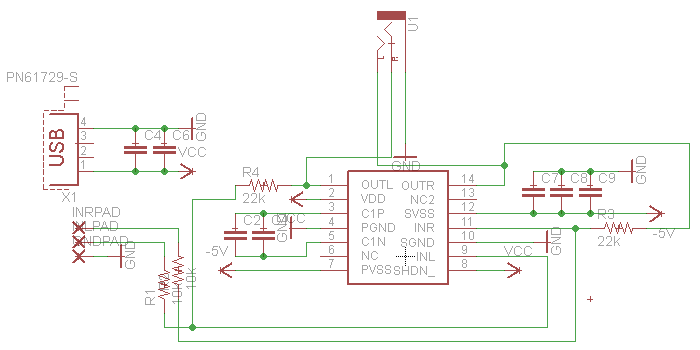
To combine quality and planned dimensions in a small format, it is best to use CMoy Pocket Amplifier. There are a large number of reviews and convenient circuits that can be used for this amplifier in the public domain.
Attention! It is worth understanding that this board is useful only when you plan to listen to music and audiobooks at home. Higher quality equipment requires more serious sound amplification.
Nuances and important points before work
To prevent the work from going downhill, you must first make the board. As everyone knows, it is quite easily made using the following materials:
- Textolite.
- Hacksaw.
- A printer.
- Glossy paper.
- Old iron.
- Sandpaper.
- Acetone.
- A rag.
- Chlorinated iron.
- The container where the etching will take place.
If the worker does not have experience in etching, it is best to turn to video resources that will clearly show you how to carry out this work correctly.Well, for those who know how to etch, it is recommended to strengthen their knowledge with step-by-step instructions.
- Initially, you should cut out the necessary shape for the future device from the PCB. Edges that will look uneven should be processed with a file.
- After this, we process the textolite using sandpaper to erase the copper layer. Next, rinse our board with a soap solution.
- Next, you need to print out the layout of the future amplifier board on a piece of glossy paper.
- Place a piece of white paper on the printed image of the board. It should be remembered that there must be textolite under the gloss.
- We run a hot iron over this “sandwich” until the sheet of paper begins to turn yellow.
- We press the PCB with a piece of paper with something heavy.
- After this, lower the textolite into a container with boiling water. Storage time should not exceed 10 minutes.
- Once the water has cooled, remove the paper under the tap.
- If the image turns out fuzzy and bad, wash everything off with acetone and repeat all the steps with transferring the pattern.
After the image of the board has been transferred to PCB, it is necessary to dissolve ferric chloride in water. To do this, you should refer to safety precautions. There is no need to fill chlorine with iron. It is best to place the powder in water. In terms of color, the solution should range from black to brown.
Important! When copper sediment falls out, you need to remove the board from the water and rinse it with water or acetone. The entire surface should be thoroughly treated. If the drawing comes out clear and not blurry, the preparation for soldering was successful. If not, you need to be patient and repeat all the steps.
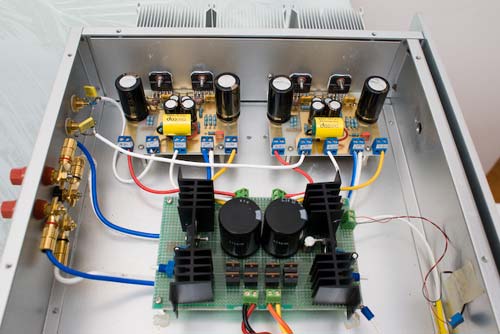
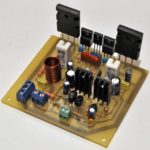
DIY speaker amplifier: step by step
After the board layout is ready, you need to make holes in the PCB. This can be done using a simple drill with a very narrow diameter.
When all the necessary holes have been drilled, it is better to start by tinning the part. The tinning process is quite easy and entertaining. If you have no experience in this activity, you should turn to more knowledgeable specialists.
First of all, we start soldering the resistors. They are installed to reduce background noise. Of course, you can do without them, but the quality may suffer.
After this, we install all the inputs and outputs of the amplifier, and solder the LED. We install the chip together with the panel.
Finally, you can install the capacitors.
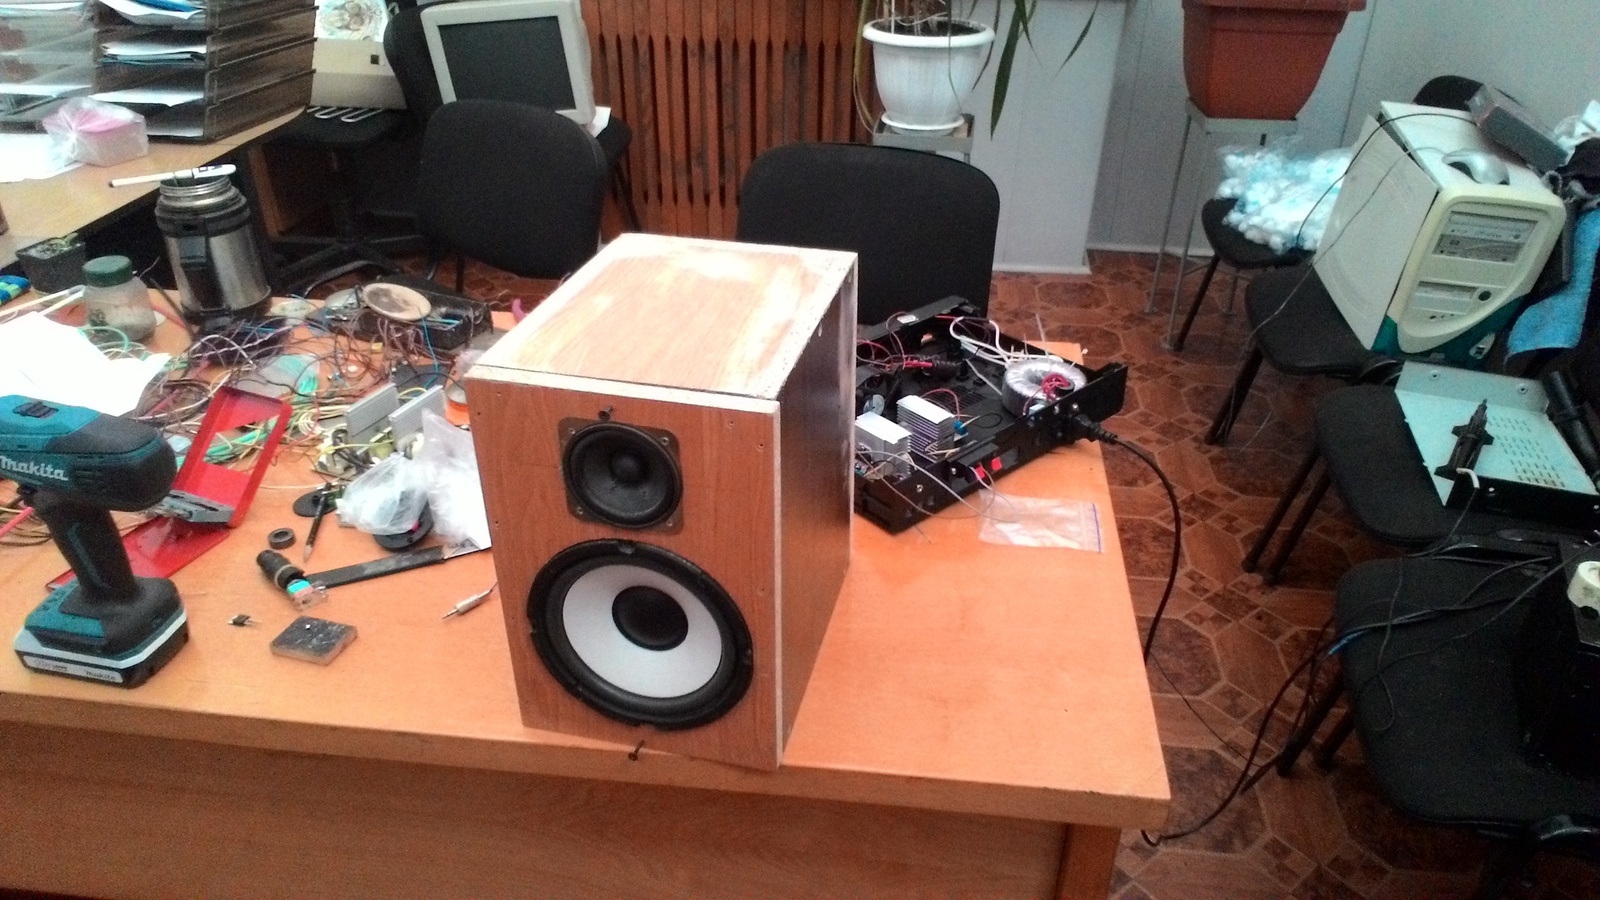
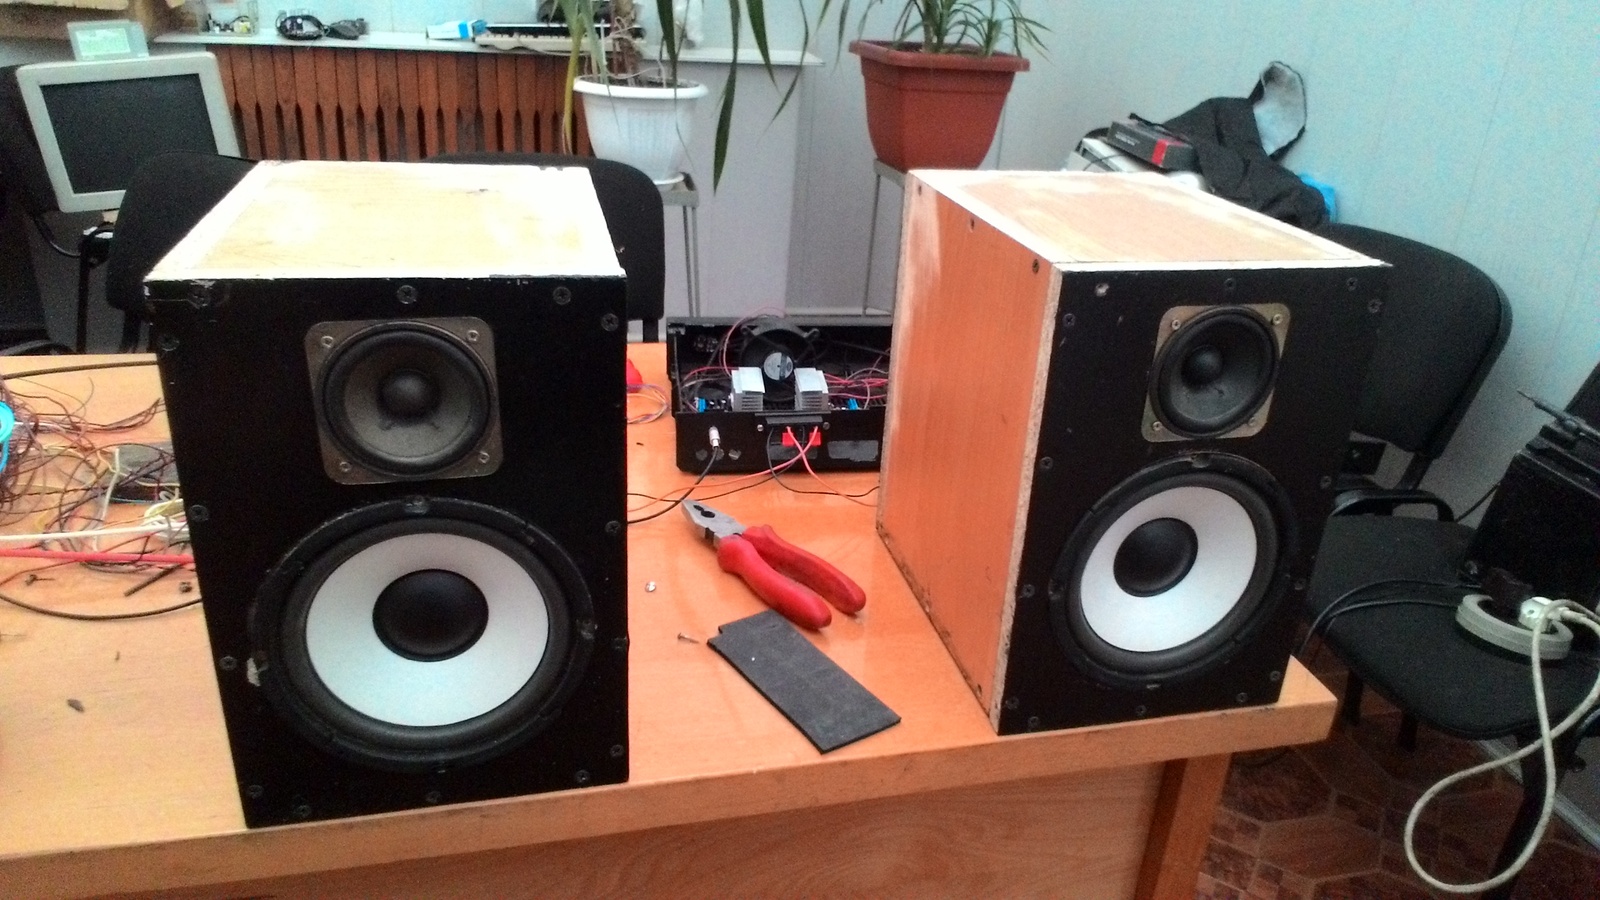
Attention! When the entire process outlined in the diagram is completed, you need to somehow isolate the entire device. It is better to use special plastic containers. Miniature fishing cases are perfect for such purposes.
If the work was successful, you should test it by connecting to your favorite tracks or audiobooks. Making an amplifier yourself is not difficult.


It seems that the article was written by a novice radio amateur, and, moreover, not entirely literate in terms of language.