How to remove ear pads from headphones
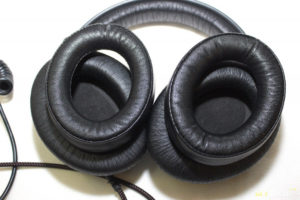 Everyone knows such an element of headphones as ear pads. All models have them and are special silicone tips for comfortable putting on and ease of listening to music. Compared to previous versions made of a solid plastic body, the silicone coating fills the ear shell much more pleasantly and provides soft contact with the skin without damaging it. Various versions have been created, differing in shape, size and material.
Unfortunately, purchased headsets are not always equipped with exactly the ear pads that will fit comfortably in the buyer’s ears. In this case, they should be replaced, which is not always possible due to the complexity of the design of some types of headsets. In our article we will look at ways to remove and replace them if necessary.
The content of the article
How to remove ear pads from in-ear headphones
Since the most popular version of the headset is the in-ear model (also called “droplets”), we will consider it first and show you how to remove the attachments from it. In order to do everything quickly and correctly, we recommend that you follow all the steps according to the instructions:
- First, unfold the outer part, opening the petals outward. Only the core will remain on the headphone body.
- After the petals are removed, you can begin to remove the embouchure.
- Gently grab the central part with two fingers and begin to pull it together.
- For convenience, you can try to slightly twist the nozzle, trying to remove it.
- Gradually you will succeed. Now do the same with the second earphone.
- At the end, return the petals to their original place, turning them towards the center.
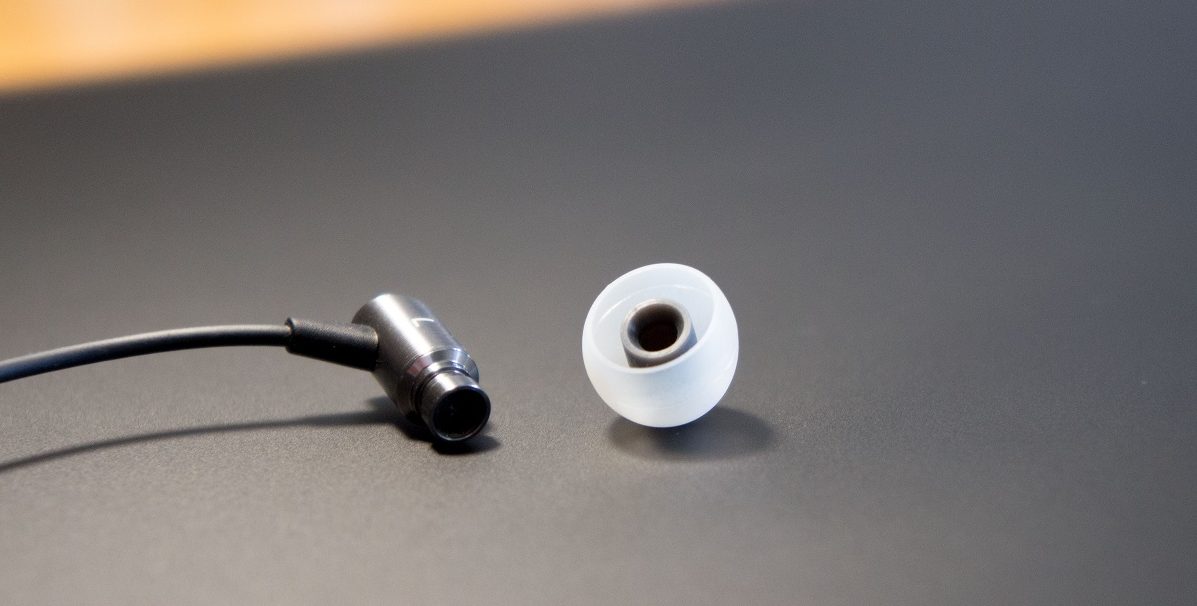
IMPORTANT! Do not suddenly remove the nozzle and try to rip it off, as this may damage the surface or tear the ear pads. It is also not recommended to pull on the outer petals, as they are quite soft and prone to deformation.
How to remove and put on ear pads from on-ear headphones
Next we will look at the version of overhead headsets. Their main difference is that, as the name implies, they wrap around the ear from the outside and are not inserted inside the ear canal. Accordingly, special coatings will be applied on top of them, which we need to remove. This is not difficult to do, but everything must also be done slowly and carefully so as not to damage the covering and mechanisms of the headphones:
- Examine the headset and try to understand how the ear pads are attached to it. Classic versions use an elastic band that tightens the base or special latches.
- In the case of latches, you first need to carefully disconnect one of them, bending it slightly. This can be done using a card or a toothpick.
- After this, bend the ear pad slightly in the opposite direction and disconnect the remaining latches.
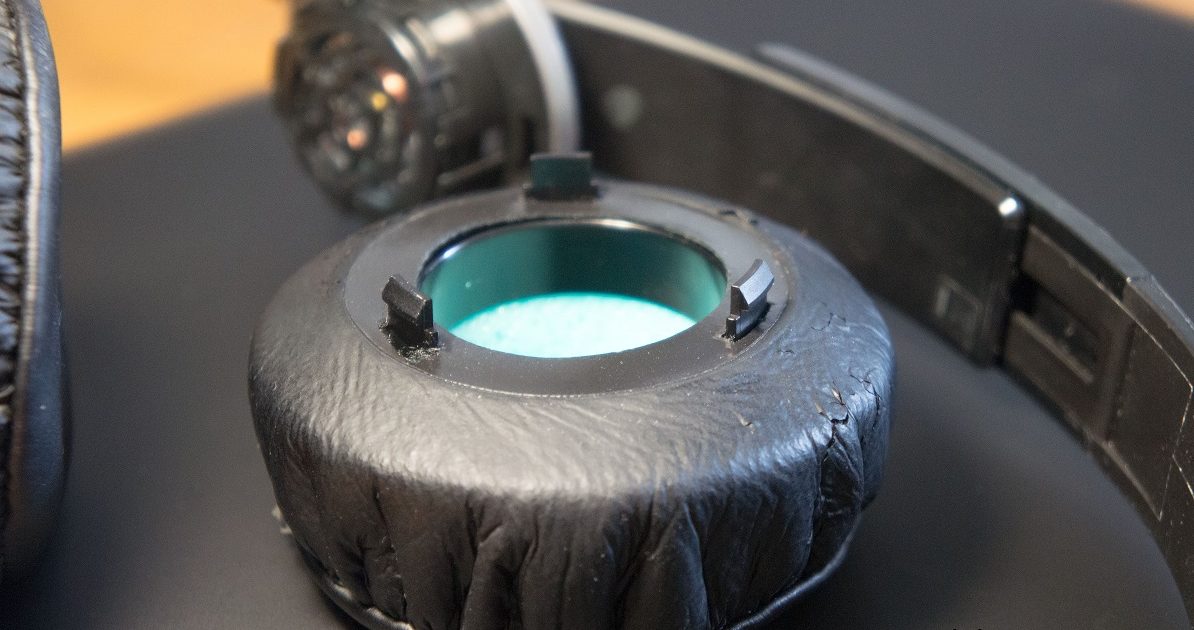
If you need to put the cover back on, just press it against the headphone body and apply light pressure. It is important to follow two rules: align the fasteners with the holes and do not press too hard so as not to break them.
How to change ear pads on full-size headphones
Full-size headphone models, unlike on-ear headphones, are much larger in size, completely cover the ear and create a barrier to external noise. This creates the best conditions for high-quality sound.
For full-size versions, the disassembly principle is practically no different from the overhead versions. But depending on the model and version of the device, there may be significant differences in their mounting. In order not to repeat ourselves, we will consider the option when the ear pad is attached using a special plastic ring.
To replace you will need to do the following:
- Find the ring by running your fingers around the entire perimeter of the earphone.
- Pull the ear pad slightly to one side and at the same time begin to carefully pull it off the body. The idea is to remove the ring from one latch. If at least one is revealed, then all the others will easily move away.
- After this, smoothly remove the attachment from the remaining latches.
- To install, just attach the ear pad to the body and get into all the holes at the same time, and then press lightly until you hear a characteristic click.
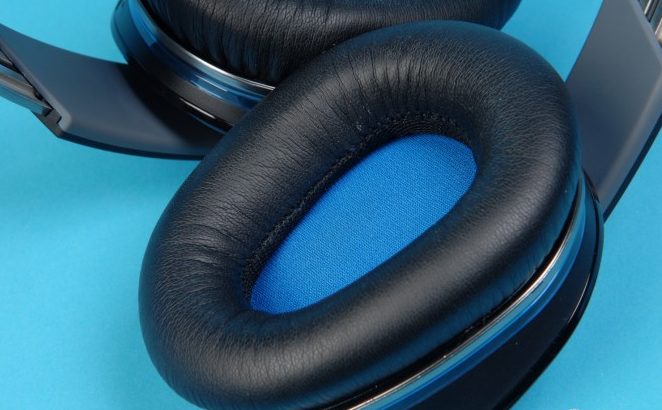
When connected correctly, the nozzle should stay level and tight, and not move out of place.

