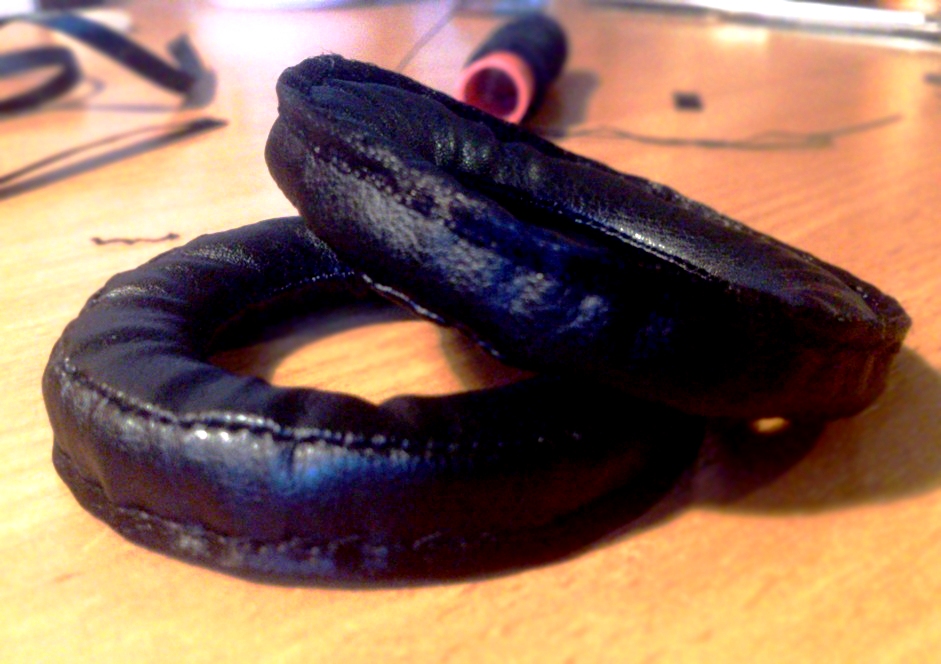
DIY ear pads for headphones
For high-quality music sound, ear pads are used in the headphones. This device allows you to protect the device from extraneous noise.
The content of the article
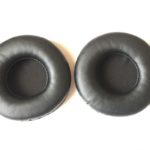
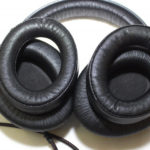
Headphone ear pads
During use, ear pads quickly lose their original, factory appearance: they are worn out and torn. They are not easy to find on sale, so it is easier to make your own protective attachments that will highlight your unique taste and style.
Material selection
If the factory version of the ear pads was made of foam rubber, then it is recommended to use a similar material as a filler.
Helpful information! To ensure that new pads last a long time, choose foam rubber with a dense structure.
Knitted ear pads look unusual. For craftswomen, crocheting such devices will not be difficult. It is recommended to use cotton or acrylic threads for knitted attachments.
A simple item used to repair ear pads is wide terry hair ties. They serve as protective tips for a long time and do not slip off the headphones.
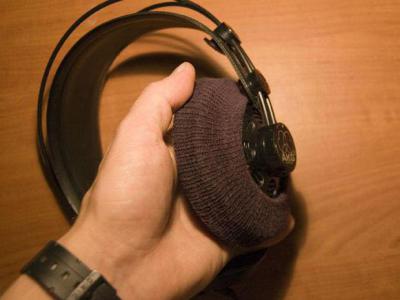
If you don't know how to crochet, buy knitted socks. The elastic from them is perfect for ear pads. It is better to use new, unstretched socks with thick yarn.
Knitted products can be replaced with knitted or velor ones. Such fabrics are pleasant to the touch and do not cause irritation.
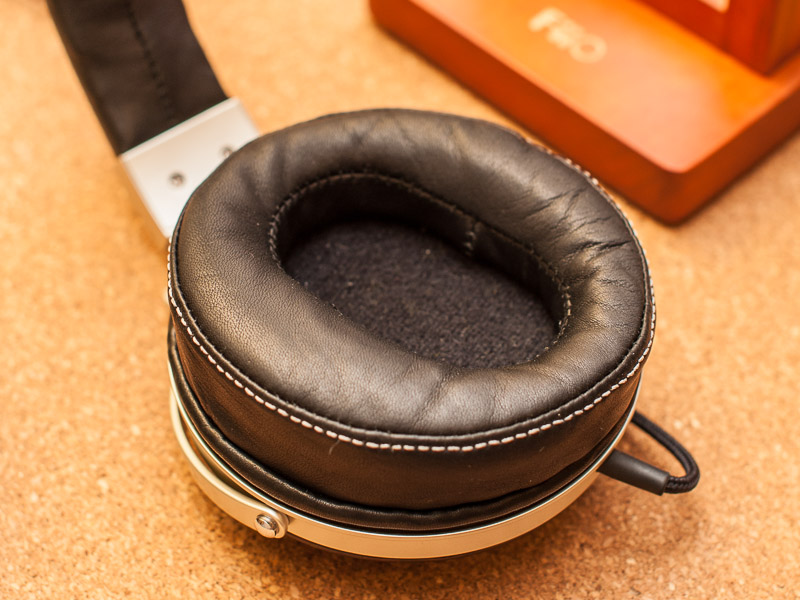
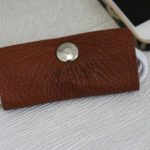
If the ear pads were originally made of leather, the replacement material is taken as similar as possible to the original.
Advice! To ensure that new attachments last a long time, choose good quality leather. Savings in this case are inappropriate.
Leatherette nozzles are hard to the touch and isolate extraneous sounds worse than their natural counterparts.
Depending on the density of the selected leather, foam rubber is selected. If the material is thin, then it is advisable to use a hard polyurethane filler. For thick leather fabric, on the contrary, it is recommended to use more airy foam.
If vacuum headphones are torn, you can easily repair them yourself. For this you will need regular earplugs.
How to take measurements
Use a ruler to determine the diameter of the headphones. Then use a compass to draw a pattern on the cardboard.
Helpful information! For the large and small circles, leave a margin of approximately 2–3 mm on each edge. If the product is planned to be made of leather, it is recommended to make larger allowances (about 4–5 mm).
Cut out the resulting cardboard template. Using chalk, transfer it to the back of the fabric. The result should be 4 rings (2 for each ear pad).
DIY ear pads for headphones: step by step
Before you start creating original, stylish attachments, you should have the following items at the ready:
- Textile.
- Foam rubber. Can be used from old nozzles.
- Thread, needle.
Attention! A dish sponge is not suitable for this purpose, as it does not allow enough air to pass through.
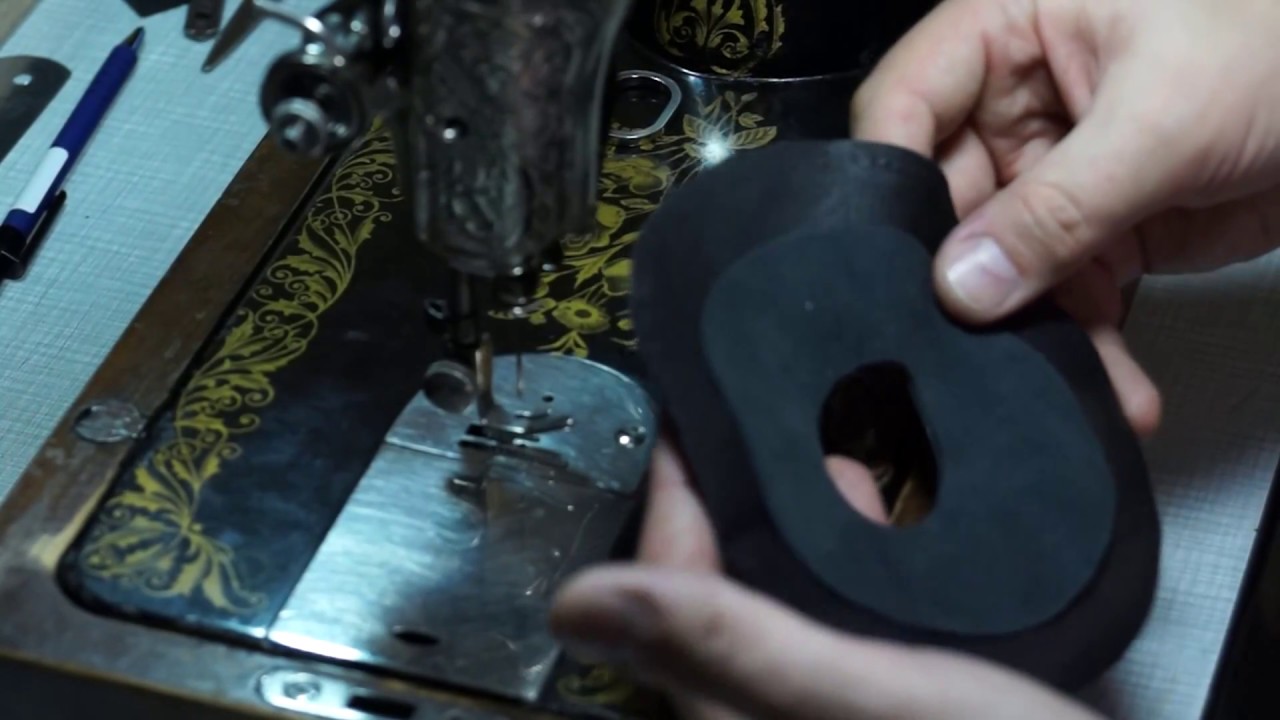
If you have a sewing machine at home, the sewing process is greatly simplified and speeded up.
The step-by-step instructions are as follows:
- The rings are shifted together with the wrong side out. Advice! To make sewing easier, secure them with tape or a clothespin.
- Sew on a ring with a smaller diameter first. The stitches should be small so that there are no gaps on the front side. If you own a sewing machine, use it.
- If you step back a little more from the edge than expected, that's okay. Just carefully cut off the excess, so the workpiece will be easier to turn out.
- To give the ear pads volume, you need to cut a strip of fabric. Its width is determined by the thickness of the future product. Here you also need to make a margin of a few mm (up to 5). The length of the strip is approximately 25 cm.
- Next, the strip is sewn along the edge of one ring. You need to leave an allowance of about 1 cm.
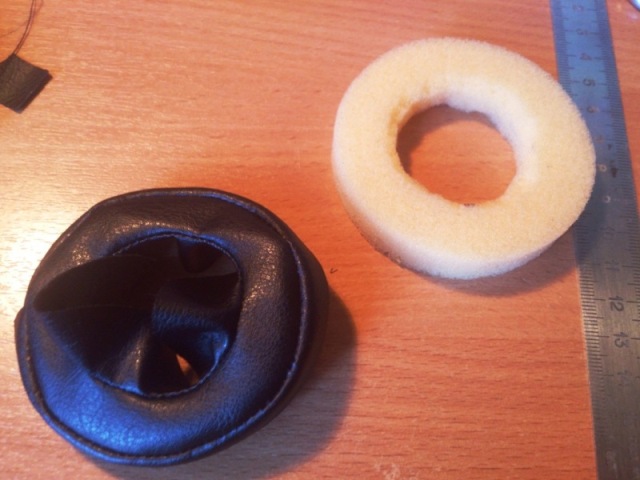
- The next step is inserting foam rubber. Carefully thread the fabric blank into the polyurethane foam ring. The thickness of the foam rubber should be the same as that of the planned ear pad.
- The final seam will be on the outside. When connecting the strip to the second ring, do not touch the foam rubber.
- After the ring is sewn in a circle, you need to wrinkle the resulting embouchure. This simple technique allows you to evenly distribute the foam rubber over the stitched structure.
To give the edges a neat look, they can be trimmed with decorative tape.
Attention! If the headphones are equipped with a side, then you first need to sew an additional ring to the ear pads. It will be used to attach the sewn product to the music headset. Only after this the structure is sheathed with decorative tape.
Similar manipulations are performed with the second ring. The final stage of the life hack is attaching homemade pads to the headphones. For these purposes, you can use double-sided tape. For better adhesion of the attachments to the headset body, use liquid glue.
We conclude: making ear pads with your own hands is not difficult. If you have free time, you can create an original stylish thing that will allow you to comfortably listen to your favorite musical compositions.