How to connect a flash drive to a music center
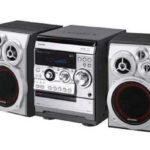
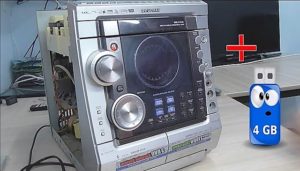 Many people have old stereos in their homes. Often they are in working condition, but you don’t turn them on because there are no cassettes or disks anymore, and older models don’t have USB. It’s a shame to throw it away, and there’s no point in storing it. The center comes to life if you connect a USB connector. A flash drive is inserted into such a port.
The content of the article
What to use to connect a flash drive
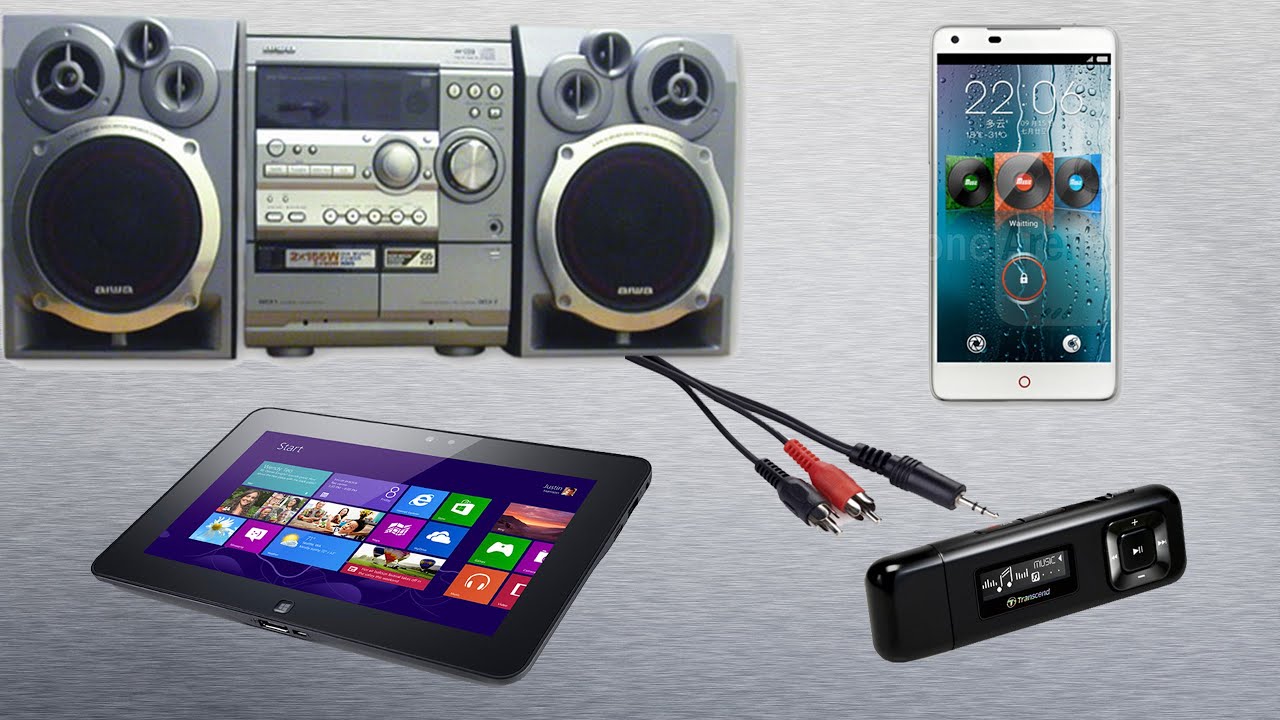
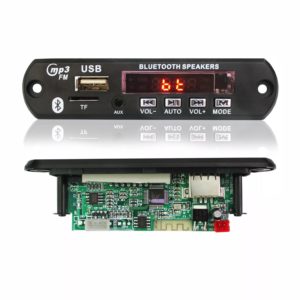 To do this, you will need a special device - a USB-MP3 module. This is a microcircuit slightly larger than a lighter with a plastic case and control buttons. Operates with a voltage of 5–20 V. The kit includes:
- USB connector;
- Voltage regulator;
- CPU;
- display and control buttons;
- remote controller;
- wires for connection.
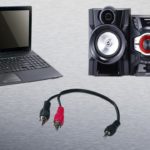
Using wires, the device is connected to speakers, a battery pack and a sound amplifier.
Reference. Since the module already has a built-in processor, the device reproduces the sound itself. The music center works as an amplifier.
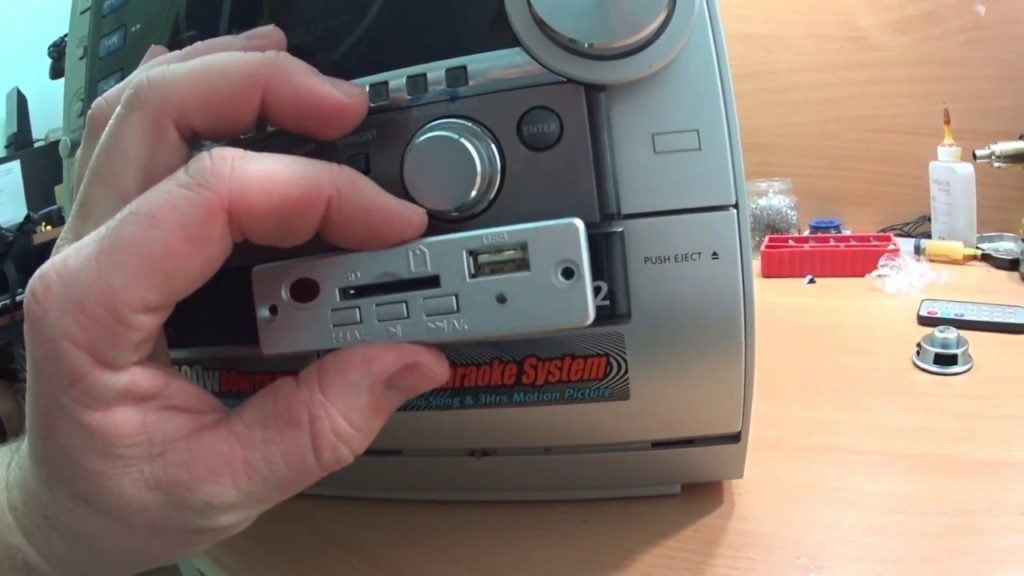
How to install the module
First, find a place to install the device. The cassette player deck and CD changer connector are suitable for this. You can independently make a hole in the desired place on the body of the music center. The length of the cable depends on where the device is located.
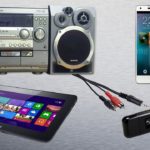
There are 5 wires connected to the device:
- 3 of them are sound output: right, left and center.
- The other 2 are power wires.
The wires are connected directly to the music center board. The audio output is connected to the AUX connectors.First find the left, right and center AUX contacts on the board.
The power wires are also connected to the power connectors on the music center board. This way the module will start immediately when turned on. To ensure that the module turns on only when switching to AUX mode, find the place on the center board that is responsible for power supply in AUX mode and connect the wire to it.
Important! When connecting the module to the power wires, it is important not to reverse the polarity. The designation written on the device is 5 V. This is the + wire. If connected incorrectly, the voltage stabilizer or the device itself will burn out.
How to make a module yourself
 Despite its availability online and price, it is not necessary to buy this device.
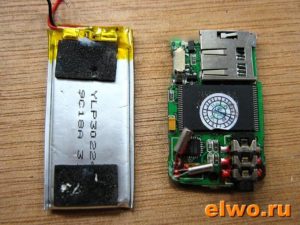
Important! An old MP3 player can replace the module.
Often MP3 players already have USB and SD outputs. They also already have voltage stabilizers installed. When powered from the mains, players operate at a voltage of 5 V. Player boards perform the same functions as modules.
Module manufacturing
- First, make the body. Cardboard is suitable for this. It is easy to cut, but it is also quite tough.
- Now transfer the player control buttons from the board to the case. Remove the buttons, solder a wire to each one, connect it to the board and place it on the case. Such a homemade device cannot be controlled using a remote control.
- When the case is ready, connect the player to the music center. Installs in the same way as a USB-MP3 device. See previous section.
Important! Hot melt adhesive will help to secure the wire tightly at the soldering site.
USB-MP3 adapters are sold on the Internet and in electronics stores from 250 rubles. Cheap models come without a display.More expensive models have a built-in FM receiver, a slot for an SD card, and connectors for other needs. With the help of this device, the music center gets a second life. And you will get music for your dacha, garage or home.
It is better to buy the described MP3-USB module without bluetooth, because these are the modules that work stably and do not overload spontaneously.