Replacing lamps with LEDs in a monitor
 LED display is a screen display technology that uses a panel of LEDs as the light source. Nowadays, a large number of electronic devices, both small and large, use LED display as a screen and as an interaction medium between the user and the system. Modern electronic devices such as mobile phones, TVs, tablets, computer monitors, laptop screens, etc. Replacing the backlight on your monitor is a sought-after device upgrade.
The content of the article
Replacing the backlight
A cold cathode fluorescent lamp is a light source classified as an electronic component. In its simplest sense, a fluorescent lamp is a gas-discharge light source that produces an output signal from a stimulated phosphor coating inside the glass lamp shell. It can be described as a transducer that converts electrical energy into light energy.
The main advantage of an LED monitor is its efficient and low power consumption, which is especially necessary for portable and rechargeable devices such as mobile phones and tablets.
REFERENCE! An LED screen consists of several LED panels, which in turn consist of several LEDs. LEDs have numerous advantages over other light sources that can be used as an alternative.
In addition to saving energy, LEDs produce greater brightness and greater light intensity. LED display is different from vacuum fluorescent display used in some consumer electronics such as car stereos, VCRs, etc., and hence the two should not be confused with each other.
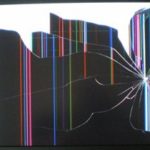
Here are some simple steps on how to replace your burnt out LCD backlight with a new working one to revitalize your LCD. Inevitably, every screen will go dark over time, but the process of getting it back into working order is not very difficult. As long as you are careful, this can be done successfully and without too much drama. As a rule, this is a very cheap repair, usually only about 1000–1500 rubles.
IMPORTANT! First you need to disassemble the monitor case; It depends on whether it is an external monitor or one built into the laptop. But before disassembling the case, turn off the power!
Replacement instructions
Typically, to get inside an external monitor, you simply need to remove all the screws on the back of the display and take it apart. Quite simple. Sometimes it may seem a little more difficult, but not impossible. First, open your laptop and look for all the screws (sometimes they may be hidden under the rubber feet). After you remove the screws, many times you will also need a flat head screwdriver to gradually open the case. Be gentle, but don't be afraid to use a little force. After removing the back of the computer case, disconnect the screen from the converter. Completely detach the screen from the case by removing the remaining screws.
Now comes the interesting part (the part where you have to be the most organized and careful!), Disassembling the LCD display itself.
At this stage, make sure that each element LCD display, which you remove is kept in perfect order so that you can easily reassemble it after replacing the lamp. Taking apart an LCD doesn't really require too much work to get to the lamps, but in many cases you will need to remove several layers of clear sheets that are used to distribute light evenly across the screen.
Locate and remove the screws holding the screen assembly in place. Disassemble the assembly, including any clear sheets in the path of the cold cathode tubes.
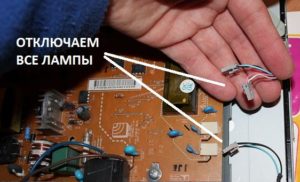
IMPORTANT! At this stage you must be very careful. The lamps contain mercury and are very fragile. This step is not that difficult, just be patient. Do not apply any force when removing, otherwise they will break.
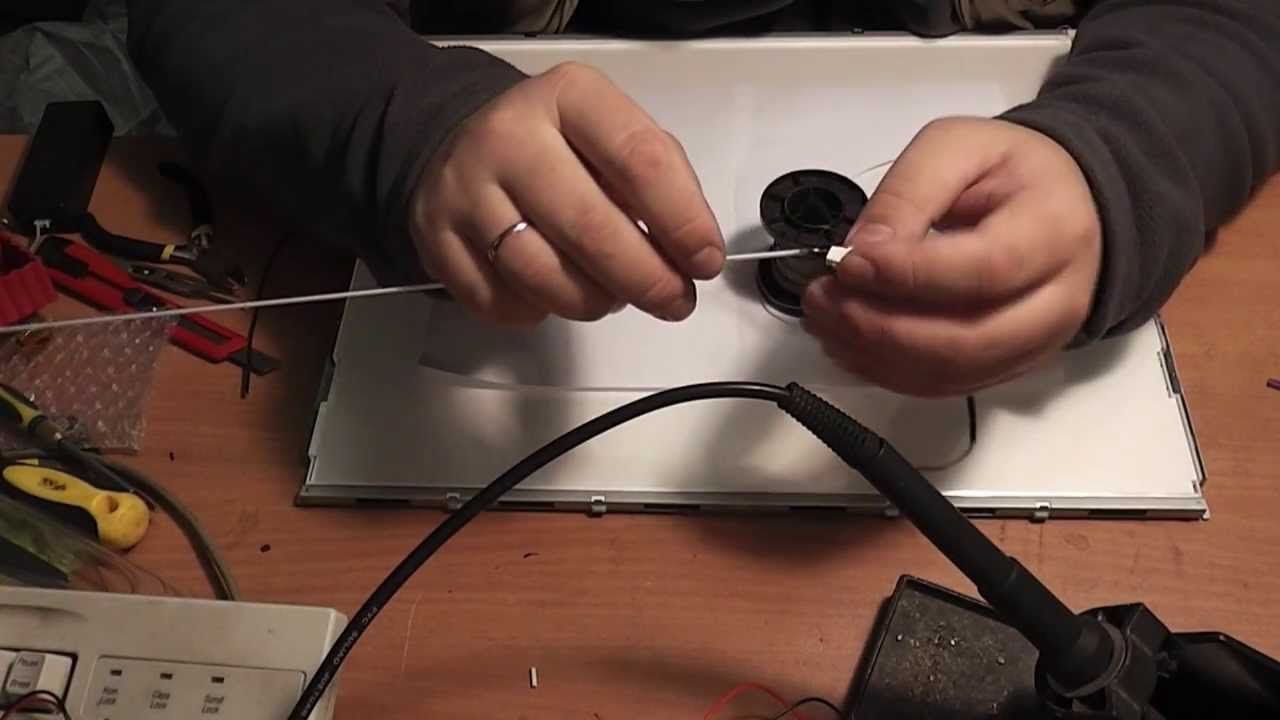 Take the LED strip and insert the lamp exactly where the old tube was. Again, be careful and this step will be easy.
After inserting the LED strip and routing the cables correctly, reassemble the LCD display in the same way as you disassembled it.
Once you have assembled your display, reconnect the inverter and any other cables that may have been connected to the display. Then, before you fully assemble the case, check your display to make sure everything is in order.
NOTE! Be VERY careful with exposed connections and cables, especially the inverter. Touching the wrong part may not only hurt you, but also damage the display
Make sure all your connections are tight and there are no additional screws. Finish assembling the monitor body and you're done!
Materials:
- Spare LED strip
- wires
- insulating tape
Tools:
- soldering iron
- screwdrivers for stripping wires
- soldering
- Small and medium screwdrivers
- LED Strip Light