Monitor won't turn on after cleaning computer
 A personal computer, like any other device, requires regular care and cleaning. This includes wiping the monitor with special wipes, disassembling the keyboard, and, of course, cleaning the system unit from dust. It is the last action that will be discussed in this article, since inept and careless handling of the insides of a computer can have unpleasant consequences.
The content of the article
Cleaning your computer from dust
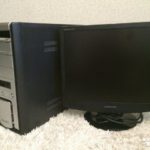
First you need to completely turn off your computer. After it goes out and finishes its work, you need to turn off the network that powers it and turn your attention to the system unit - on the back there is a small “on/off” button, it needs to be turned off. Now you should carefully disconnect all the wires from the sockets (the cable from the monitor is usually screwed with bolts located on the plug) and move the unit to a place with plenty of free space.
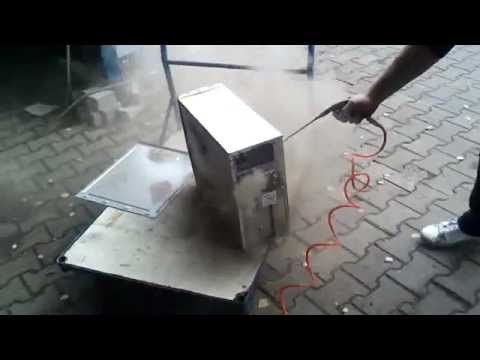
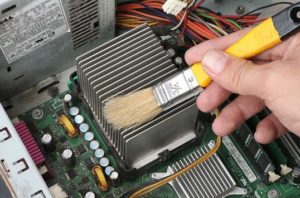
To gain access to the insides of the system unit, you must first unscrew one of its side walls. Inside there is a board with modules and fans installed on it. Direct dust removal is best done with a large brush and a vacuum cleaner at low power.
ATTENTION: When cleaning the system unit, you should never bring a running vacuum cleaner too close to the microcircuits - this may cause mechanical damage to the board or one of the parts. The dust is whipped up with a brush or a strong blow, and then it is sucked out of the air with a vacuum cleaner.
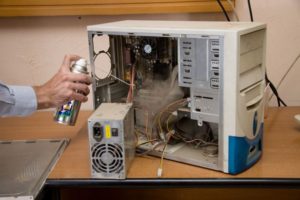
 For more thorough cleaning, you can unscrew/unhook some elements from the board (but only if the user is confident that he can put them back) and blow on them from all sides.
After completely cleaning all parts of the system unit from dust, you need to assemble it and put it in place, repeating all the steps in reverse order - screw the cover, put it in place, connect the wires, move the button to the “on” position, start the computer.
If after this procedure any problems arise with the operation of the system, it means that an error was made in assembling the components of the system unit.
Checking the computer monitor cable
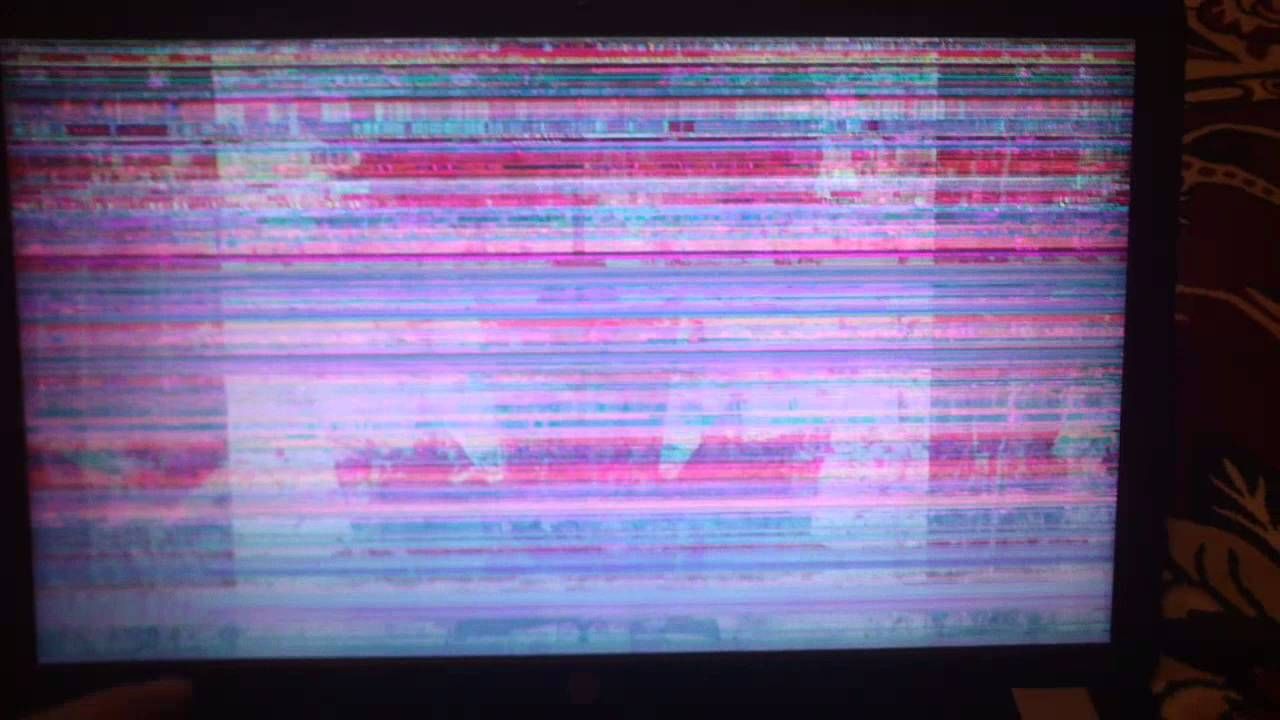
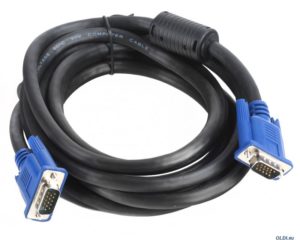
If the monitor does not turn on when you start the computer, but there are operating sounds, the monitor cable may have become unusable. It is he who serves as an intermediary between the video card located on the motherboard and the monitor itself. Such cables are divided into three types:
- VGA is the oldest and simplest type, secured using a trapezoidal protrusion and a pair of bolts. As a rule, forks are blue.
- DVI is a newer type, but very similar to the previous one. The transition from one to another is carried out using an adapter.
- HDMI is a cable for modern monitors. The fork is already smaller in size, and there are no bolts.
 Most modern monitors provide the ability to connect all types of cables, that is, the choice of connection type is only important for quality.To check the functionality of the cable, you can try connecting the system unit to the TV - if it shows, then the problem is in the monitor itself, if not, the cable is to blame.
IMPORTANT! Sometimes the cause of the problem is that the cable is not inserted tightly into the socket of the system unit or monitor.
If the system unit does not show signs of life upon startup, then perhaps its own power cable that connects to the network is to blame. It should be tested on another computer, if possible.
Resetting BIOS Settings
 BIOS is a kind of tool for controlling the operation of a number of functions on a computer. In some situations, its incorrect settings may cause the image not to be displayed on the screen. To restore this function, you will need to reset the BIOS settings.
To do this, you will again need to disassemble the system unit (using the instructions above) and find the coin cell battery located on the motherboard - the circuit on which most of the wire sockets are located. Next to this battery there is the inscription CLR_BIOS and a small jumper located in position 2-3. The jumper must be removed and placed on the adjacent contact so that it is in position 1-2. After ten seconds, return everything to its place - the BIOS has been restarted.
The video card burned out
This option should be considered after all the others, since video cards burn out infrequently, and they do it unnoticed even less often. To check a discrete video card (one that can be replaced without replacing the motherboard), just disconnect it and install another, working one. The discrete video card is removed from the motherboard socket.You can find out that this chip is a video card by looking at the sockets into which the cable from the monitor goes.
 If the video card is built-in, then you will have to borrow a discrete video card from somewhere and install it in your motherboard for testing. Installing a discrete video card does not require any extraordinary effort; you just need to install it in the designated slot on the motherboard. To do this, you need to find a slot suitable for the video card contacts (95% use the same fasteners), bend the fixing plug, and insert it until it clicks, and the plug will knead on its own. The computer itself will determine the required video card.
Problem with drivers and operating system
If, after checking with working parts, the screen still does not want to turn on, then you need to contact the drivers. Incorrectly installed drivers can slow down the system or prevent the computer from working at all. If after startup nothing appears at all, then it is better to take the computer to a service center.
 If, after startup, messages appear on a black screen, but then nothing happens, then you can try to reinstall the drivers. To do this, immediately after launch, you need to press F8 until the action options appear. You need to select “Safe Mode” or “Load Last Known Good Configuration”.
After starting the PC, you need to go to “Start” - “All Programs” - “Accessories” - “System Tools” - “System Restore”. In the window that opens, click “Select point...”. A menu will open where you should select a date at least a day earlier than the moment when the incorrect drivers were installed (when the computer was working normally).This will not affect photos, videos, computer games, etc., it will only affect drivers and system components. After making your choice, all you have to do is wait for the system to recover.
ATTENTION: If none of the solutions to the problem presented here helped, or you simply do not want to tinker with the computer yourself, or there is a fear of breaking something, you need to take the device to a service center. Knowledgeable people work there who will help solve the problem and accurately determine the breakdown.