DIY oscilloscope from a monitor
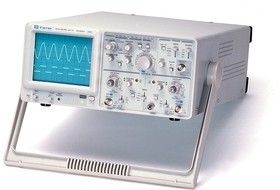 Translated, an oscilloscope means “swinging and writing.” Any technician who repairs radio and electrical equipment will say that this device will be the main one on his desktop.
The device allows you to evaluate the main characteristics: voltage, current, frequency. In addition, it visualizes the information in the form of a graph, which allows you to see any existing irregularities in the signal. For example, this may be the presence of interference or distortion of the signal shape.
The graph is displayed in the form of a coordinate plane on which the X and Y axes are present. All signals that enter the device will be visible on this graph. They look like a familiar algebraic function.
The content of the article
DIY oscilloscope
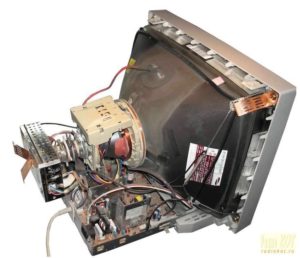
If you have minimal knowledge in electronics, you can make an oscilloscope yourself. For example, you can make it from a computer monitor.
 What you will need:
- Monitor;
- Inverter and resistor;
- Tablet motherboard;
- USB connector;
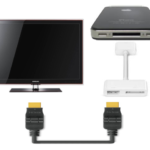
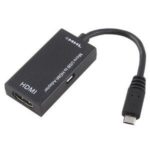
- HDMI cable;
- Wire thickness 0.1 mm2;
- Button;
- Scotch;
Assembly instructions
- The first step is to remove the display cover;
- It is necessary to make a hole in the case into which the button and USB will be installed;
- Existing HDMI connectors need to be desoldered;
- One end of the HDMI cable is soldered to the motherboard in the monitor, the other to the motherboard of the tablet;
IMPORTANT! Before soldering the board, you need to test it using a multimeter. This way the connection order will not be mixed up.
- The USB and power button are removed from the tablet;
- Cables are soldered to the power button and USB connector;
- The wires are attached to the cover of the device;
- A jumper is installed between the GND and USB contacts;
- A resistor is installed. It must be mounted between the middle and negative contacts of the battery;
- Use double-sided tape to secure the inverter. The motherboard is also attached;
- The monitor cover is returned to its place;
- A computer mouse is connected to the USB connector, which turns on the device;
- The functionality of the oscilloscope is checked;
If you don’t have an unnecessary monitor at hand, you can use an LCD TV to make an oscilloscope.

Nonsense. How will it digitize the signals, how to output them... and what if the monitor is so old (like in the picture) that there is no USB?