How to display the keyboard on the monitor screen
The keyboard is one of the most vulnerable parts of a computer. It accounts for the largest percentage of breakdowns, since most often users violate such safety recommendations as not eating at the computer. The result is crumbs, water and other liquids getting on the device, as well as mechanical damage due to falling heavy objects (for example, a mug or plate), which can damage it at the most inopportune moment. Fortunately, the creators of Windows have taken care of such cases when a breakdown occurs and the user needs to urgently type some text - the keyboard can be displayed on the screen and operated with a mouse or touchpad.

The content of the article
How to activate the keyboard on the monitor screen
Depending on the degree of its damage, there are three different ways of activation to the monitor. The worse the breakdown, the more actions will need to be taken.
Three ways to display the keyboard on the screen
The first of them, the longest, is resorted to in cases where the device is completely faulty. The second is more narrowly targeted, since it is only suitable for Windows 8 users and includes a voice assistant.The third is the simplest, but requires at least several keys to work.
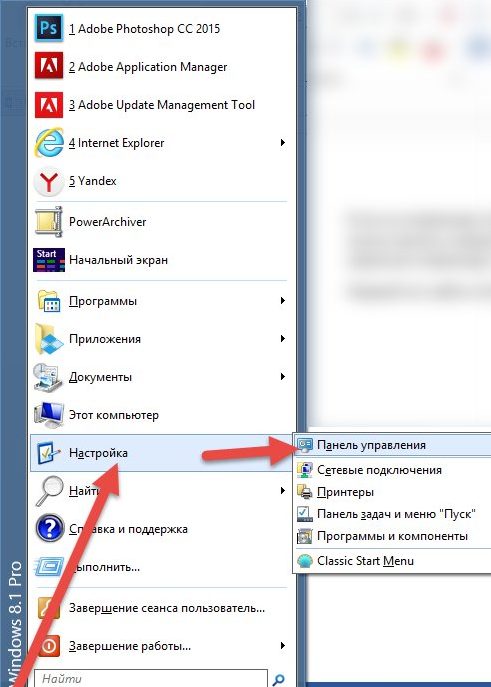
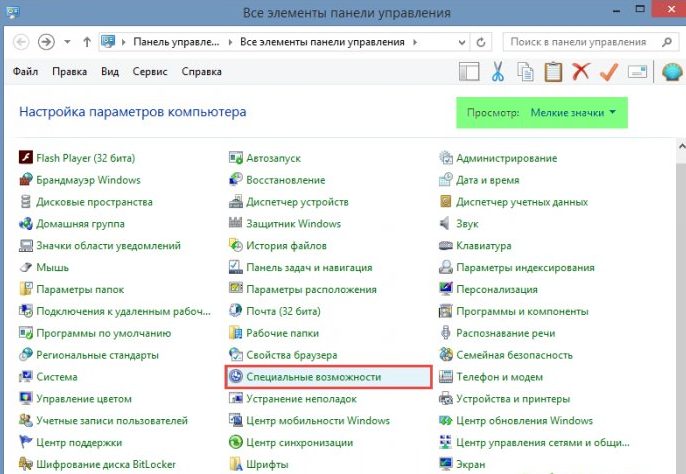
- Follow the path “Start” - “Control Panel” - “All Controls” - “Accessibility” - “Turn On On-Screen Keyboard”.
- Turn on the voice assistant and dictate the phrase “On-Screen Keyboard” to search for it on the Internet. Copy these two words. Move your mouse cursor from top to bottom along the right side of the screen and from the icons that appear, select the one with the image of a magnifying glass. A search bar will appear into which you should paste the copied phrase. All that remains is to choose the one you need from the found options.
- Hold down the Win+R key combination and enter the abbreviation OSK in the line that appears.
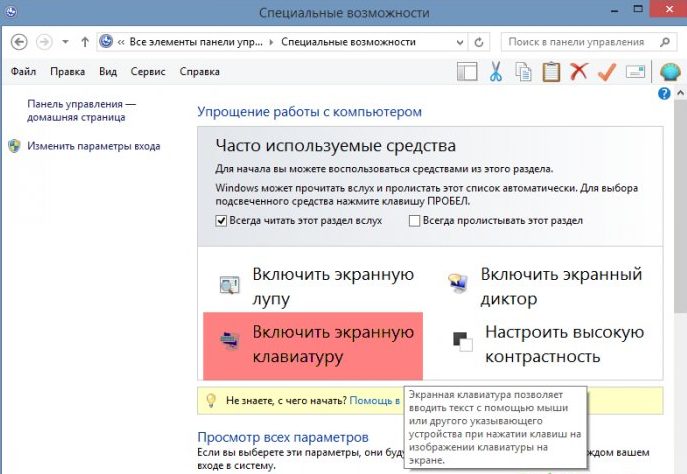
How to enable the keyboard on the monitor depending on the OS
The previous methods, not counting the second, are relatively universal. The following take into account the specifics of each version of the Windows operating system, from XP to 8.
Windows XP
Users of this system must complete the following steps:
- Click the “Start” button in the lower left corner (or the button with the Windows logo, if it works);
- hover the cursor over the line “All programs”;
- find the “Standard” folder;
- in it, select the “Special Features” subdirectory;
- The last step is to click on the On-Screen Keyboard application.
Windows 7
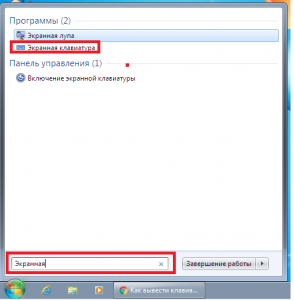
In this system, the path to the required application is completely the same as the XP version. But, in addition to this, it is possible to use the quick search located in the bottom line of the Start menu, into which the corresponding phrase is entered.
REFERENCE. Depending on the functionality of the keys, you can type it yourself or use a voice assistant, if available, as in method 2.
Windows 8
Since this system was also developed for touch devices, the on-screen keyboard is included in the software package by default and is located in the “Accessibility” section of the “All applications” list. In addition, in this OS you can still go to the desired section through the control panel or search bar.
How to customize your keyboard
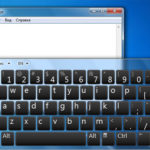
As mentioned earlier, this application must be controlled using the mouse cursor or touchpad.
REFERENCE. If you need to perform an action that requires a combination of two keys, press the control key first, then the letter or number key. For example, if a sentence needs to start with a capital letter, first press the “Shift” key, and then the desired letter.
Since typing with a mouse or touchpad is associated with many inconveniences, the application developers took care to smooth them out as much as possible. To make using the on-screen keyboard more convenient, you can adjust the settings, which include:
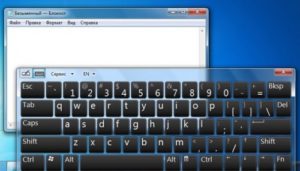 Sound confirmation - when this function is selected, each button press will be accompanied by a sound signal.
- Enable the numeric keypad - its purpose is similar to the Num lock key, activating the additional side numeric keypad.
- Using the On-Screen Keyboard - Includes three options to choose from. The first of them, “key presses,” is the default and involves entering text by directly pressing the cursor on the desired letter. The second, “Mouse over” does not require a click, you just need to place the cursor in the area of the required key and wait a certain time (it can also be selected). The third, “key scanning,” enables a semi-automatic typing mode.First, at a certain frequency, it is also adjusted, the computer selects a horizontal line. As soon as the scanning has reached the one you need, you click the mouse or press the spacebar (you can choose the most suitable option yourself), then the same procedure occurs with the selection of a letter.
- Text prediction is almost similar to the T9 function in smartphones; when you enter the first letters, the program shows hints, from which you can select the word you wanted to type.
Create a shortcut for quick access
To provide faster access to the on-screen keyboard, you can create a shortcut to it on your desktop. There are two ways to do this.
- The first is to right-click on the application icon, select “copy”, then go to the desktop, right-click on an empty area and select “paste shortcut”.
- The second is after right-clicking on the application, hover over the “send” line and select “Desktop”.
