How to take a screenshot of your monitor

A screenshot is an instant snapshot of what is currently shown on the monitor (of course, without using a camera). At the same time, the image quality remains the same as the original, i.e. 72 dpi. You may need to take a screenshot for many reasons - an error has appeared in order to send it to the support service, a payment receipt to present to the seller, in general - this is a document akin to an offline photocopy, indicating that this image was on the screen.
There are several ways to create a screenshot (aka screenshot, in computer jargon). The simplest is to use the operating system tools. There is even a rare button on keyboards for this - but this method requires additional steps. Therefore, a whole industry of screenshot programs has developed, from the simplest, built into the modern Windows operating system starting with the seventh version, to programs that allow you to edit a picture “on the fly” and add inscriptions, arrows, etc. In a word, to fully emphasize the user's attention is focused on exactly what needs to be shown to him. A further extension is online services - this allows you to immediately publish a screen image on the Internet and receive a link to it to send to the recipient.
It is interesting to know that instant messengers (Skype, WatsApp) have the ability in a sent message not only to show a link to a screenshot taken by most online services, but also the image itself. In this article we will look at ways to take screenshots.
The content of the article
How to take a screenshot using Print Screen
This is the oldest and almost always working method. It dates back to the times when everything was displayed on screens simply as text, and printers were dot matrix printers, focused primarily on printing symbolic information, something akin to a typewriter. To quickly capture what the user sees on the screen, there is a Print Screen button on the keyboard. After pressing it, the text from the screen was sent directly to the printer. This was the case in the days of text-based interfaces (DOS, Unix console, for example).
REFERENCE! With the advent of the graphical interface - in particular, Windows, the screen began to be copied as an image, and not sent to the printer, but placed on the clipboard. This function is very convenient when there is nothing else “at hand” and you need to get an image instantly.
Disadvantages - you will have to paste it from the buffer somewhere, from Word and Paint to Photoshop, process it in this program, if necessary, save it to disk, and somehow send it to the recipient. Naturally, you need to have such a program and skills to work with it.
Step by step, the procedure looks like this:
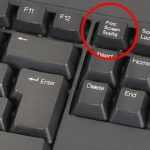
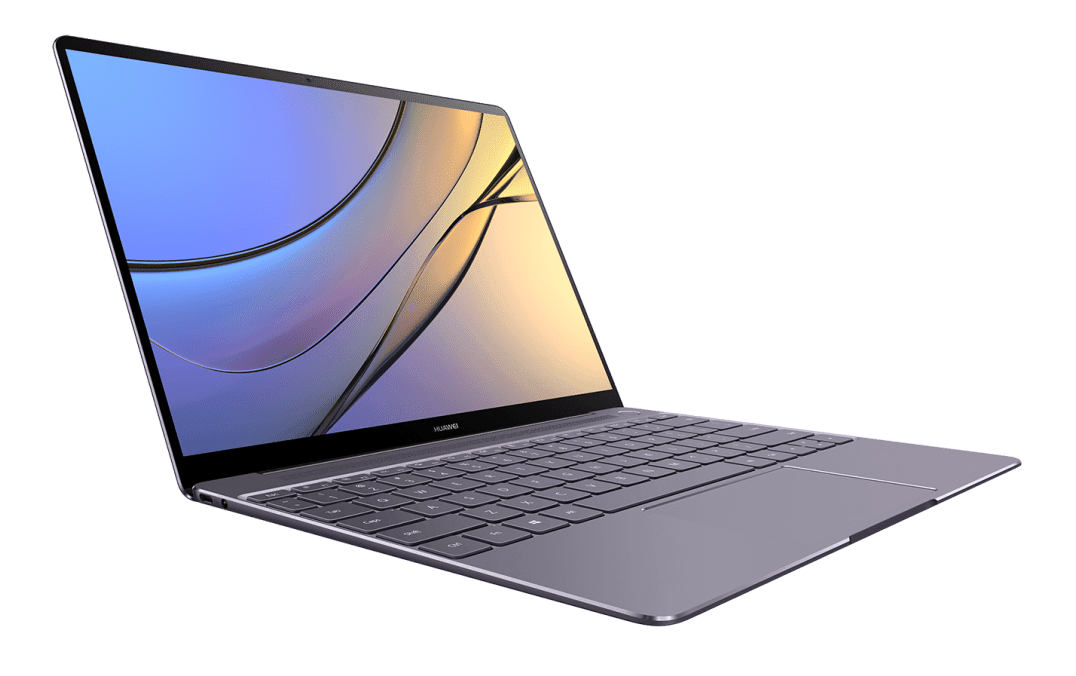
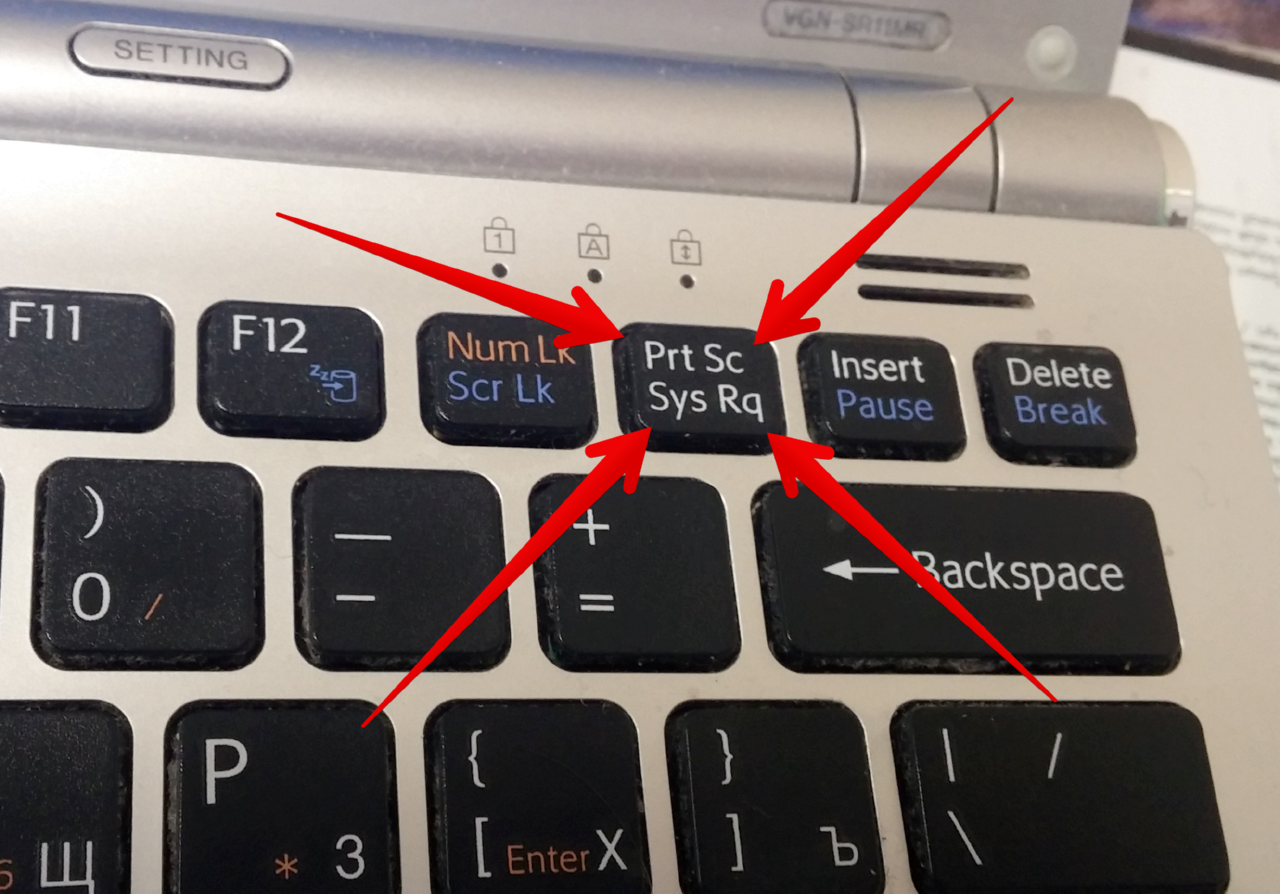
- We are looking for the Print Screen button. In laptops, if Print Screen is written on the edge of the key, or in a different color, it works while holding down the Fn key.
- At the right moment, press the key. Outwardly nothing will happen, but the screen will be “photographed” and saved in the computer’s memory, to the clipboard.
- Next, the image from the buffer needs to be placed somewhere. You can do this in the desired place in the Word document by pressing Ctrl+V.If the picture is needed not in a document, but as a separate file, use MS Paint (Start - Programs - Accessories - Paint), where we also insert from the buffer.
For those who have other programs and image processing skills - Photoshop, for example, the algorithm remains the same.
The resulting file can be edited at your discretion and saved. Then it can be easily sent to the recipient or used for some other purpose.
How to take a screenshot of your monitor using Snipping Tools
“Scissors” is a special program that comes standard with all Windows systems starting with version 7.
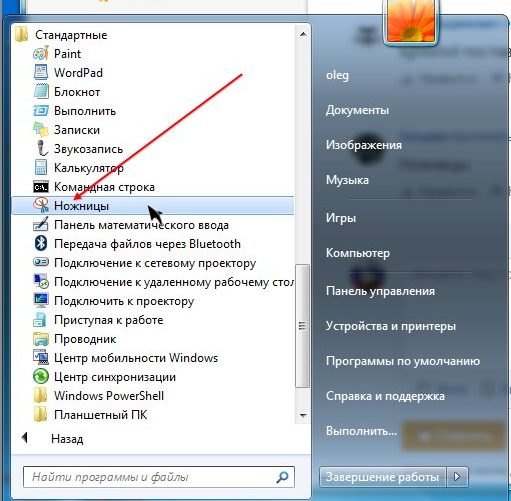
It is located in the Start menu, “Programs – Accessories – Snipping Tool”. After launch, the user is prompted to select an area of the screen to take a screenshot. This is not only a rectangular area, but also a free-form, which is very valuable if you don’t want to show too much information from your screen.
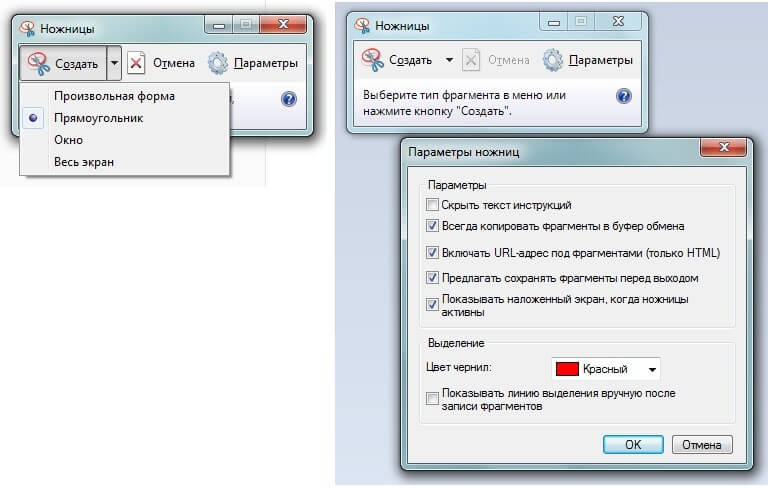
After taking a screenshot, it will automatically open in a mini-editor where you can use a colored pencil to draw thin lines and a marker to highlight text. The finished image is saved in PNG, GIF, JPG format.
Thus, “Scissors,” although not an instant way to take a screenshot, is quite suitable for simple tasks that do not require image processing. At the same time, it is possible to attract the recipient’s attention to exactly the desired fragment of the picture.
Programs for taking screenshots
There are also literally hundreds of third-party programs that make screenwriting much more convenient - in the sense that with their help you can not only save the image to disk, but also post it for public access on your website on the Internet, placing a link to view directly on the clipboard .
ATTENTION! Such a link is unique and complex, so it is impossible for an outsider to pick it up and look at your screen.
Such programs have enormous functionality for editing a screenshot - both interactively marking its area, rotating it, adjusting brightness and contrast, and adding arrows, symbols, text comments, and drawing various shapes on top of the screenshot.
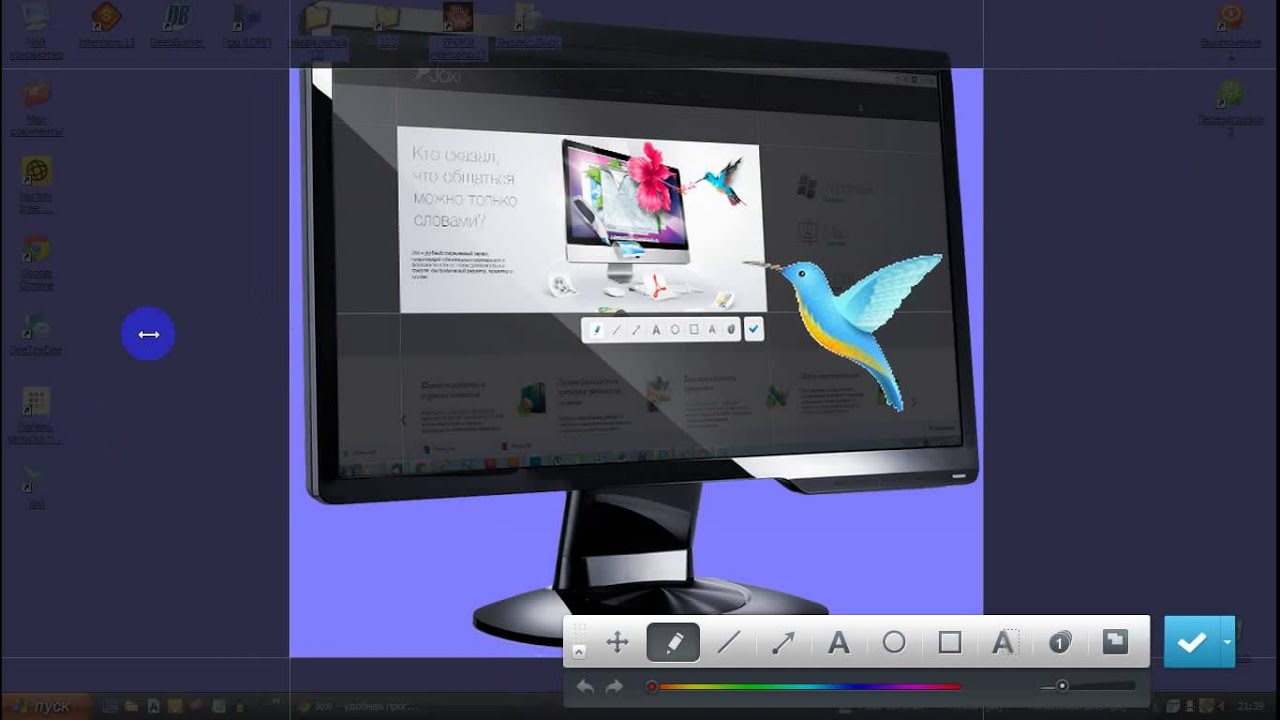
One of the most common and functional programs is Joxi. After clicking on its icon or icon, you should select the copy area.
Next - a huge variety of tools, right down to automatically numbered areas, the use of any color - everything you need to apply explanations to the image.
You can save it directly to the Web - share it on social networks or to disk.
If the goal is to quickly share a screen fragment with friends or embed it in a document/blog, such programs will be the best choice.