How to check the monitor backlight
 The crystals from which the screen is made are capable of polarizing a beam of light passing through them. If you change the voltage applied to a liquid crystal, you can adjust the degree of its polarizability, which means the color into which it can “turn” a beam of passing light. The reflected rays produce multi-colored dots that are collected into an image. Checking your monitors is the first step when troubleshooting.
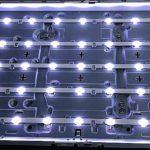
All liquid crystals are assembled on an LCD matrix with thin-film transistors. This matrix is made to “glow” by a lamp - a light source that will be polarized in the crystals.
NOTE! Despite the fact that there may be several lamps (sometimes 4-6) at the top and bottom of the screen for illumination, the image disappears even if one of them fails. The protection on the inverter controller is triggered and everything is turned off at once.
If you have encountered one of the following problems:
- the screen went dark;
- half the screen went dark;
- half of the screen began to glow more dimly;
- half or the entire screen began to glow pink;
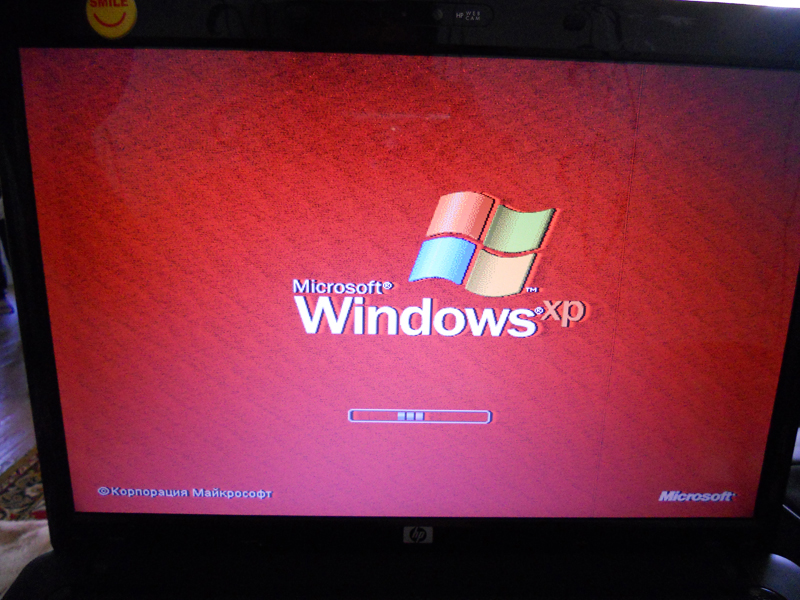
- The monitor turns on, works for a few seconds and the screen goes blank.
You can independently check the performance of the lamp and find the malfunction.
INTERESTING! If there is a warranty, we recommend taking advantage of it.
The content of the article
What tools are needed to disassemble the monitor?
IMPORTANT! If possible, entrust the repair to professional craftsmen. If this is not possible, proceed yourself, but taking the safety measures indicated below. If the process technology is violated, you can get hurt! And the procedure itself is long and laborious.
 You will need:
- working backlight;
- a soft cloth on which you can place the screen without scratching it;
- magnetic screwdrivers with different bits (flat and Phillips);
- multimeter (tester);
- oscilloscope;
- scalpel and tweezers.
Instructions on how to disassemble the monitor
- The first thing you need to do is lay out a soft napkin at your workplace and place the monitor on it, screen down.
- Remove the monitor stand and plastic cover, unscrewing the fasteners if necessary.
- The monitor is turned over, the front frame is removed, which is usually held on by plastic latches.
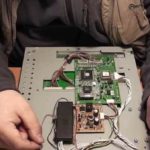
- The power supply, which is installed at the bottom of the matrix, is turned off and removed. Carefully disconnect the cable and remove the power supply board. To disconnect the cable, you need to lightly press the holders with one hand and carefully pull out the cable with the other.
ATTENTION! Monitors with LCD backlighting are equipped with high-voltage inverters, the voltage of which is 1000 volts! Trying to touch this part while the monitor is on can result in very unfortunate results. An attempt to touch any other metal part of the monitor may result in a noticeable electric shock due to the residual charge remaining on them.
- To gain access to the lamps, you need to disassemble the screen. To do this, the metal frame is removed and then the LCD panel, plate and film are laid out in the correct order on a soft cloth.
- The reflective backing is removed and the edging from the lamps is removed.
The monitor is assembled in the reverse order.
ATTENTION! Violation of safety regulations entails severe electrical injuries, burns, and mechanical damage. Before starting work, the equipment should stand unplugged for several minutes so that the capacitors have time to discharge.
How to check the backlight lamp
This can be done in several ways:
- ring with a multimeter. Using a tester to measure the voltage at the inverter outputs is a sad fate for the tester. It will burn;
- check with a single-lamp inverter;
- replace the lamp with a known good one;
- use an oscilloscope to compare the voltage levels at the cold ends of the lamps;
- check with capacitors.
ATTENTION! The problem may not only be with the lamp. A power supply, an inverter, a PWM controller—anything—can fly. If you are not confident in your abilities, do not take on the job and do not break the unfortunate monitor.
 The most important thing when replacing a lamp is to disable the protection on the inverter. Each inverter model has its own operating algorithm, so you need to look specifically for the model being repaired.
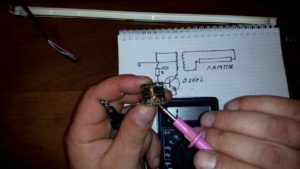
Let's look at one way to check. The simplest is testing using a suitable backlight. If the screen works with a new lamp and displays a bright image, the problem is in the lamp. If not, the problem is in the inverter, the cable, or you need to dig deeper and change the matrix or circuits.