How to calibrate your monitor
If you own any modern device, you have probably wondered how to increase the sensitivity of the screen. In this article we will try to consider in detail the meaning of calibration, as well as how to implement it.

The content of the article
What is calibration and why is it needed?
The definition itself is bringing the device to an optimal state. It is, first of all, needed to improve energy consumption. Initially, the procedure is carried out before it goes on sale. However, of course, each design significantly loses its original abilities.
Thus, over time, the equipment may become significantly less capable of recognizing multiple touches. This is why it is so important to not only re-examine, but also update the settings. In addition, during this process you can not only adjust the parameters, but also change them to suit your preferences. For example, if you didn’t like the fact that the screen reacts with a light touch, then this can easily be changed.
Checking monitor calibration
Before proceeding with the main manipulations, it is strongly recommended that you first take a test that will help you decide whether your device really needs calibration or whether you can put it off. First, you need to disable possible color management programs, and then enter the most precise adjustment settings possible in order to use the original characteristics of the screen. So, when all the conditions are met, you should proceed directly to the test:
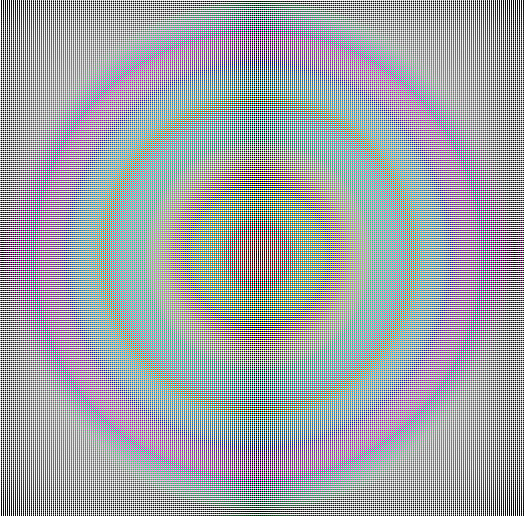
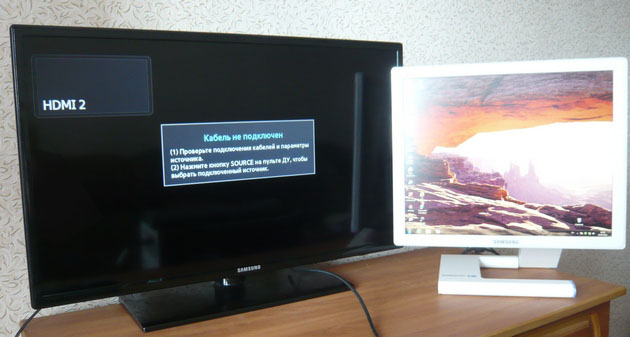
- The first step is usually to check the color rendering. Thanks to modern manufacturers, problems with this are rarely encountered today. It is also determined here whether the monitor displays shades correctly or not.
- Defective pixels. Currently, the RGB model is used - a screen pixel represents only three channels, when mixed, new colors appear.
ATTENTION. When checking, there should be no presence of various black dots. If you find at least one, then this is just a dead pixel.
 Gradients. A working monitor should display a completely smooth transition, there should be no sharp stripes.
- As for flickering, it is the absence of points at a great distance from the unit. That is, if you see an exclusively gray picture, the functionality of the product is excellent.
- Sharpness. Defines the boundaries between light and dark tones.
- Contrast and brightness. Determines equal levels of the indicator in all colors.
- Geometry. The fit of the reproduced image is also important.
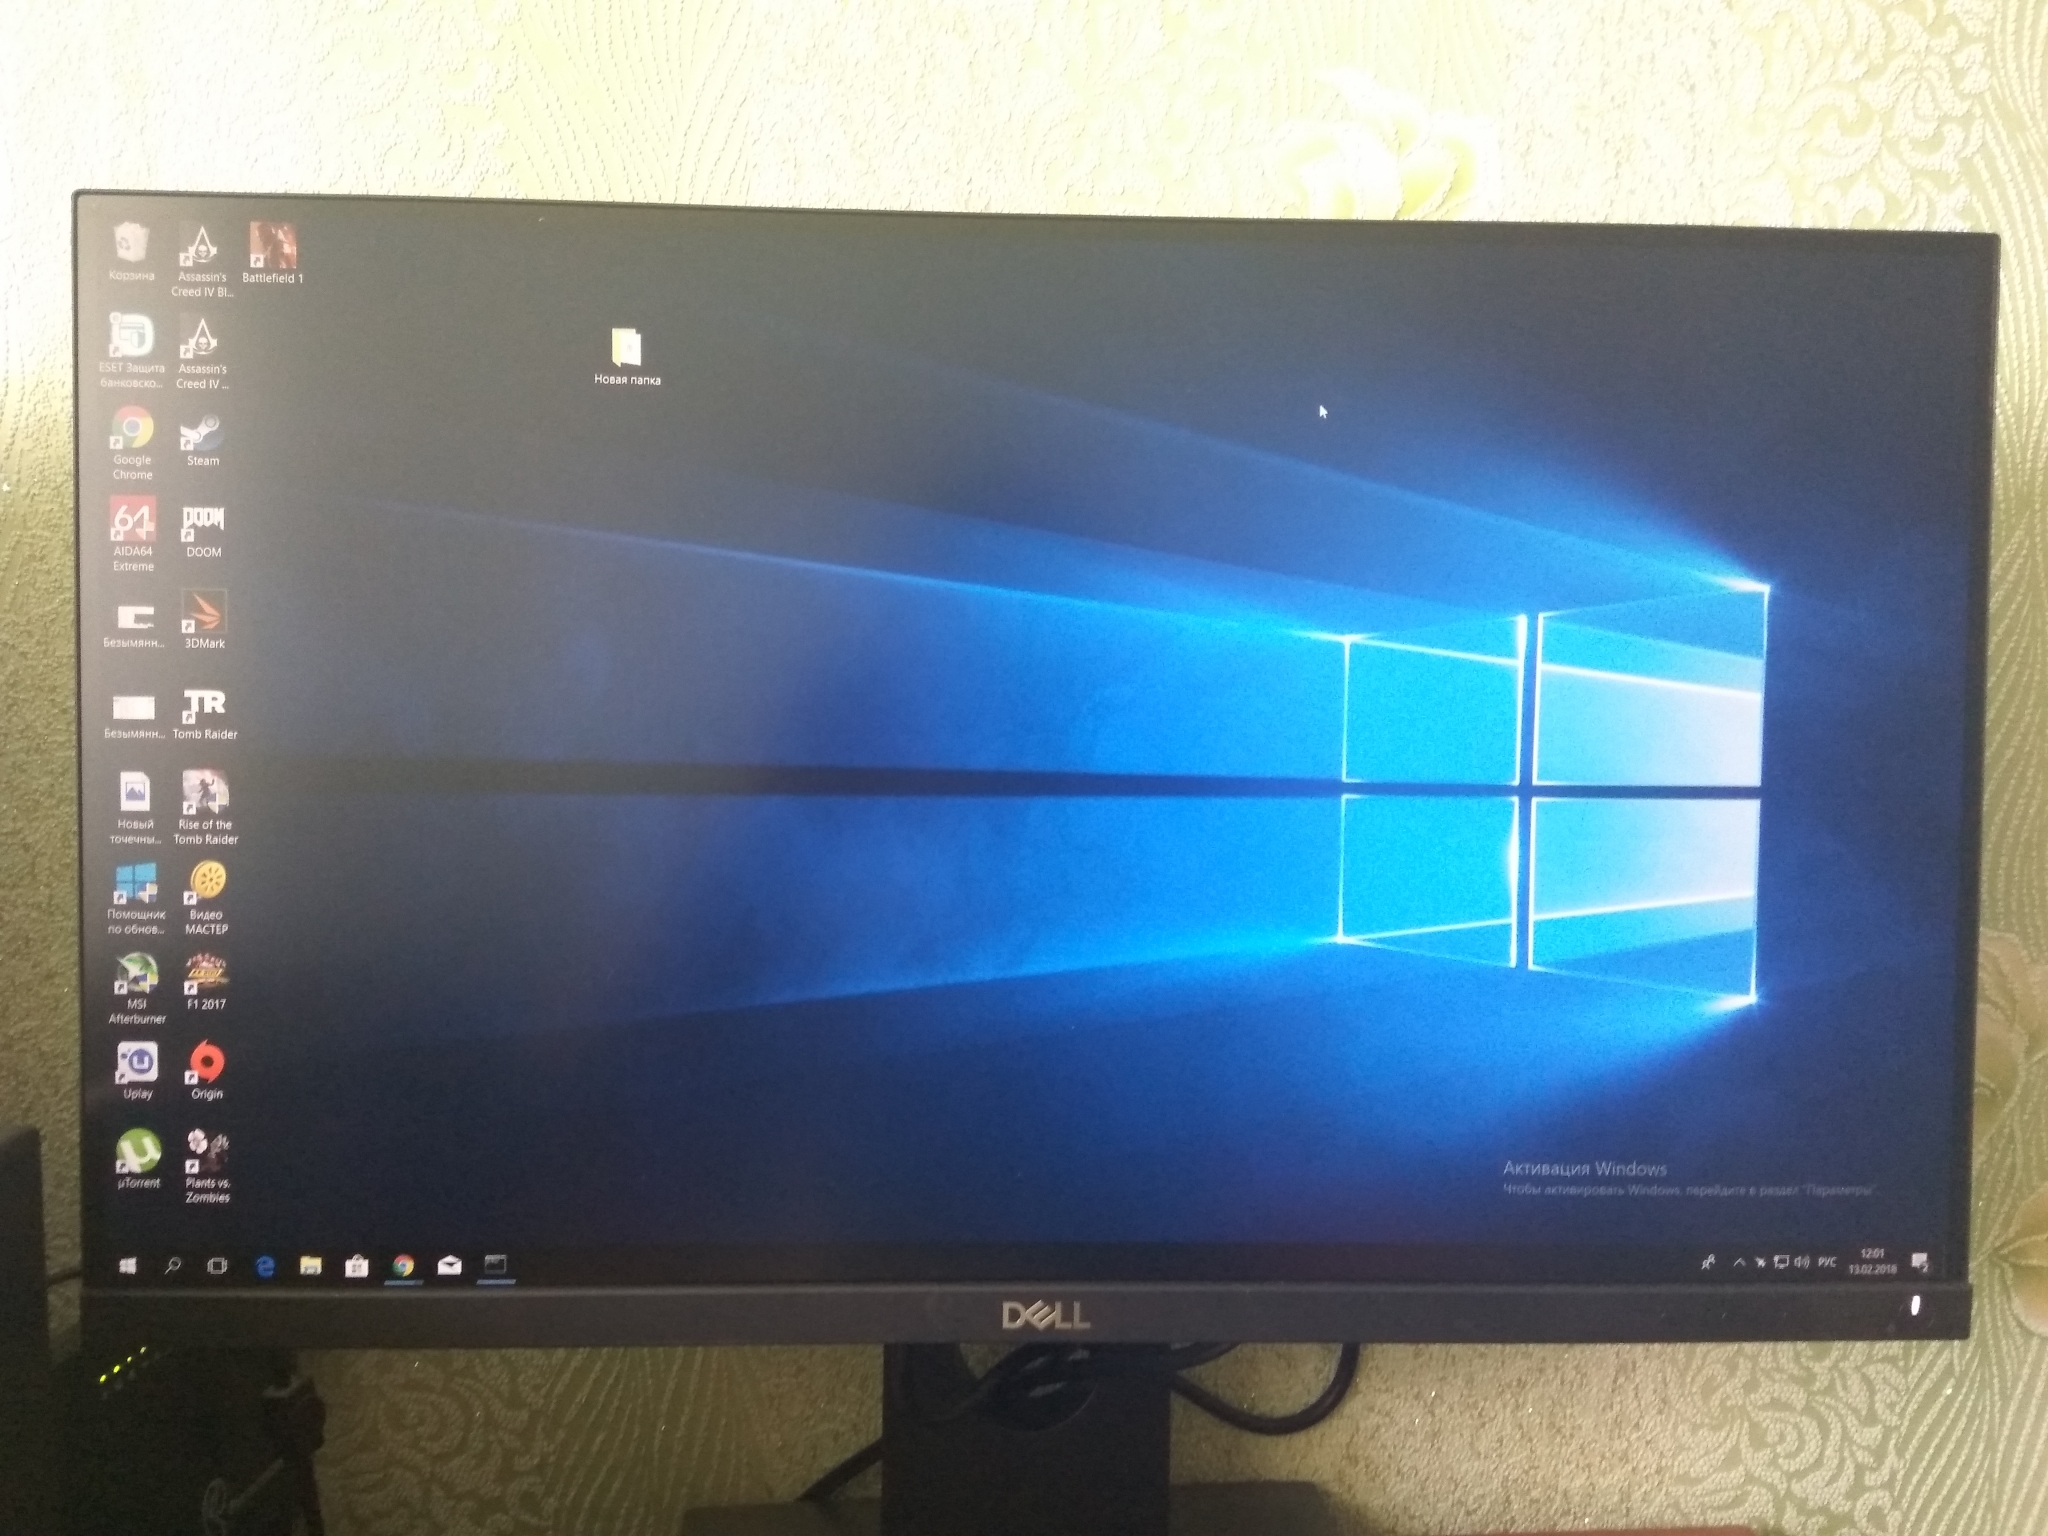
How to calibrate your monitor at home
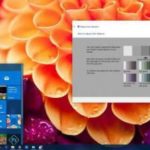
Using the Windows operating system as an example, we will consider the main version of the procedure. You need to do the following:
- First, open the “parameters”, after which you should go to the “system” section.
- Next, you need to click on “screen”, and then on “additional screen options”. This applies to version 10.
For 7 and 8.1, the same actions are also performed through the control panel, and then to the “screen” section. After launching the utility, you should follow the steps suggested in the instructions.
IMPORTANT. It is first recommended to sit further away from the screen and expand the program to full size.
basic settings
Let's study the main points:
- You will immediately have access to a kind of square. Your task is to make the points inside it become invisible, that is, merge with the main background.
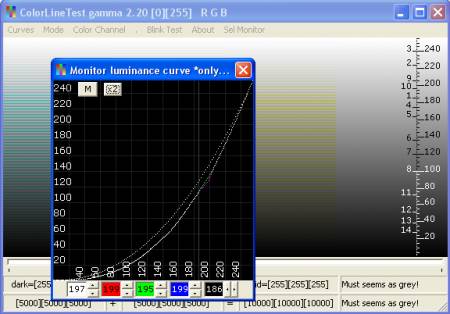
- Next you need to open the “power supply”. You will need the - and + brightness indicators. By moving the slider, you need to establish a moderate difference in black shades in the picture.
- Using the mechanism for changing contrast, you should ensure that the buttons on the shirt are clearly distinguishable from each other. And the shirt, in turn, did not dissolve in the white image.
- By moving the shades of red, blue and green, you need to achieve gray in the middle of the screen.
- Now it is advisable to compare all possible changes: what was and how it is now. If everything suits you, then you need to click on the “ready” button so that the previous parameters are saved.
- In addition, you can also edit the text by first selecting the option that suits you, which will be available to you. And also mark the button for further saving.
Calibrating a laptop monitor
For this type of computer, a slightly different method is proposed than for a personal device. There is both a hardware and software approach. The first of them, although more costly in terms of effort, is widespread. Thus, the following options are distinguished:
- Setting up the screen directly;
- Achieving linear mode of the video card;
- Testing the system itself and saving changes.
Calibrating a laptop monitor for photo processing
If you, for example, are a photographer or just a photography enthusiast, then you should approach this issue with particular seriousness. This is explained by the fact that if there are problems in certain characteristics, no matter how much you edit, in the end the image will still not be perfect, which means time is wasted. So here it is especially important to pay attention to brightness and contrast. This is done as quickly as possible, about 10–15 minutes. The method is suitable for everyday use.
ATTENTION. Too much brightness can significantly reduce the life of the structure. Accordingly, it may not be necessary to increase the display settings to the maximum value (especially if the room is bright enough or you have special backlighting available).
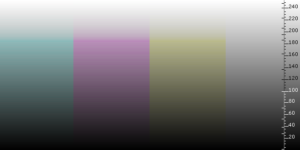
 As for halftones, this is often a priority task. A picture with three squares must be provided. The monitor should show the central square in color with the main background. The left one is darker, and the right one is brighter, respectively. If these conditions are not met, it means that the device does not display in the required colors, which means that the work as a result of editing will have a different option. Therefore, this needs to be dealt with. Speaking of details in light and shadow, the equipment must distinguish between 8 stages of each element. Moreover, the two extreme ones should only differ slightly.Another case will mean reaching the limit in the settings options.
Monitor calibration quality check
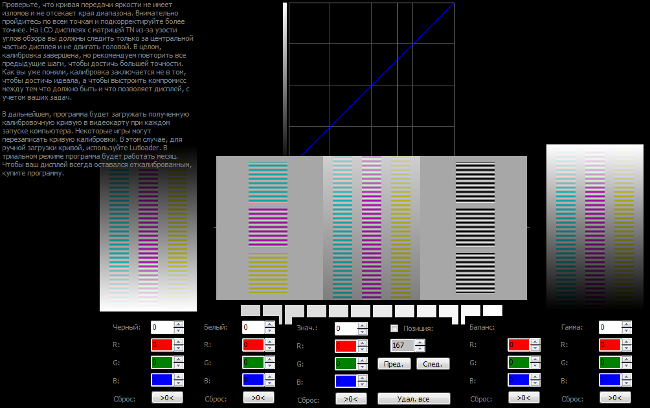
In order to check the final result, there are special wallpapers. The picture consists of three columns. The left one is divided into two more parts. Overall it shows the current gamma. The one in the middle is also divided into sections, which ideally should merge with the rest. The right one must give off neutral shades. In addition, scales should be depicted there, each of which is responsible for one or another characteristic.
For example, some fix the minimum threshold for differences in detail, while others focus on the smoothness of the gradient and the purity of gray. So, those below should be different from each other and at the same time have the cleanest possible background, that is, in the best situation there are no foreign impurities. Thus, you can see that, in principle, there is nothing complicated in the procedure. This means that anyone can do it, even without certain knowledge and skills.