How to remove noise from a microphone
When using a microphone, built-in or portable, problems such as noise, crackling, or hissing may occur. In order not to do the same work over and over again with the goal get rid of from noise in headphones computer, we recommend studying this question in detail. We will talk about possible sources of malfunction and ways to restore the device’s functionality in our article.

The content of the article
Why is the microphone noisy?
If you are faced with the presence of various noises in the device, there may be several reasons for this:
- low quality of the device used;
- its increased sensitivity;
- errors in settings;
- faulty connection to PC;
- electromagnetic waves emanating from electronic devices located nearby;
- incorrectly installed drivers;
- poor internet connection.
REFERENCE. Often the problem occurs due to two or more conditions.
How to remove microphone hiss when recording
Depending on the source of the problem, the methods used may be technical or software. If your microphone hisses, first of all you should make sure that you have a stable connection to your PC and that the incoming signal level is not too high.
In the first case, check the connecting cable by simply tugging on it. An increase in the crackling noise will indicate to you that the cause lies in the wire.You should also make sure that the plug fits tightly into the connector.
ON A NOTE. If the connector does not provide a tight connection, it may need to be replaced, since it will be difficult to bend the contacts.
The second option can be tested by lowering the input signal height in the settings. There are two ways to correct the situation, using external or internal adjustments.

Using external tools:
- if there is a special input wave level control on the microphone (or on the amplifier, if used), turn it downward;
- or reduce the sensitivity using the appropriate toggle switch.
Through internal settings:
- In the tray, activate the speaker icon using RMB and use the “Recording devices” item.
- In the window, select the desired microphone and right-click in the hidden menu to go to the “Properties” section.
- Next, we’ll use the “Levels” tab. There are two controls here, “Microphone” and “Gain”. Try reducing them to different values, the result should be the disappearance of noise.
Additional sources of the problem are an incorrect extension selected for recording or errors in the sound card settings. To change the default file format, follow the path Speaker – Recording devices – Properties – Add-ons. In the list of possible extensions, the first three options are less susceptible to extraneous sound inclusions.

To change the card settings, use the application (usually it is called Realtek): in the Control Panel, activate the “Microphone” tab, on which turn on the “Noise Reduction” and “Echo Reduction” items.
The problem with drivers is easy to solve: we use the installation disk, or, if it is not there, go to the manufacturer’s website, then download and install the necessary software. There are no special drivers for the microphone, so just type in your PC model and indicate the OS version in the section with additional programs that opens.
The cause of hissing may be more serious problems:
- failure of contact inside the device;
- membrane problems;
- problems with the electronic board.
Of the listed problems, only the presence of a bad contact can be corrected by the user himself. To do this, you will need to disassemble the device body, find the break point and use soldering to fix it.
A damaged membrane will require replacement. Due to its high cost, this measure is relevant for expensive microphones; in other cases it will be cheaper to purchase a new device.
Malfunctions of the electronic board are eliminated by the service department, since diagnostics must be used to accurately determine the location of the failure.
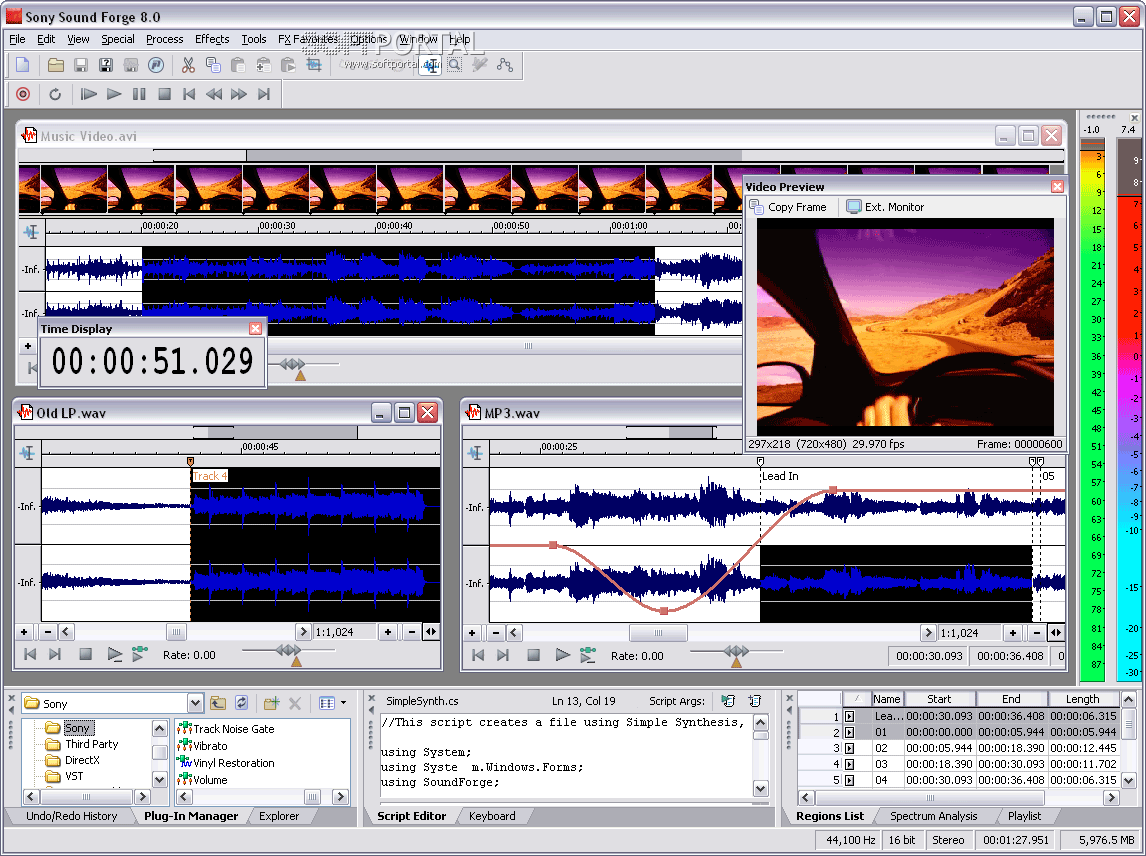
A software method for eliminating hissing sound involves processing the file, for example, using the Sound Forge program, it will do an excellent job with this problem. It can also remove traces of electromagnetic vibrations caused by other devices.
We open the track we need in the application, then we find an interval in it that contains low-quality sound. In the menu, click the Effects option and activate Noise Gate. In the tool window, you can adjust all parameters at your discretion and immediately check the result.
Another tool of the program is Noise Reduction, located in the Tools section. By selecting an option, you can set manual or automatic detection mode for low-quality sound.
With manual control, you will see a graph with control points and, if necessary, you can adjust their position. Low points will be suppressed in the process.
There are four modifications for removing noise effects, these are Mode 0, 1, 2 and 3. By default, the second, standard option is set. For best results, try all versions.
IMPORTANT. The main condition for effective operation: the noise must be cyclical.
How to remove background microphone noise
When recording in rooms where there is no necessary sound insulation, the user may encounter the problem of extraneous noise.
ON A NOTE. When solving the problem of how to remove noise when recording from a microphone, you will have to carry out mandatory manipulations with the sound in order to achieve a positive effect.
Most causes of poor sound quality can be eliminated using software methods. As a rule, audio editors provide noise suppressors of varying degrees of accuracy and complexity.
For users who are thinking about how to not only remove noise from the microphone, but also improve the sound of a track without paying money for it, we recommend the Audacity product. Its advantage is a clear interface and free availability of all functionality.
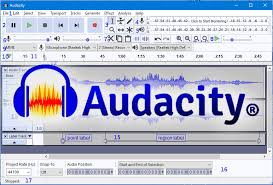 To launch the noise reduction, select Effects, then Noise Removal.
- We activate the “Create noise model” button, in which we define the parameters of the interval containing extraneous sounds and save using OK.
- Select the entire audio track and re-launch the tool. Now you can change the values of the presented indicators: suppression strength, sensitivity and smoothing frequency to achieve a high-quality result. Save the resulting file.
How to remove extraneous noise from a microphone
If the device and its elements work correctly and all previous methods did not satisfy the user’s requests, then it is worth trying special software products. In addition, they help remove microphone noise in real time.
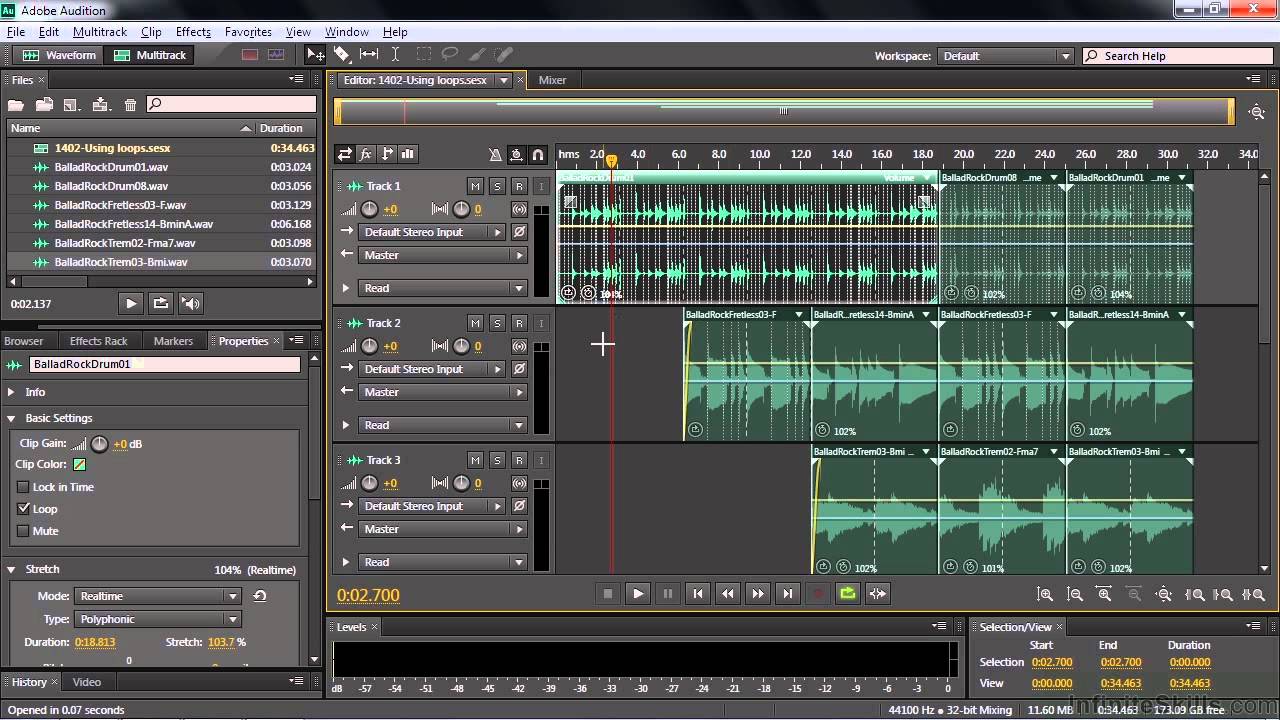
The Adobe Audition application can perform this task.
ATTENTION. Before using it, you need to adjust the volume level to 50%.
Basic settings:
- When you launch it for the first time, click File – New – Multitrack Session. Then we determine the values: 48 thousand Hz, 16 bits, Stereo mode and save with OK.
- Go to the “Edit” mode and select Audio Hardware in the “Preferences” line.
- Select the appropriate option in the program's effects menu: Noise Reduction, which is professional batch processing, or Noise Gate, suitable for simplified editing.
In these tools, all values remain default.
The program has a strong noise reduction function, however, its use significantly reduces the overall quality of the broadcast.
IMPORTANT. The free version of the program provides limited functionality.
How to remove microphone noise on Skype
There are two sources of extraneous sound inclusions in the program:
- Slow internet speed. To fix the problem, during the session you will need to interrupt downloading files and stop watching movies online. If your Internet connection is initially slow, consider changing your tariff plan.
- Malfunction of the sound device or other elements. For methods of diagnosing and resolving the issue, see the previous paragraphs.
ON A NOTE. Skype is not the source of poor microphone performance.
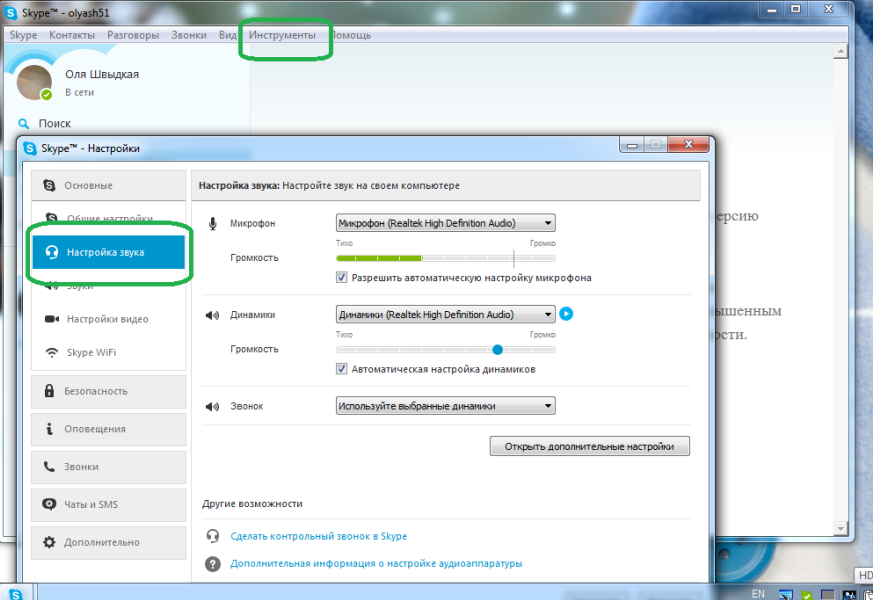
If necessary, the program will help reduce the sensitivity of the device:
- Let's go along the path Tools - Settings - Sound Settings.
- Select the “Microphone” block.
- Let's allow automatic adjustment or set the volume to your taste. In the latter case, the recommended slider position is 50%.
We hope that our article has comprehensively answered your question and helped solve your problem with microphone sound.