How to make a microphone with your own hands
 Working with electrical appliances has always been considered a difficult task. Usually only people who have enough experience or have studied this in educational institutions do it. We are used to buying equipment in specialized stores, so few people think about making various types of devices on their own. Of course, you can repair something yourself, but making equipment at home requires skill.
If you have the necessary equipment and materials, experience in this field and a desire to design something and save your family budget, you can try to find interesting ideas on the Internet. There you will find many interesting ideas and tips on how to make devices better.
In our article we will look at one of the studio devices that can also be used for personal use. We will talk about microphones and how to create them yourself at home. We will look at all the pros and cons of this method.
IMPORTANT: Working with electronics and electrical appliances carries risks and potential health hazards. We recommend that you refrain from working if you are not confident in your skills and abilities in the field of electrical appliances.
The content of the article
Is it possible to make a microphone with your own hands?
Man is capable of creating almost anything he wants; nature has endowed him with inimitable intelligence and the ability to fantasize.A microphone for a computer is far from the most complex device of all possible inventions of mankind. But it is worth considering the level of your abilities and skills. The final result of all work will depend on them.
 If you are seriously thinking about creating a unique microphone, you should provide the workflow with all the necessary tools and materials in advance. To do this you will need to purchase:
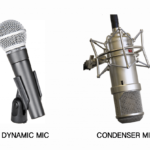
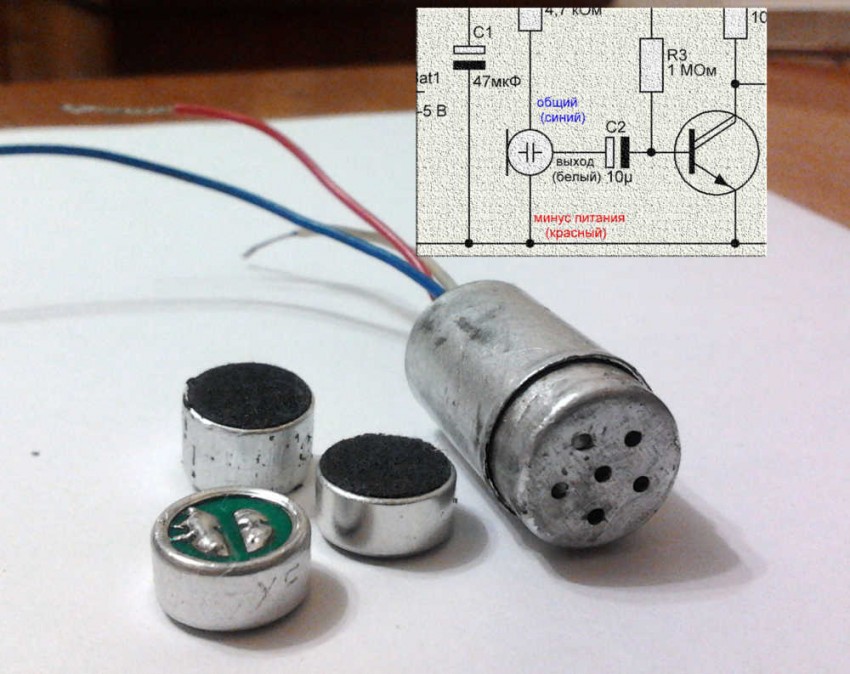
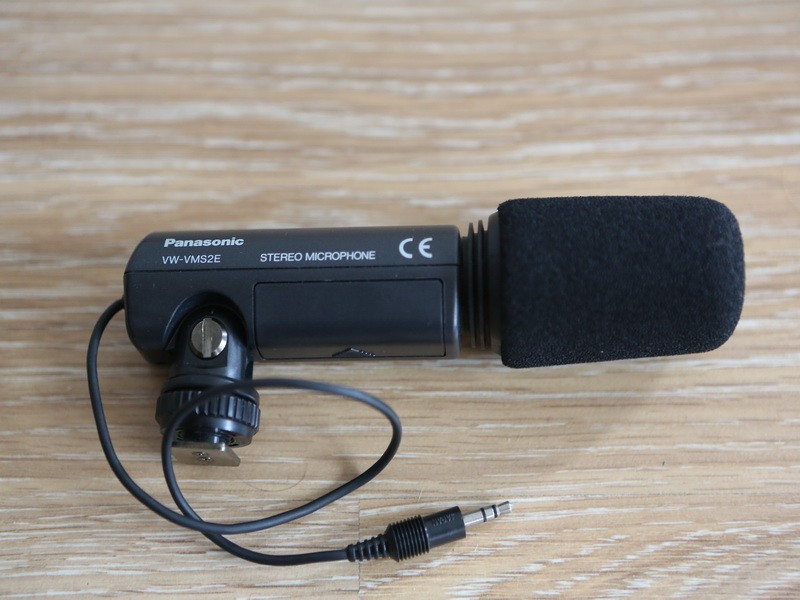
- To create an electret microphone, you will need a special capsule, which can be taken out of the radio or taken second-hand from the market. This will be the main element in creating a home microphone.
- A special adapter for connecting to a 3.5 mm jack connector. You can use a wire from an old headphone with a matching cable.
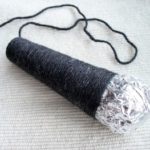
- For the main body, any cylindrical material is sufficient: syringe tubes, jars, tubes...
- Required amount of wire. Choose the length according to the distance from the sound transmitter. The optimal length would be 1-2 meters.
- Foam or fur covering that protects the body from wind and moisture.
This is quite enough to create a homemade version of the device. No expensive elements, only the essentials for normal functioning. This method will help you save money, since good equipment in stores is very expensive, and cheap models usually have poor parameters and sound characteristics.
IMPORTANT: The appearance of the microphone will be unusual and will differ from store-bought options. If you wish, you can purchase additional parts for the case or look for old non-working devices and take spare parts from them.
Manufacturing instructions
After you have prepared everything for manufacturing, you can begin the most difficult stage of the work. Be especially careful when performing sequences of manipulations with electronics. For convenience, all points are described in detail in the instructions below:
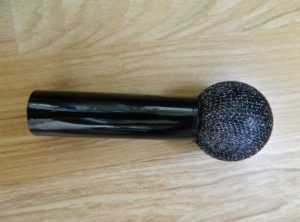
- Prepare the microphone body. Round off the pre-prepared cylindrical workpiece and cut it off at the ends, leaving the edges open.
- Pass the wire inside the cylinder and secure it inside by tying one end with a knot.
- Now solder the capsule to the end of the wire that is located inside the cylinder and secure it with a paper clip or paper clip. The braid of the capsule must be connected to the shielded wire.
- Solder the other, remaining free end of the wire to the 3.5 mm jack plug. In this case, you should connect both channels for transmitting sound vibrations and broadcast them to the transmitter.
- A foam covering works great for the top, cut it to the appropriate size and shape and attach it to the top.
- After that, connect the device and check its operation by saying a few phrases into the microphone. When the wires are connected correctly, the sound should be transmitted to the capsule and amplified.
IMPORTANT: If there is no result, the problem may be in the adhesions. Try to disassemble everything and re-solder the wires to the capsule and plug.
How long will a homemade microphone last?
 It is difficult to determine and say the exact service life for homemade items, as opposed to purchased items. You will not have a warranty for this product, so you will also have to repair and extend its performance yourself. Depending on a number of factors, the period of use will vary.Among the main parameters influencing the duration of operation are the following:
- The quality of materials used during work.
- Wire security and ability to withstand heavy loads.
- The operating mode depends on the required technical parameters and the supplied voltage.
- Careful use and timely troubleshooting.
Try changing the specifications and using different materials to compare and choose the best option.