How to disassemble a microphone
On the Internet you can find a huge number of videos and information articles that explain how to disassemble this or that microphone. But there are a lot of them and they are all scattered across different sites. In addition, most of the videos are very long and recorded with poor quality. The purpose of this article is to bring together all the information about assembling microphones.
The content of the article
How to properly disassemble a microphone
Information on how to disassemble a device is usually needed in order to repair it, replace any parts, or simply study its structure. If you follow all the instructions, you can disassemble it without difficulty. It is advisable to have a small screwdriver with you, but a kitchen knife with a thin blade will also work. The most important thing here is to carefully follow the instructions and choose the one that is suitable for a particular type of microphone.
Important! You need to disassemble the microphone very carefully, as some parts are very fragile and easily break.
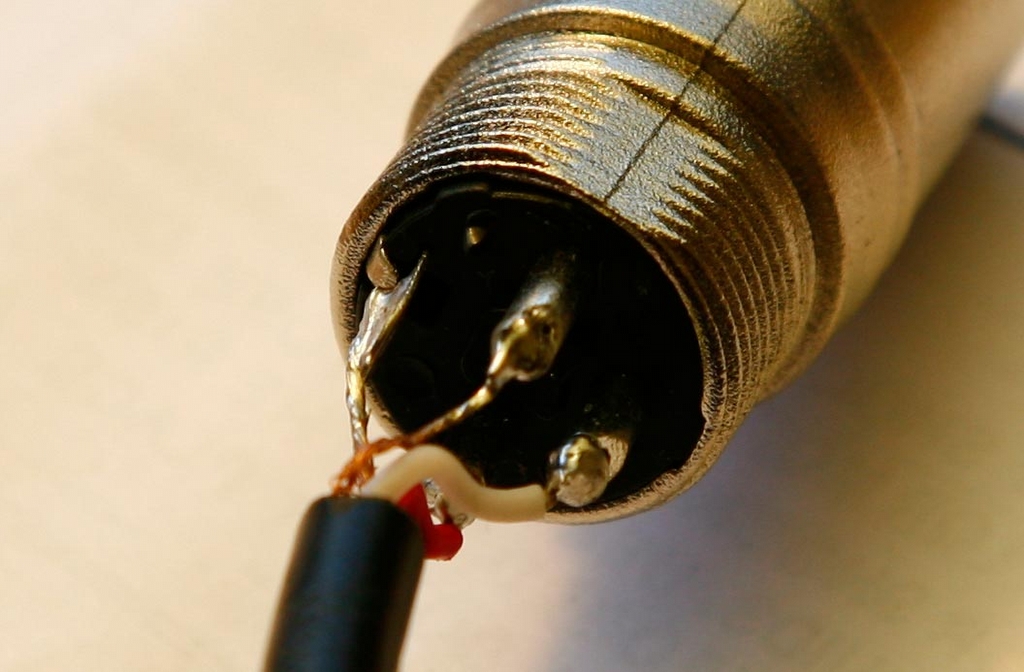
Depending on the model and design of the device
Instructions for different models:
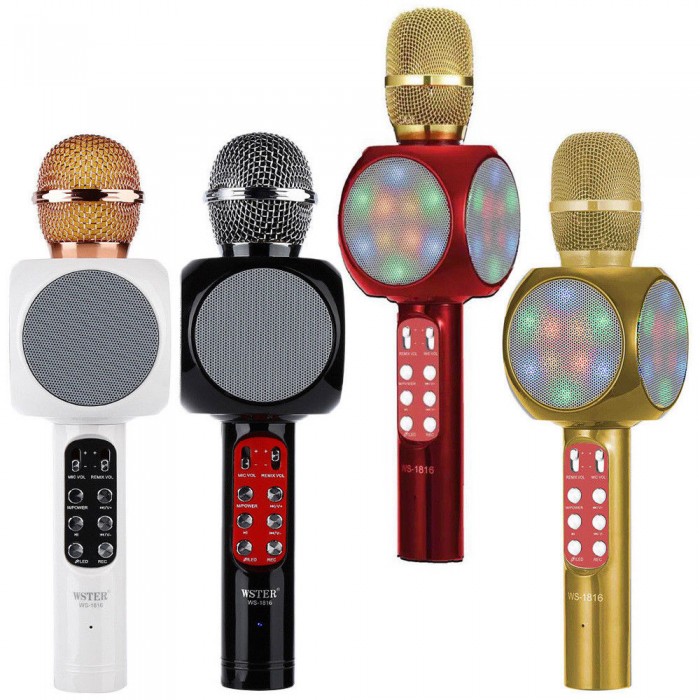
- For karaoke WS-858. First, you need to unscrew the capsule (the microphone array into which you speak) from the device. Then scrape off the stickers from the body with a scalpel or knife - there will be bolts under them. And having unscrewed them, the parts will easily move away from each other.
- Microphone ACG. It seems that this microphone is impossible to disassemble, but in fact everything is simple.You need to remove the cover, take out the battery, unscrew the capsule and remove the head (carefully, trying not to break the two wires). And to pull out the microcircuit, you need to press on the upper wall of the battery cavity.
- Genius. This device is probably the easiest to disassemble. You just need to remove the capsule cover and take out the wire with the microphone at the end.
- Studio ISK BM-800. It is also very easy to disassemble. We unscrew the cover from the bottom, remove the body and, if desired, unscrew the capsule.
- Mi-mic. Remove the sticker, under which there will be two bolts on both sides, unscrew them. Then you need to pry up the capsule and remove it; under it there will be four bolts that also need to be unscrewed. We take out the column, under which we unscrew the two bolts again. Next, we remove the housing, and the insides of the microphone are easily separated from each other.
- From headphones. Unscrew the screw (there is only one) and remove the plastic case. Inside there will be two wires soldered to the device, which you can pry with your fingers and easily pull out.
- Condenser Samson Meteor. You need to unscrew the screws on the side of the device, then carefully pull out the protection. To remove the capsule itself, you need to unscrew the screws on the plastic bottom of the protection. There will be a foam lining inside the capsule, which will make it quite difficult to remove the inside. You need to gently pull the end of the wire until the microphone itself comes out.
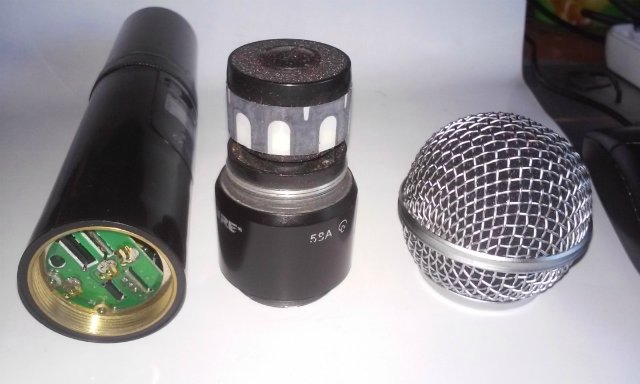
What difficulties may arise
In most cases, the device cannot be disassembled carefully - either the wires break or the housing itself breaks. To avoid this, you need to carefully study all the information about the model to know what is inside. Also, problems may arise in opening the case, since some, at first glance, may not notice any bolts.So you need to carefully inspect the device, because sometimes the bolts are hidden under a company sticker or hidden under a panel with buttons.
It will also be easier for those who have a large set of screwdrivers. Experience or basic knowledge about electronics will also come in handy here, since most people have no idea how a microphone works, and without this knowledge it will be more difficult to disassemble it. Also, some microphones are very difficult to disassemble and you will have to be patient.

