How to connect a karaoke microphone to your TV
Are you looking for a way to enjoy karaoke in the comfort of your home with your family and friends? You can easily build your own karaoke system at home using YouTube Karaoke for free! We all know that YouTube is the number one source for videos on the Internet. You can find almost any song by any artist by adding the word "karaoke"!
The content of the article
Connecting a karaoke microphone to TV: a new feature
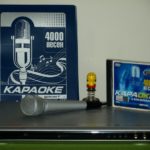
 The most popular good quality karaoke players (good sound, HD video, wide selection, 2 wireless microphones) are too expensive. The only advantage that these ready-made solutions have is that they can work offline - no Internet connection is required.
All these ready-made solutions have one obvious limitation - the music library becomes outdated over time. You will get tired of singing the same set of songs.
Now, with affordable YouTube and Chromecast technology, you can throw a party with all the latest songs.
There are also many apps available for karaoke such as Smule, RockIt Karaoke, The Karaoke Channel and Karafun. These apps can queue songs that you select, and many of these apps specialize in recording your sessions, rating them, sharing videos online with friends, or providing offline songs. But you have to pay for the subscription.
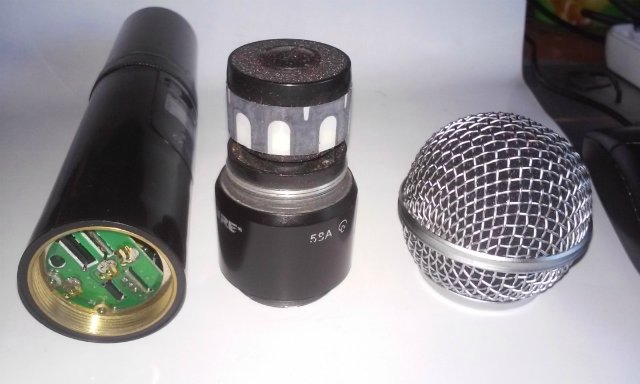
How to connect a wired microphone
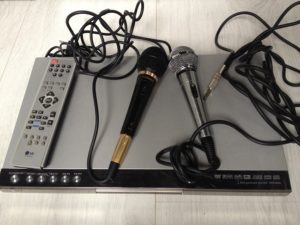
- Turn off the TV.Plug the microphone AC adapter cord into the microphone stand and into an accessible electrical outlet. Do not turn on the microphone or insert it into the base unit.
- Connect the yellow, red, and white RCA cable that runs from the base of the microphone to the corresponding input ports on your TV. Most televisions have at least one set of RCA ports that can be used to connect DVD players, VCRs, or other video components. Note the name of the port on the back of the TV that you use to connect the RCA cables from the microphone base. For example, a port might be labeled "Video 1" or "Video In".
- Open the microphone base and insert new batteries. Also, insert the music chip for the microphone into the slot labeled "Chip" or "Song Card" if you haven't already done so.
- Turn on the TV. Set the power switch on the microphone to the “ON” position. If the base has a power switch - some do and some don't - turn that on as well. Using your TV's remote control, set its input or source to the video port to which you connected the karaoke microphone base. In most cases, if you simply press the Input or Source button a few times, the main menu screen for the karaoke system should appear on your TV screen.
- Use the arrow buttons on the microphone to scroll through the song menu and select a song. Press the OK or Enter button on the microphone's touch pad. Adjust the volume using the TV remote control and sing the song.
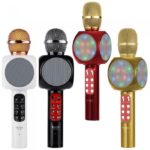
How to connect a wireless microphone
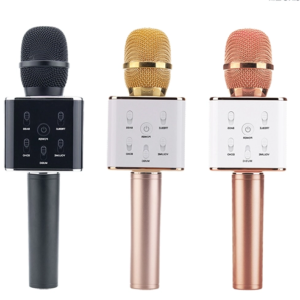 You may need a karaoke sound system or a speaker system.To sing for these systems, you need to buy a converter that converts the digital audio from your TV into an analog signal that the karaoke or PA system can detect.
Impro AC-98 is the converter needed to connect Smart TV to a karaoke audio system. Connect your TV from the optical digital audio input to the SPDIF input of the converter. Next, connect the red and white RCA cables to the converter and your mixer's audio input.
Take the TV remote control. Select the Settings menu, go to Sound Settings and find the audio format. Select PCM under Audio Format.
When you select PCM, the sound from the TV speakers is muted. The sound will now be transmitted only to the speakers of your karaoke system.