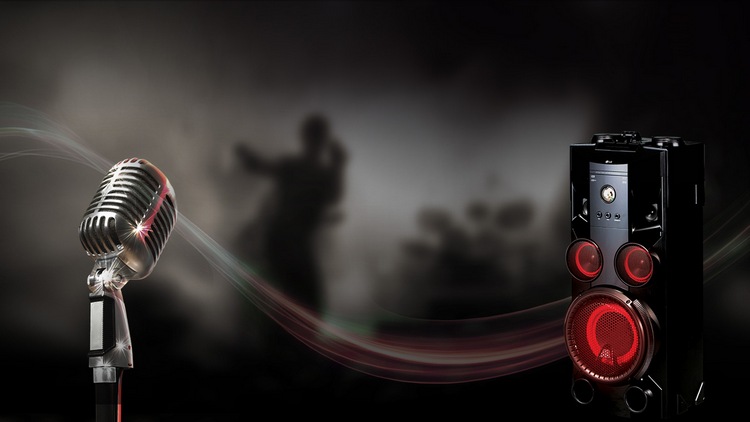
How to set up a karaoke microphone
 Karaoke is one of the most common entertainment found in most cafes and restaurants. But many fans would like to have the opportunity to sing karaoke at home. This may be due to embarrassment to sing in front of a large number of strangers, or simply to the desire to have fun in your spare time with your loved ones. In order for this wish to come true, you will need to purchase a special microphone that can be connected to several home devices at once, which everyone probably has in their apartment. How to properly connect a microphone? What difficulties might arise during the process for a person who has never done anything like this before? You will learn about all this in this article.
The content of the article
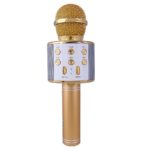
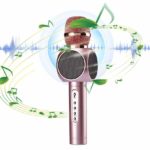
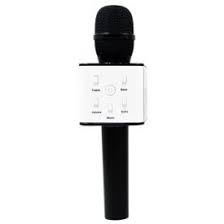
How to turn on a wireless karaoke microphone
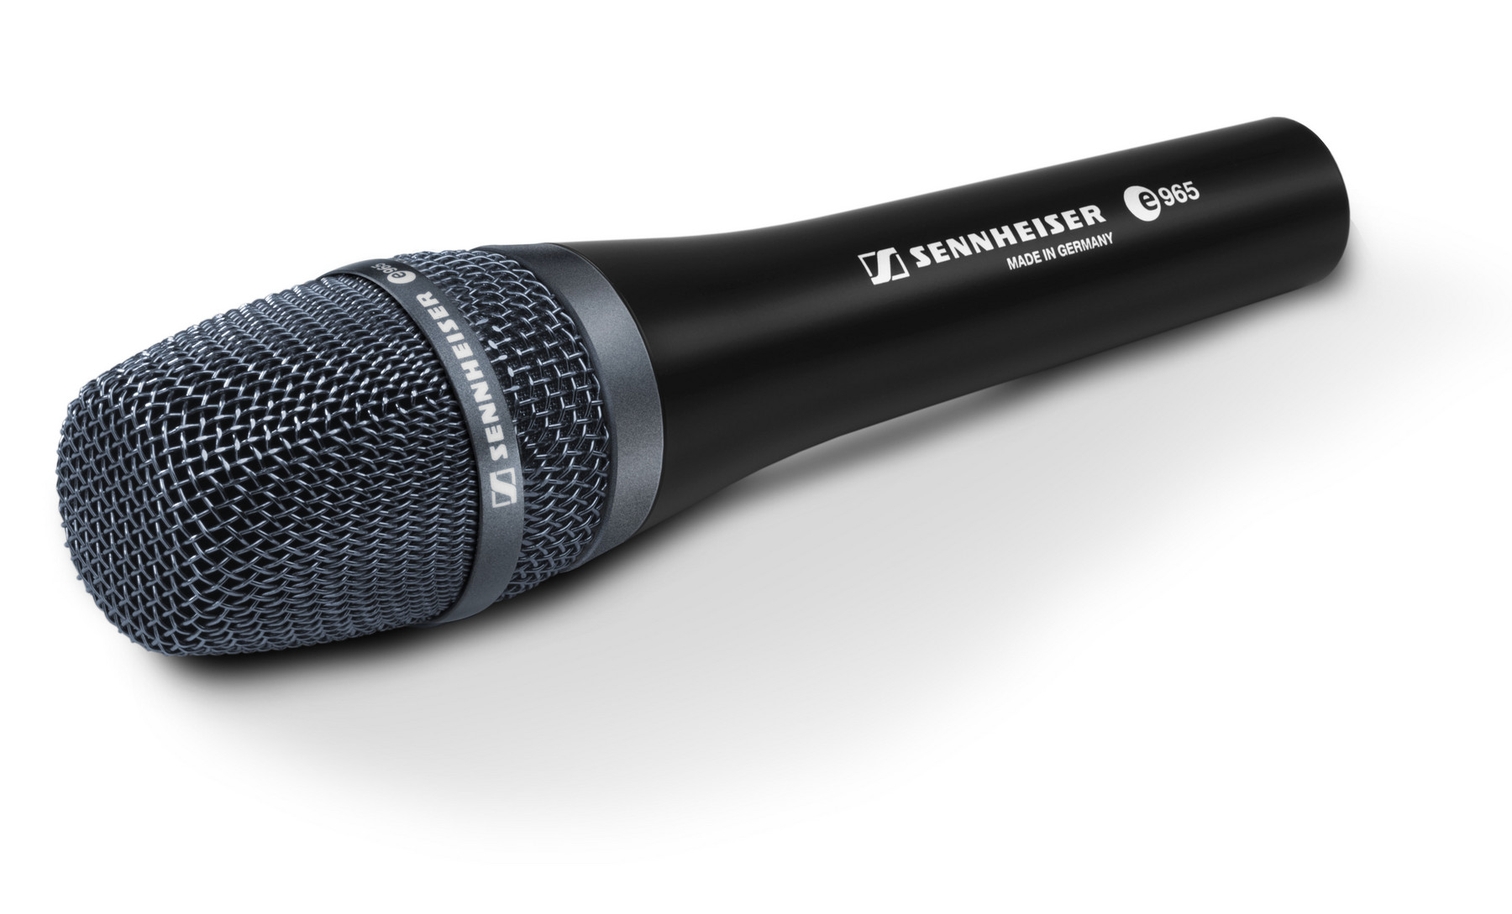
Over the past few years, wireless microphones have become available on the market and have become more popular than their wired counterparts. And this is not surprising: with a device that does not have a wire behind it, you can easily move around the entire room and apartment. This is especially convenient for those cases when many relatives or friends are invited. Passing such a microphone from hand to hand is also much more comfortable. How to connect it?
Not everyone understands how such a unit will actually work. Control occurs via Bluetooth, so you can connect the microphone to any device that has Bluetooth. Most wireless mice or headphones work on the same principle. Let's look at the most common options.
Connect to TV
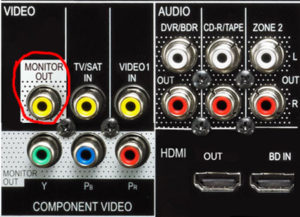 Undoubtedly, the best solution would be to connect to a TV. This will make it easy for anyone in the party to see the lyrics and take part in the fun. In addition, reading text on a large screen is more comfortable. To connect, you need to enable Bluetooth in the device menu, as well as the microphone itself. Make sure both units are working and connected correctly. After this, you need to find the one you need in the list of devices available for Bluetooth connection. Usually the name contains the manufacturer's brand and specific model. All the necessary information can be easily found on the box from under the unit.
Now that the connection is established, you can try talking into the device and check the sound quality. If everything works, then the microphone is ready for karaoke.
IMPORTANT! Don't forget that you need to download a special application, where there is a large selection of different songs for every taste. With its help, you can create entertainment right at home.
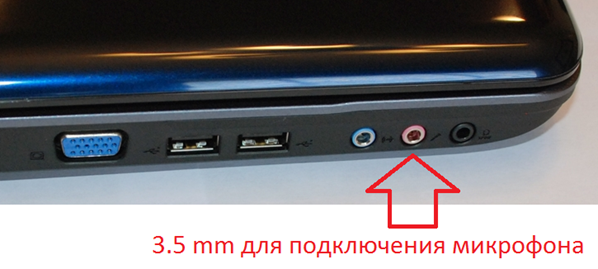
Connect to the computer
Many computers also have Bluetooth, but this applies more to more modern models. There are no fundamental differences in connection.
An option for those whose computers do not support Bluetooth is to connect using a USB cable. This does not require any special skills or additional materials. First, one cable is connected to the computer itself, and then to the device.Thus, you can enjoy karaoke not only on your TV, but also on another, no less convenient, computer screen. And downloading a special application for it will be even easier.
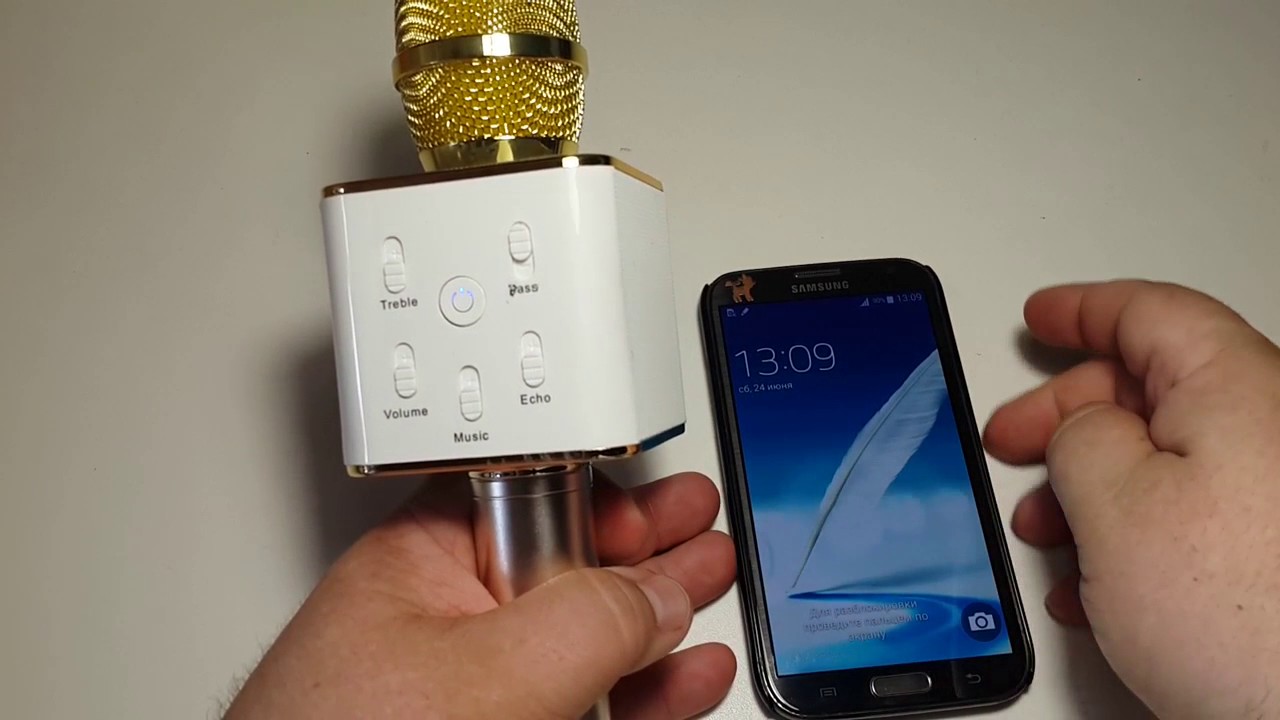
Connect to smartphone
Another advantage of having your own home karaoke is that you can even connect it to your smartphone. This option is suitable if there are not too many people invited or you generally want to have a blast alone.
The connection diagram is absolutely identical to any other. There are also two ways: USB and bluetooth. Choose what you find more convenient, download the application and start singing.
The setting will be made in the menu item called “Sound and audio devices”. Find the microphone there and adjust the volume. Some karaoke apps allow you to change the sound, add an echo effect, and other fun effects. If you don’t need all this, then you can complete the setup with just the volume level.
What difficulties may arise
In some cases, some connection problems may occur. It is unlikely that anyone will call a specialist to turn on the microphone for karaoke, so all problems will have to be resolved independently. But there is no need to panic. Any user can cope with this task, even those who do not have deep knowledge in the field of technology.
What can go wrong during the process? Of course, the most annoying problem is that the microphone may simply not start working. Let's find out what needs to be done in this situation.
Karaoke microphone does not turn on
First you need to understand the problem. Two situations can occur: either the TV/other device does not see the microphone at all, or the connection has formally occurred, but no sound appears. Both of these situations can be solved independently by performing a few simple operations. First of all, just restart the program. Something may have gone wrong and restarting will solve the problem.
Another option would be a signal booster. It is purchased in specialized stores.
IMPORTANT! Be sure to consult with the seller about which amplifier is best to buy. He knows a lot more about all the products provided in the store, so you definitely won’t make a mistake and throw money away.
You can also go to settings and check the set sound volume. If it is at a minimum, then all that remains is to move the slider to the desired place.
Now you know how and to which devices you can connect a wireless microphone. Thus, you can easily arrange karaoke at home and not go to some cafe, where most often you can get on stage only a couple of times per evening - large queues deprive you of the opportunity to sing your favorite songs all the time. But with home karaoke, any holiday will become more interesting and brighter, and each participant will feel like a real star, holding a microphone in their hands. With the knowledge gained after reading the article, you will be able to get rid of any problems that occasionally arise in the operation of the program and improvised devices for home karaoke.