Where is the microphone on a laptop?
 All modern laptops must meet the high demands of users and have a number of built-in components that allow them to be used anywhere, anytime. Among these components are: built-in modems that work with most networks, touch screens, high-capacity batteries and, of course, all possible means for comfortable communication with other network users.
Almost all modern laptops have a built-in microphone, which allows for comfortable dialogue in instant messengers and social networks. Below is information about the location and configuration of microphones on devices from various manufacturers.
The content of the article
How to find out where the microphone is on a laptop
In order to understand where the recording device is located in the laptop design, you first need to read the instructions from the manufacturer.
Most of them practice describing all the technical characteristics and built-in components of a laptop in the instructions and manuals that come with the laptop itself. In addition, on special boxes labeled by the manufacturer or hardware stores, there are small stickers with a list of specifications that describe all the technical characteristics of the device.
IMPORTANT! If you are using a laptop purchased second-hand or simply cannot find the necessary information in the instructions, you can look for the necessary information on the company’s official website.
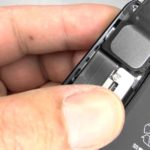
Most laptop models have a special marker icon that displays the location of the microphone on the laptop body.
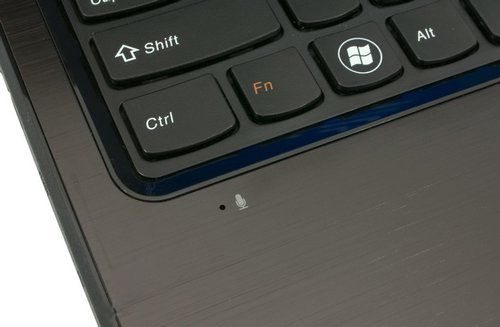
The hole located next to the marker icon is the exit to the built-in sound recording device.
In addition to the option shown in the picture, such a hole can be located on any internal part of the case - from the panel located under the keyboard to the upper frame of the built-in screen.
Acer
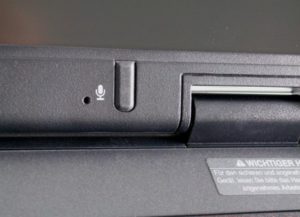
Laptops from the manufacturer Acer typically have a microphone located next to the built-in webcam. Most often, you will be able to find the hole for the built-in sound recorder on the top frame of the screen, as shown in the picture under number 2.
For older models, the microphone is typically located in the lower left corner of the case.
Asus
Most of the built-in microphones in the Asus laptop line are on the internal chassis and are located directly next to the keyboard. In more modern models, the sound recording device is located above the keyboard, while in older models the microphone is located in the lower left corner of the case.
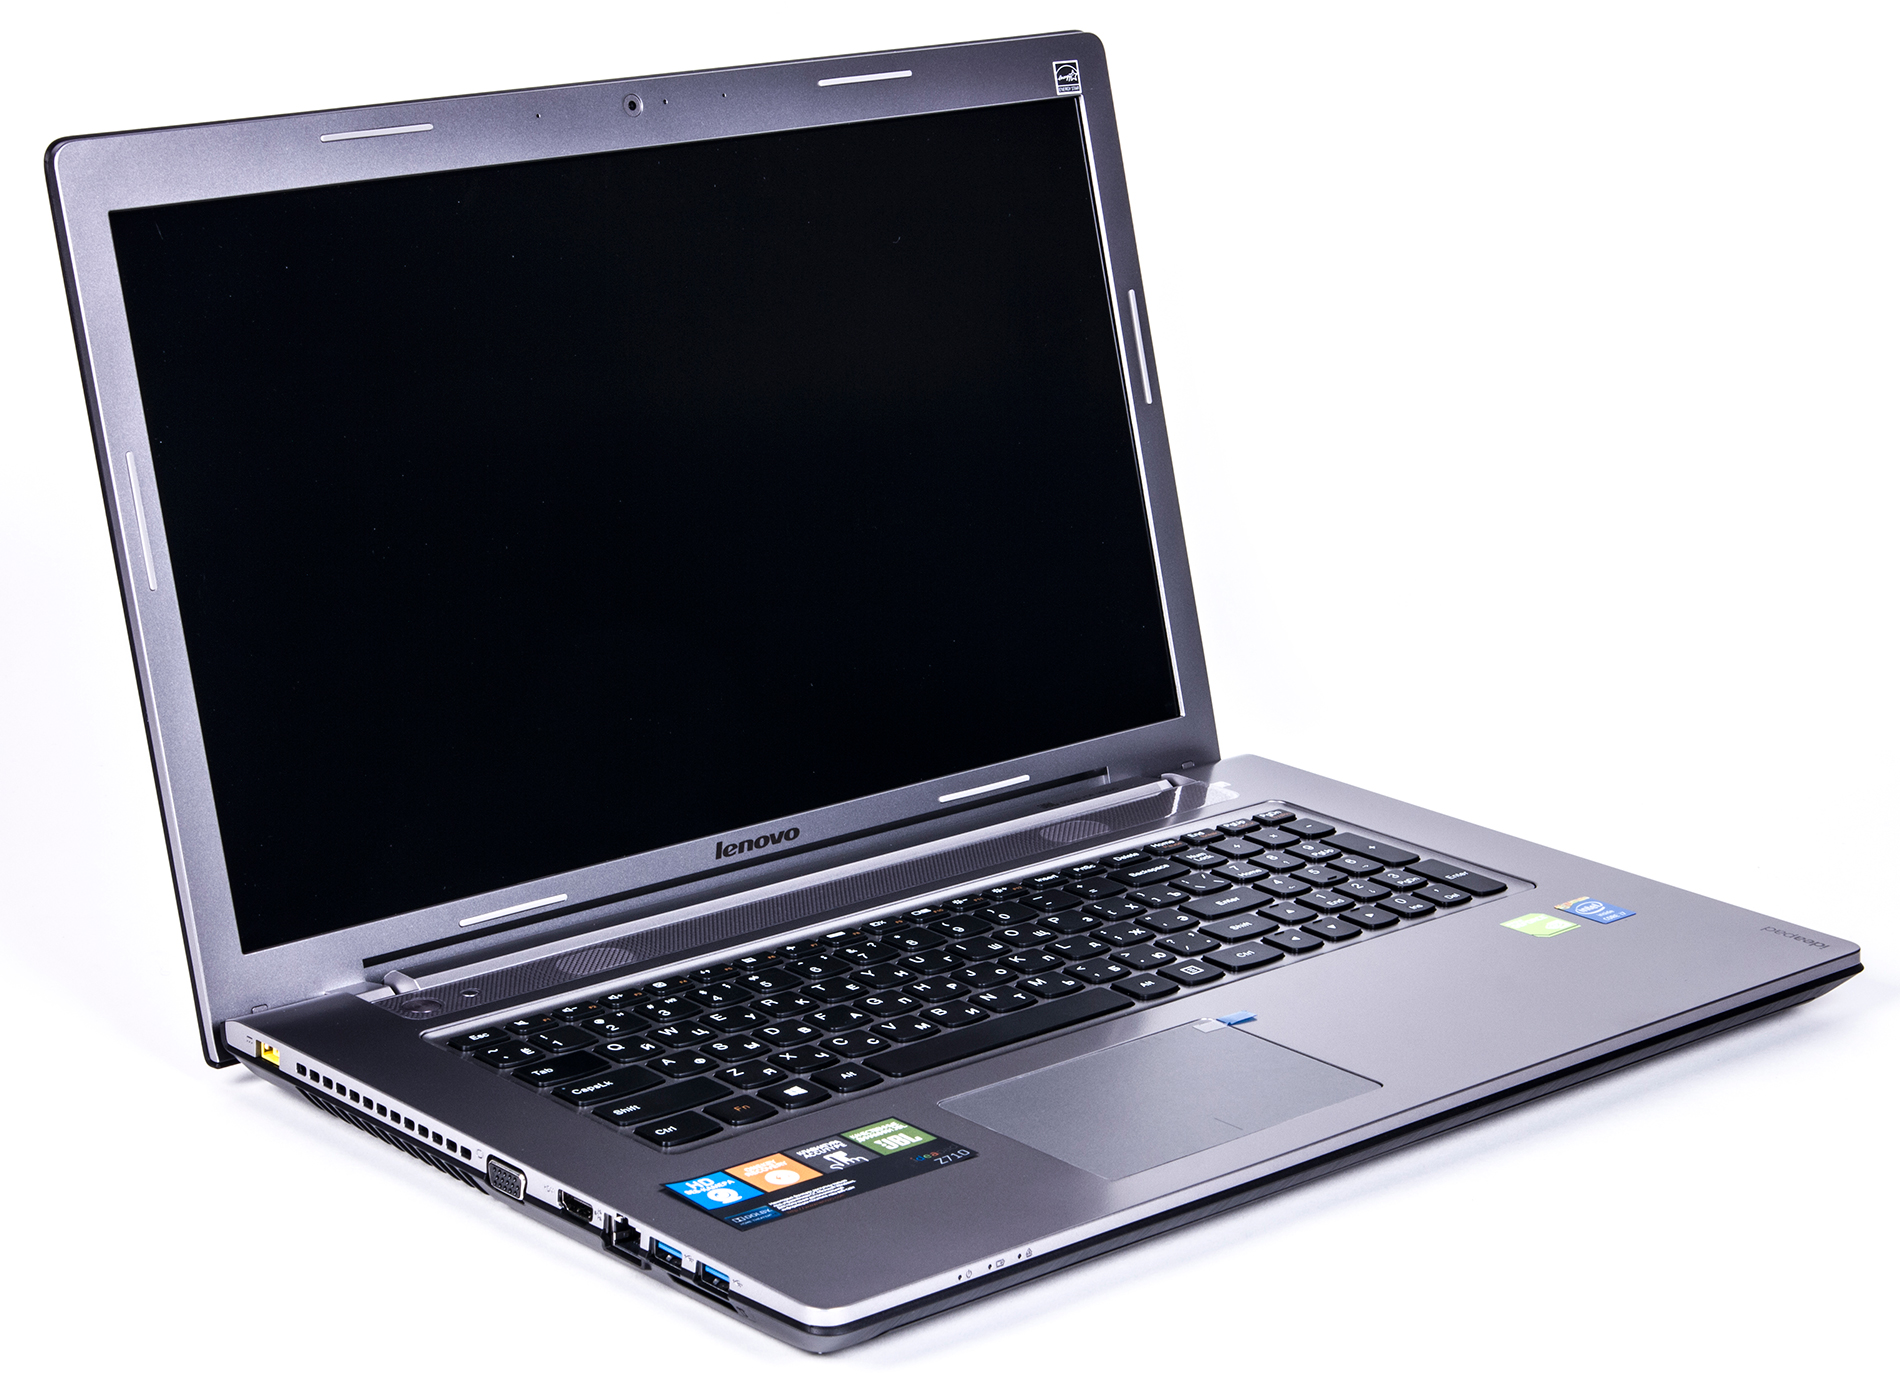
Lenovo
Laptops from Lenovo are characterized by the location of the built-in microphone on the top frame of the laptop screen. You can notice them directly next to the built-in webcam lens in the photo below.
IMPORTANT! Regardless of the model and manufacturer of the laptop, most modern built-in sound recording devices are located directly next to the webcam lens and are often not indicated by a special marker icon.
Most often, you can find the output hole for the audio recording device in the lower left or right corner of the internal case, just below the keyboard.
If you cannot detect the microphone, carefully inspect the surface of the laptop case above the keyboard or examine the frames of the built-in LCD screen. It is in these parts that there is often a small hole in the built-in audio recording device.
How to set up and enable the microphone on a laptop
Despite the abundance of manufacturers and the existence of completely different laptop models on the market, there is not much difference in setting up the built-in microphone. This is primarily due to the fact that most modern models run on the Windows operating system.
Of course, a number of manufacturers offer to use additional pre-installed software of their own production to fine-tune laptops. However, it makes no sense to consider all such existing programs, since information about the interface of such programs may no longer be relevant with the release of the next software update.
More useful information would be a description of the process of setting up a microphone in the Windows operating system itself.
For Windows 7, the most convenient and easiest way to configure is the following:
- In the lower right corner of the control panel we find the speaker icon.
- When you right-click on the icon, select “Recording Devices”.
- In the window that opens we see all connected recording devices.
- Select the microphone and right-click on it.
- In the list that opens, select the “Properties” line.
- At the bottom of the window that opens we see the line “Using device”.
- Select “Use this device” and click the “Apply” button.
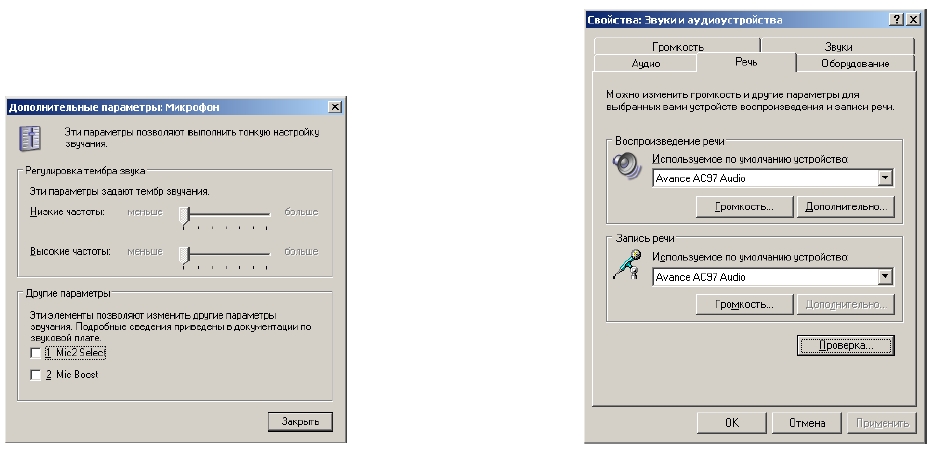
Also, in the microphone properties window, you can check the relevance of the drivers used, adjust audio recording levels and enable noise reduction mode (for the Windows 8 and 10 operating system).
After you have completed all the above steps, a green check mark will appear next to the microphone icon in the list of recording devices. This means that the device is connected and recognized by the operating system. You can check the audio recording volume in the properties of the connected device, and also change the recording volume by going to the “Levels” tab.
If the built-in microphone does not appear in the list of devices, you need to update the sound driver and then follow the steps described earlier.