How to connect an MFP to a laptop
 When purchasing an MFP, it is important to understand not only the features, but also all the acceptable principles for further interaction. So, in order for it to work properly, it is important to reproduce the connection, following certain recommendations. There may be several options. In this article we will look at the most common methods.
The content of the article
Popular methods
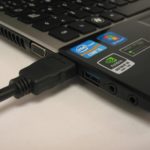
In this topic, two types of accession can be distinguished: through wired and wireless communications. The first one will directly require a USB cable. The general procedure is the following algorithm of actions:
- The first step is to turn on both the computer and the printer.
- After which the two inventions are fixed using a cord.
- Then it is necessary to install special drivers.
REFERENCE! To do this, you will need a disk, which should initially be included with the first of them.
- Thanks to the provided tips, you can easily download and set up the program.
- Finally, the name of your own equipment should appear in the list. Consequently, after this the user has the opportunity to fully exploit the invention.
Below we will analyze in detail each working alternative using the Internet.
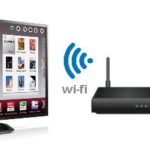
How to connect an MFP to a laptop - wireless wifi network
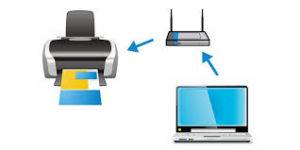 In principle, the interaction between an MFP and a laptop is practically no different from its functioning with a personal computer. However, it is worth understanding that in the first case there is a possibility of carrying out an action, which precisely involves the introduction of wifi support. Indeed, this variation makes the process easier and takes less time.
ATTENTION! The ability to operate wirelessly on two units simultaneously is a prerequisite for this.
Method 1 - HP Smart Install
To achieve results, it is important to perform the described sequence of manipulations: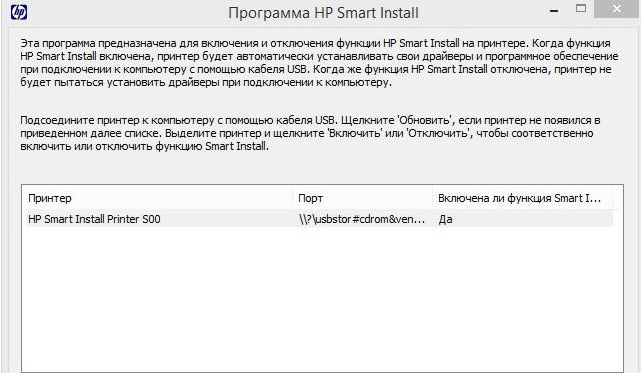
- You must first power up both devices by pressing the power button.
- It’s great if your equipment supports the named program. All you have to do is combine the included inventions and activate the function.
- After which you will need to wait a few seconds for install to install.
- Then you need to assign a specific connection method, namely wifi. Thanks to the tips, you can complete the setup and start using the technologies.
IMPORTANT! To see if your hardware can communicate with this program, it is best to refer to the instructions. It usually looks like this:
2-way - WPS
If the laptop and MFP guarantee wps support, then it is advisable to use a slightly different method. However, you should first verify the possibility. An information sheet is useful for this - for the printer, and for the router - the back side of the surface. If there is an icon (a circle formed from arrows) and a connection code, then you can proceed to the main part of the procedure. It consists of the following points: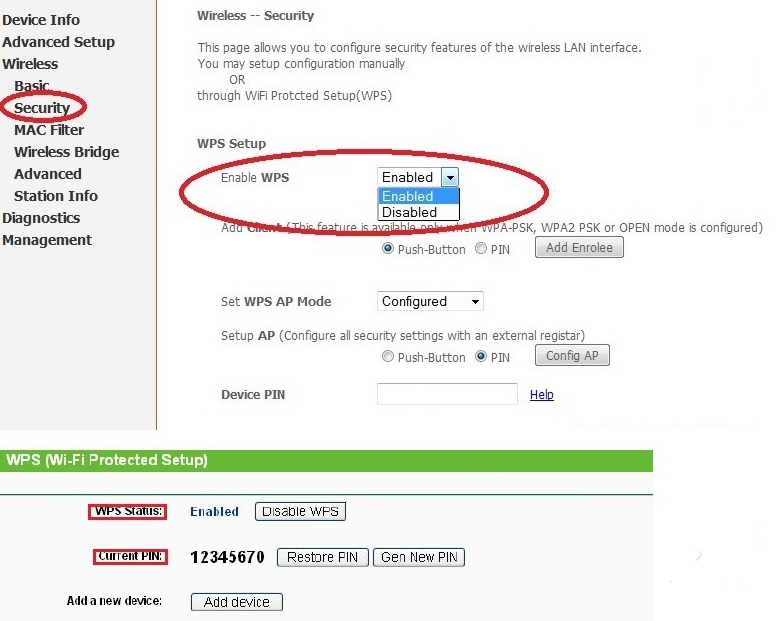
- You need to activate the described ability directly on the router. There is a button for this, so you need to click on it.
REFERENCE! After this, a signal should appear on the indicator.
- The same product should be found on the MFP. With its help, you must also turn on the unit.
- Now all that remains is to wait some time until the connection is made.
ATTENTION! It may happen that the presented part will not be available. In this case, the best outcome would be to turn to another option:
- Regulation is carried out through the router interface. Thus, the user needs to go to the tab called Security, and then go to “WPS Setup”. It’s also important to check the “Enabled” parameter.
- Thus, a window will appear where you will need to enter a special code.
- Finally, MAC filtering should be eliminated.
3rd method - use the connection wizard
For those who want to get a guaranteed and safe result, it is recommended to take into account the third method.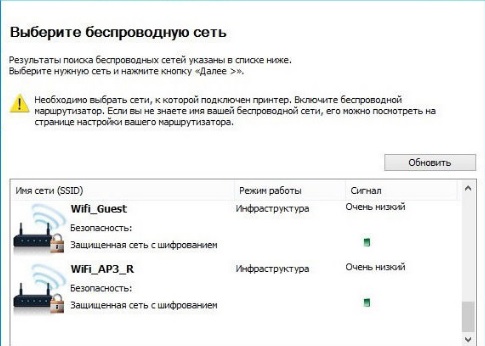
- As usual, you first need to turn on the printer.
- Directly on the computer, it is important to go to the “control panel” section and click on “settings”. Subsequently select “network”.
- Now the laptop will automatically be able to find the wireless connections available at that time. As a result, you will be provided with a list from which you need to select the required SSID name. Otherwise, you can rely on manual input.
- Next, you should provide an access password (WPA or WER).
ATTENTION! It is recommended to install certain drivers as needed.