How to connect an MFP to a computer
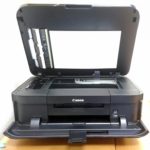
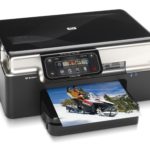
MFPs combine the functions of a scanner, copier and printer in their housing. By and large, this is printing equipment combined with a scanner. Often this technique causes many problems for users regarding the connection and settings of the device. But everything is very simple.
The content of the article
What you need to connect
There are several options for connecting the MFP:
- Local. This option involves connecting the MFP using USB or WIFI. Moreover, the connection is made using software that is included as standard. Usually such a connection occurs without problems.
- Network. With this option, the device is connected to the PC locally and, through shared access, allows the printing device to be used by other computers. A networked MFP can be made by connecting the equipment to a PC and allowing printing access to all network users.
Important points
Before setting up your printer, you will need to become familiar with the following operating characteristics:
- You need to go to the equipment properties and find the “Fax Properties” section. Here you will need to fill in the appropriate fields. You will definitely need to specify the number and turn off the “Error Correction” function.
- Afterwards you need to configure the printing parameters.
Reference! If the MFP is installed in the office, and there is a mini PBX, then it is necessary to update the equipment software. This can be done on the website of the manufacturer of this printer.
Step-by-step connection
Situations often arise when the number of MFPs is less than PCs on this network, and when printing files, additional equipment settings are required to print files. In these cases, there are several connection methods.
MFP to computer via USB
When installing equipment, you need to use the appropriate drivers:
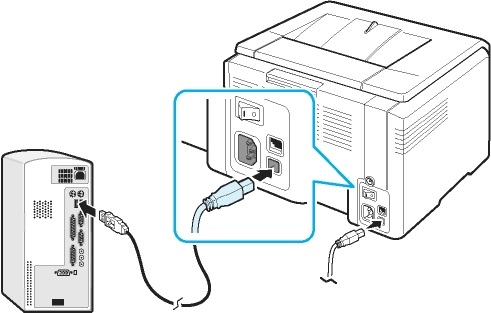
- Before connecting the printer, it must be powered from the electrical network and, of course, to the PC. Then you need to start the hardware driver. If the device is new, then taking into account the instructions, you need to remove the transport tapes.
- Then you need to turn off the printer and insert the USB cable into the appropriate connector. Then turn on the printer.
- The computer will see the MFP, and a message will appear below indicating the equipment found. An installation window will then appear, indicating further actions. You will need to click “Next” after installing the software CD.
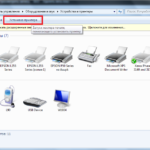
- Then, when the required programs have been installed, you will need to go to Start. Then in “Printers and Faxes”. If there is a problem, the equipment will not light up.
- If the installation is successful, you need to check the print. Right-click on the name of the MFP and open “Properties”. Then find “Test Print” and click on this item.
- Drivers for the equipment can be installed from the “Printers and Faxes” menu. You will need to double-click “Add a printer.” The setup wizard is then activated and the corresponding menu appears. Here you need to click “Next”. If you want the operating system to find the connected equipment itself, you need to check the box next to the “Automatic printer installation” menu. Then the MFP is searched and drivers are downloaded.
- If the required software is not available, you need to go to the printer manufacturer's website and download the driver from it. Why do you need to enter the name of the device manufacturer in a search engine, preferably in English, and press “Enter”. Drivers are most often in the form of an unpacked archive. Due to this, there will be no difficulties during installation.
MFP to computer via Wi-Fi
Typically, this equipment is connected via Wi-Fi only using a separate access point. You can connect the device via Wi-Fi only using a USB cable:
- Before connecting the printer using Wi-Fi, you first need to configure the access point.
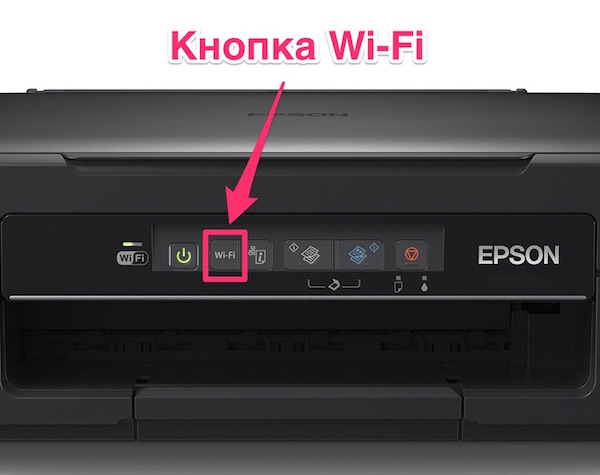
- Then you need to configure Wi-Fi directly on the printing equipment and then connect it to the access point. Now the software for the MFP is loaded onto the PC and the printer that is connected to the network is determined.
- You need to turn on the printing device and set certain parameters. Then you need to find the next point to connect the MFP via Wi-Fi and click “YES” in the window that appears.
- Then the "Quick Setup" menu is selected.
- When the equipment finds the local network, you must specify the Wi-Fi code specified in the router properties.
- Then you need to confirm the specified code. When connected to Wi-Fi, the light should turn blue.
Connecting your printing device to your PC using Wi-Fi or USB is very simple. This can help you set up the printing mode after moving or purchasing a new device. Moreover, you don’t need to wait for a specialist or spend money for his services.