How to draw on a computer with a mouse
 Drawing on a computer is a rewarding and fun process. Of course, it is more convenient to do this on a special tablet. However, if you don’t have it, but you really want to draw, then you can do it with a regular mouse. Read on to learn how to use your mouse to draw.
The content of the article
In what programs can you draw with the mouse?
Drawing with a mouse has its own specific features. For example, with its help it is very difficult to draw a perfectly smooth line and draw a contour. This is where graphics programs come to the rescue. At the initial stage, it is better to pay attention to editors designed for beginners. Let's list the most popular editors:
Adobe Photoshop. The program was developed more than 20 years ago and has limitless possibilities, hundreds of instruments and thousands of effects. It is better to download and install the paid version of the program, which will open up a wide range of its capabilities. You can also find a free product, but with limited functionality. It is a multifunctional item: suitable for both raster and vector graphics. However, the main potential lies in working with raster.
Paint Tool SAI. The program works with raster images and photographs, as well as vector format. The interface is easy to understand. There are eight tools for working on the screen.Learning advanced features takes time. Almost all hotkeys are taken from Adobe Photoshop.
Paint. This is one of the editors that is understandable and familiar from childhood. It is standardized and already installed on the computer. Among the shortcomings, only limited functionality can be noted.
How to learn to draw with a mouse: tips
 In order to master the process of drawing with a mouse, you first need to have a lot of patience, as well as a reserve of patience and diligence. You should carefully study the main recommendations:
- To create a drawing, it is better to select the brush tool. It is with its help that it is easier to achieve the goal than, for example, with a pencil, which draws only hard lines. You can adjust its rigidity, degree of pressure, and transparency.
- Instead of drawing one solid line, it is better to use more individual strokes and segments.
- There are already many ready-made elements in the editor. These are a variety of shapes and lines that can be transformed at your discretion. For example, they can be given color and thickness.
- You should master a set of hotkeys that allow you to quickly switch between tools.
- The eraser should be used with a low opacity level, which will reduce the sharpness of the lines.
- When working, it is very advantageous to use layers, since when painting you can go beyond the edges of the layer, and, if desired, remove them altogether.
- To evenly paint a certain area, you must first select it. This will allow you to stay within the boundaries and make the image more accurate.
ATTENTION! It's worth working at a larger scale to make the lines look more unmistakable and flexible. Periodically, the scale should be reduced to evaluate the results.
Where to begin?
 To begin with, it is better to choose simple drawings in order to bring some drawing processes to automaticity. These can be pictures based on ordinary geometric shapes: circles, triangles, ellipses and others. A striking example is a snowman or a Christmas tree. Having made the location of the main contours, you can begin the filling process. This can be done either with a special “fill” tool or with a brush. Next, shadows and more detailed nuances are worked out.
REFERENCE! Before you start drawing on the computer, it is recommended to make a preliminary drawing on paper. Therefore, the experience of ordinary drawing will certainly come in handy.
If you have any difficulties, you can draw a composition on paper, then photograph it or scan it and upload it to the editor. It’s even easier to take a printout of the finished picture or outline and scan it. Using a ready-made template, it is much easier to trace lines, change their thickness and color. You can also load the photo into the program and draw, constantly seeing it before your eyes. There are often situations when a person masters the process with a mouse so well that he doesn’t even want to switch to a tablet.
How to prepare to draw with a mouse
Computer graphics have a number of undeniable advantages over drawing on a piece of paper. There is a large set of tools involved here, and you don’t have to buy a variety of brushes and paints. In addition, it becomes possible to quickly correct defects and inaccuracies in just a couple of clicks.
 A digital drawing will not deteriorate under the influence of external factors such as rain, moisture, direct rays of the sun and much more. To make the process of drawing on a computer easier, you should carefully prepare for it.Buy convenient equipment in advance:
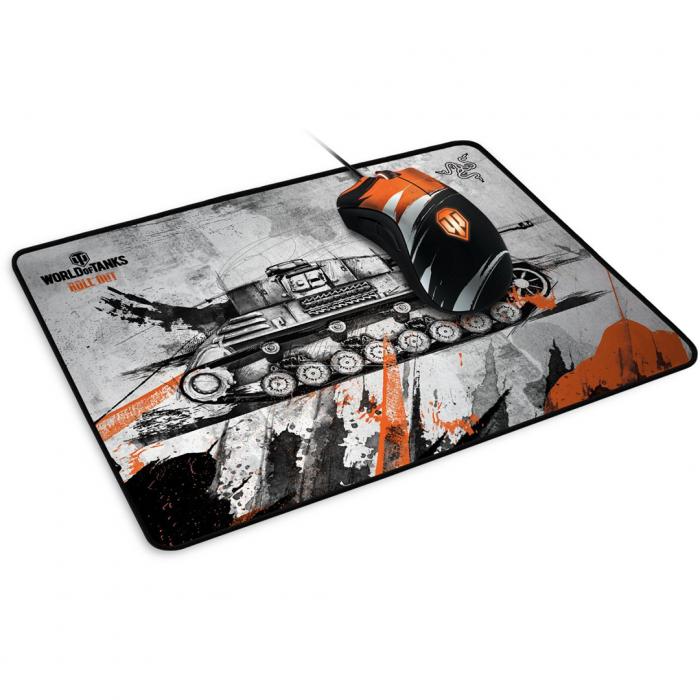
Rug. Most manufacturers have a series of mats specifically designed for graphic designers. Their production uses a special material that is not subject to rapid abrasion and looks like new for a long time. The slip coefficient was also calculated.
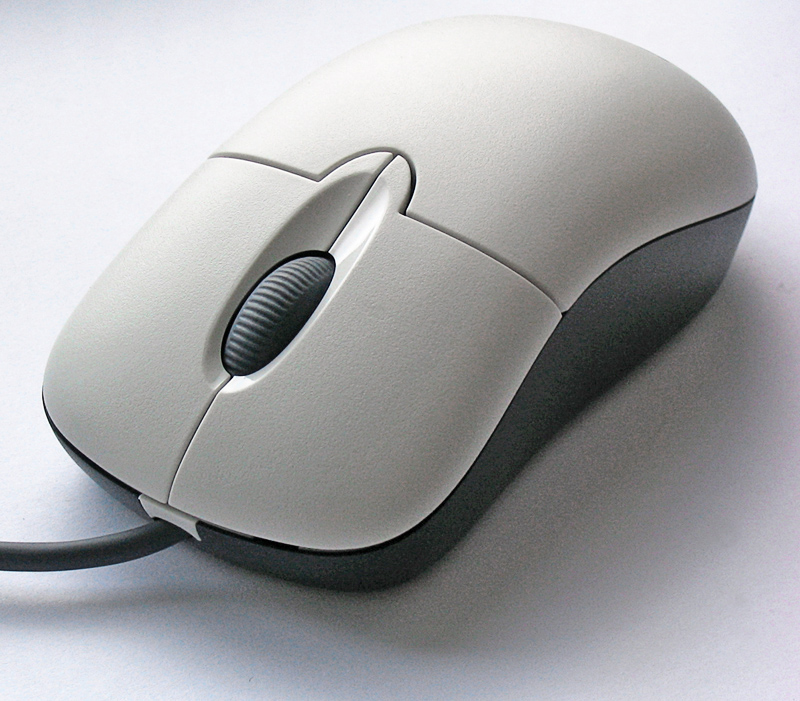
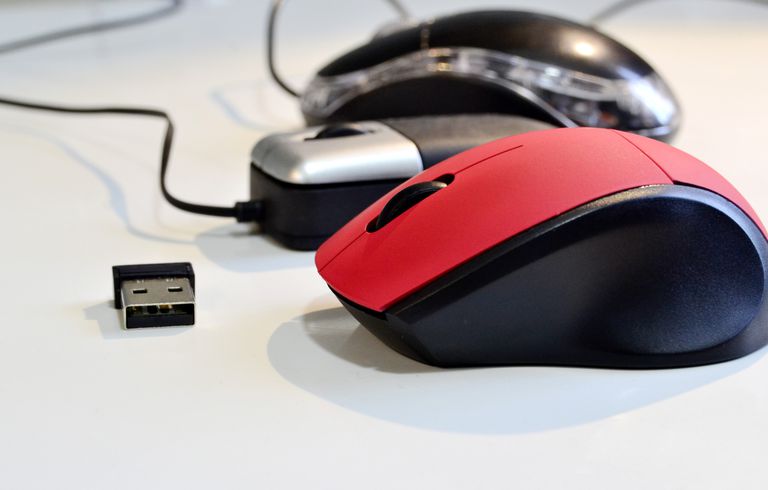
Mouse. It should be large and fit comfortably in your hand. Nothing should strain or restrict movement, since the drawing process can be very long. The speed of reaction from each movement made should be lightning fast. The mouse must have precise cursor positioning when clicked. A quality product may be expensive, but the result from the process deserves it.
IMPORTANT! Download and install the graphic editor in advance so that in the future you will not be distracted from the main process. Some are distributed free of charge, but with limited functionality, while others cost a lot of money. There are also programs already installed on the computer.
Computer graphics are very popular. Thanks to a regular computer mouse, you can begin to master the drawing process and, perhaps, reach a more professional level in the future. We hope that this article will be useful and help in mastering a new skill.

