How to connect a wireless mouse to a computer
A wireless mouse is an improved version of the standard (wired) model, a more convenient type of equipment. Often buyers of such a device are faced with the question of how to connect it to a computer/laptop. In this article we will look at what types of wireless devices there are, learn how to connect them and find out how they differ.
The content of the article
Basic rules for connecting a wireless mouse
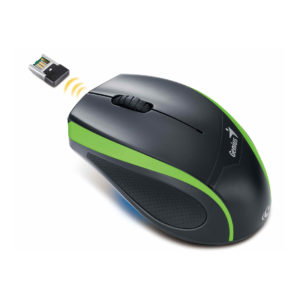 There are two types of wireless computer mice: Bluetooth and RF. The first option is a device that connects to your computer using Bluetooth software. Bluetooth has sufficient data transfer speed to support the mouse. Its only drawback is its short working distance (from 6 to 10 meters, depending on the program version), but it is quite sufficient.
The second type is a product with a remote sensor, which comes with the gadget. The standard sensor is designed for a USB port to which it is connected to communicate with a computer. The sensor will ensure stable and continuous operation of the device, while Bluetooth may freeze if the computer is heavily overloaded.
Now, having determined what type of device you have, let’s move on to connecting to the laptop. First, let's look at the steps for connecting a gadget with a frequency sensor:
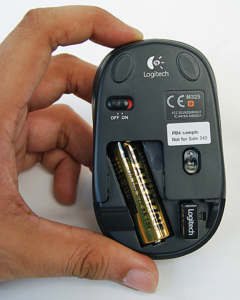
- Turn on your mouse.The device requires an AA battery to operate, please check if it is available. Next, find the switch that turns on its power. It is (usually) located in front of the SCM, that is, the wheel or on the side in older models. If you find it difficult to find the switch, use the instructions for the device. After turning on, the sensor will “light up”, which means it is turned on.
- Sensor connections. The sensor is connected to the USB connector. To connect it, find such a connector on your laptop. Look closely inside to see the location of the contact panel and insert the sensor according to the desired location.
- Check the drivers. They are usually installed automatically by the OS. Otherwise, you will have to reconnect the wired one and download the driver package for the controllers, depending on your OS and its bit depth (x64 or x32).
Connecting a wireless mouse on Windows 7
 Activating a Bluetooth mouse is not difficult, but you need the program and its support. The program is installed on the laptop with factory settings, and its Bluetooth support is installed in the hardware. On a computer, the operation of the program depends on the Bluetooth support of the motherboard. You can check its presence from the characteristics of the computer or a separate board if the assembly was carried out manually.
Connection steps:
- Turn on your mouse. Similarly, check for the presence of a battery and find the switch to start it. After turning on, the gadget will begin to signal that Bluetooth is working. All that remains is to connect to the computer.
- PC connection. Go to the control panel and find the “connected devices” tab. Next, find the list of “controllers” and in the tab find the name of your Bluetooth mouse. Then just click on it and the PC will instantly install the drivers.
Connecting a wireless mouse to Windows 10
 Connecting to the tenth version is not complicated for both Bluetooth and the mouse sensor. This OS also simplifies the handling of a Bluetooth mouse - if there is no wired one connected, it automatically connects to the gadget. And RF always has drivers available on the PC, since they are built into the factory settings of the OS.
How to Connect a Wireless Mouse on Mac OS X
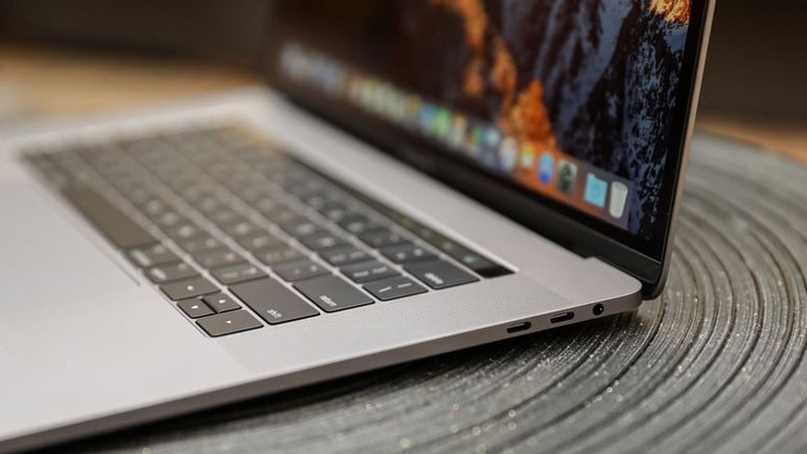
 Apple PCs have built-in additional settings that simplify the Bluetooth connection process. But some MacBook models do not have USB 2.0, which is replaced by USB-s. In this case, you will have to connect an Apple RF mouse with a suitable port.


