DIY speaker housing
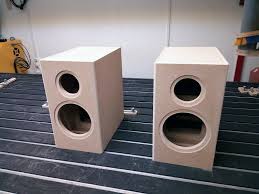 The modern market offers consumers a large number of options for speakers and acoustic systems. But the most convenient option to acquire an audio device is not always to buy it. There are situations when it is preferable to assemble the speaker housing yourself, especially since it is not difficult.
The content of the article
What can you make your own speaker housing from?
A fairly wide range of materials can be used as a material for creating speaker housings. The most popular of them is fiberboard. Less commonly used are ordinary wood, chipboard, plywood, MDF, and thick cardboard. Plastic and metal are also suitable for this, if you have the ability to process them. Description of each material:
- MDF is a wooden material that is most often used among factory speaker designs. It is distinguished by the fact that it resonates the least, is durable and easy to process. True, the quality of MDF varies.
- Plastic – If we put aside the processing and melting issues, this is a worthy candidate for a speaker enclosure. Lightweight, moderately flexible (depending on quality) and strong enough to ensure a long service life.
- Chipboard is generally a good material, if you forget about some of its shortcomings, namely fragility and fragility. What is meant here is not the general weakness of the structure, but intolerance to moisture and certain types of paint. Not suitable for everyone.Easy to process and a fairly cheap option. Varnish will help protect against irritants.
- LDSP – laminated chipboard. An improved option that does not need to be varnished. This material does not look very good in the original, but it can be painted, and the price is much lower than regular chipboard.
- Plywood - is divided into several subcategories according to the tree from which it was made. If the creator of a speaker cabinet is willing to put up with processing difficulties and a considerable price, then plywood is perfect for him. The point is that, as it dries over time, any wooden product bends like a screw, and in plywood this distortion is quite pronounced. If you make it from plywood, then you don’t need to cover the product with anything: its advantages will be negated.
- Solid wood requires high costs, but ultimately rewards the user with minimal exhaust emissions. This option is only suitable for the sake of realizing that a lot of money has been invested in the speaker body. The only advantage is the natural appearance.
- Thick cardboard is a cheap and short-lived option. On the other hand, even a child can handle such a case.
- Metal is a heavy and expensive choice of material. In addition, you need to be able to process it correctly. If this works, the user will end up with a speaker with a metal body, which adds style.
Instructions: how to make a body?
After choosing the material, you need to decide on the dimensions of the case. If you have the “internals” for the speaker on hand (wires, speaker, etc.), it won’t hurt to choose a size so that everything fits, but is not too loose. Excess empty space inside the speaker housing can cause damage.
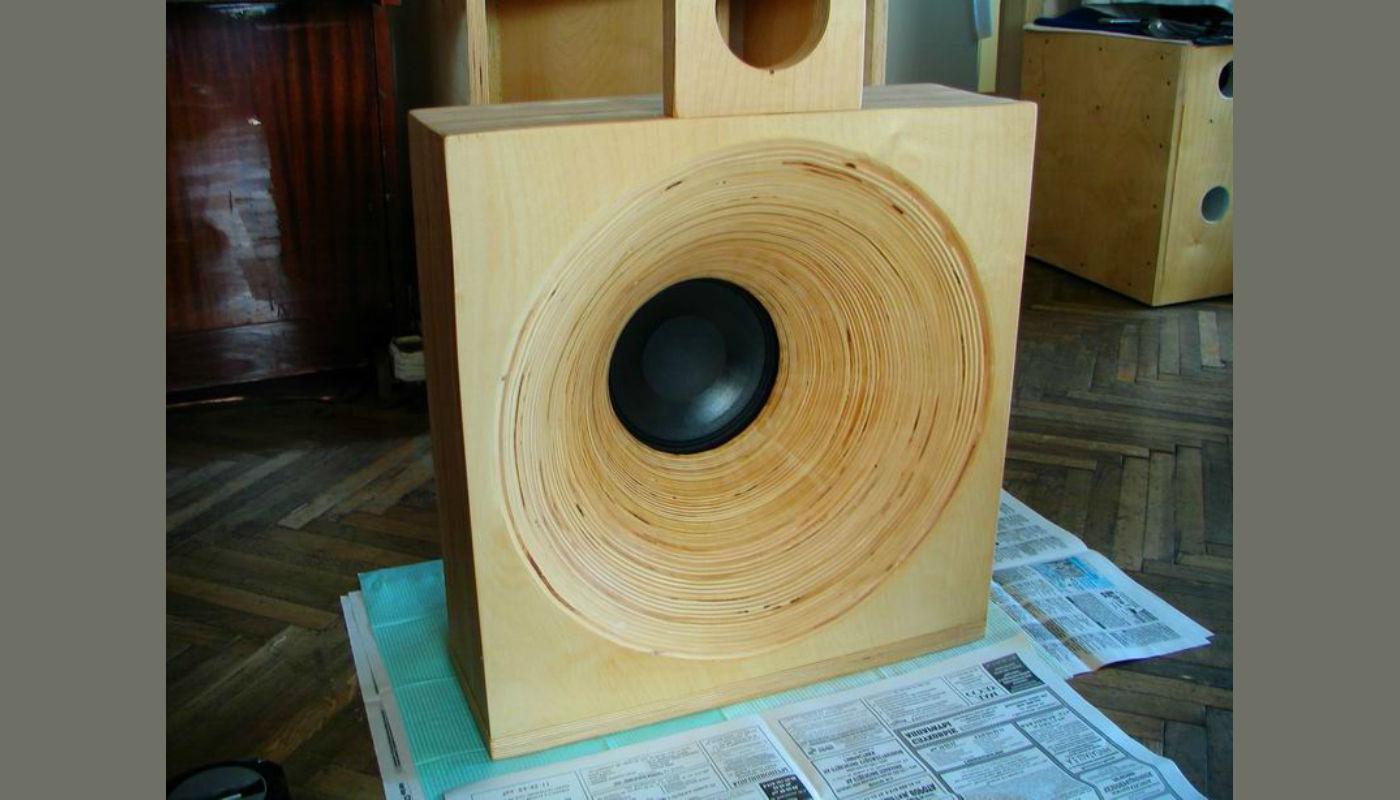 Classically, the electronics of the speakers consist of a rectangular parallelepiped of the optimal size, but it is not necessary to make this shape the final one: after the rough filling, the creator will still have the opportunity to add decorative details that will change the shape and appearance of the speaker.
After the measurements, the direct cutting of the primary material follows in order to obtain the necessary parts. Roughly speaking, you will need six plates, three pairs of different sizes, or all the same - it’s up to the creator to decide. Do not forget that the overlap between adjacent sheets should be equal to the thickness of the material.
After making all the necessary parts, all that remains is to connect them. The type of connection depends entirely on the preferences of the owner - it can be glue, nails, screws, construction staples, and anything else. You just need to leave one plane to place the electronics inside.
REFERENCE! Speakers will require stands to prevent communication between the actual sound device and the shelf, table or floor on which it sits.
Stands can be easily made from small weights intended for construction scales. These small, and most importantly, inexpensive items will fit perfectly into the interior and will cope with their task.
How to put content inside?
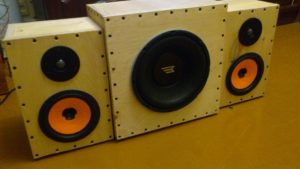
First you need to select the side that will be the “front”, and drill a hole in it for the speaker, then insert it into this hole and screw it (glue it, nail it, if desired). It is advisable to place the remaining insides so that none of the wires are bent or pressed, and small parts do not emit play. If the size was chosen correctly, everything will fit.The final step is to attach the last plate that will close the box.



The article was written by some stubborn dude who doesn’t know anything about sound. Let's start with the fact that it is not even mentioned here that the structure of the speaker itself greatly affects its sound. well let's end with this