DIY housing for bluetooth speakers
We all like to listen to good music on quality devices. Nowadays, technology allows you to connect devices to listen to music in a completely contactless way, thanks to bluetooth. But such technologies are often accompanied by high costs, and this is not suitable for many. This article will help you make a Bluetooth speaker for listening to music with your own hands.
The content of the article
What to make a casing for bluetooth speakers from
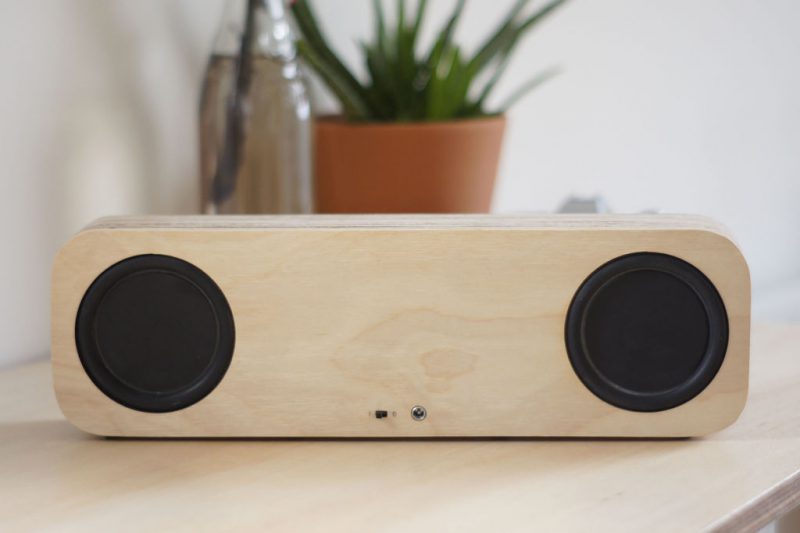
The housing for a homemade speaker can be made of different materials, for example, plastic, thick cardboard, metal, wood. It is recommended to make the body from wood, since the material is available in any hardware store, is quite strong, and can be easily processed by hand.
Just purchase wooden plywood with an approximate thickness of two to three millimeters. Also, to create the body you will need a pencil, nails or hot glue. You will also need a regular or electric jigsaw and sandpaper.
To create the system itself you will need:
- A speaker, preferably small in size.
- Bluetooth board.
- Smartphone battery.
- Amplifier.
- Switch.
- Activation button.
- USB charging connector.
- Wires.
How to make a case for a portable speaker with your own hands
In order to make this product, it is important to first fulfill the safety conditions.Put on safety glasses, protective gloves, and prepare your work area and materials for making a homemade product.
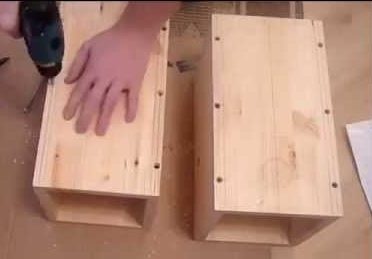
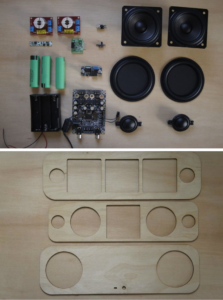 The first step is to mark the main sides of your column on the plywood with a pencil. It is recommended to make the walls of the product small in size to save space and square in size for ease of execution. Also mark the grooves on the sides, thanks to which the walls will be attached.
- The next step is to cut out these walls with a jigsaw, and then go along their edges with sanding tape.
- After completing these steps, you need to determine the front, back and side walls. On the front wall, mark the hole for the speaker, and on the back wall, mark the holes for the connectors. Cut out the holes and sand them with sanding tape.
- Next, use a glue gun to connect all sides of the column except the top.
- After this, connect the wires to the Bluetooth board. Soldering locations are marked in the instructions for the board. In this way, solder the battery, connectors, amplifiers, start button and switches.
- Attach the speaker to the hole in the front wall, and the connectors, switches and start button to the back wall. Secure everything with hot glue so that nothing dangles.
- Secure the top cover and charge your homemade device using the connector and charger. If you wish, you can paint the column any color.
Your column is ready.
