How to make a crossover for speakers with your own hands
A crossover is necessary to separate frequency ranges in speakers. You can make the device yourself if you know the secrets of its creation.
The content of the article
DIY speaker crossover
There are two advantages to creating a crossover yourself:
- You can save money. You don't have to spend money on buying a device.
- Interesting collection process. This will allow you to understand the operation of the device and carry out the repair process yourself if it breaks down (after all, you will gain the necessary knowledge during the assembly process).
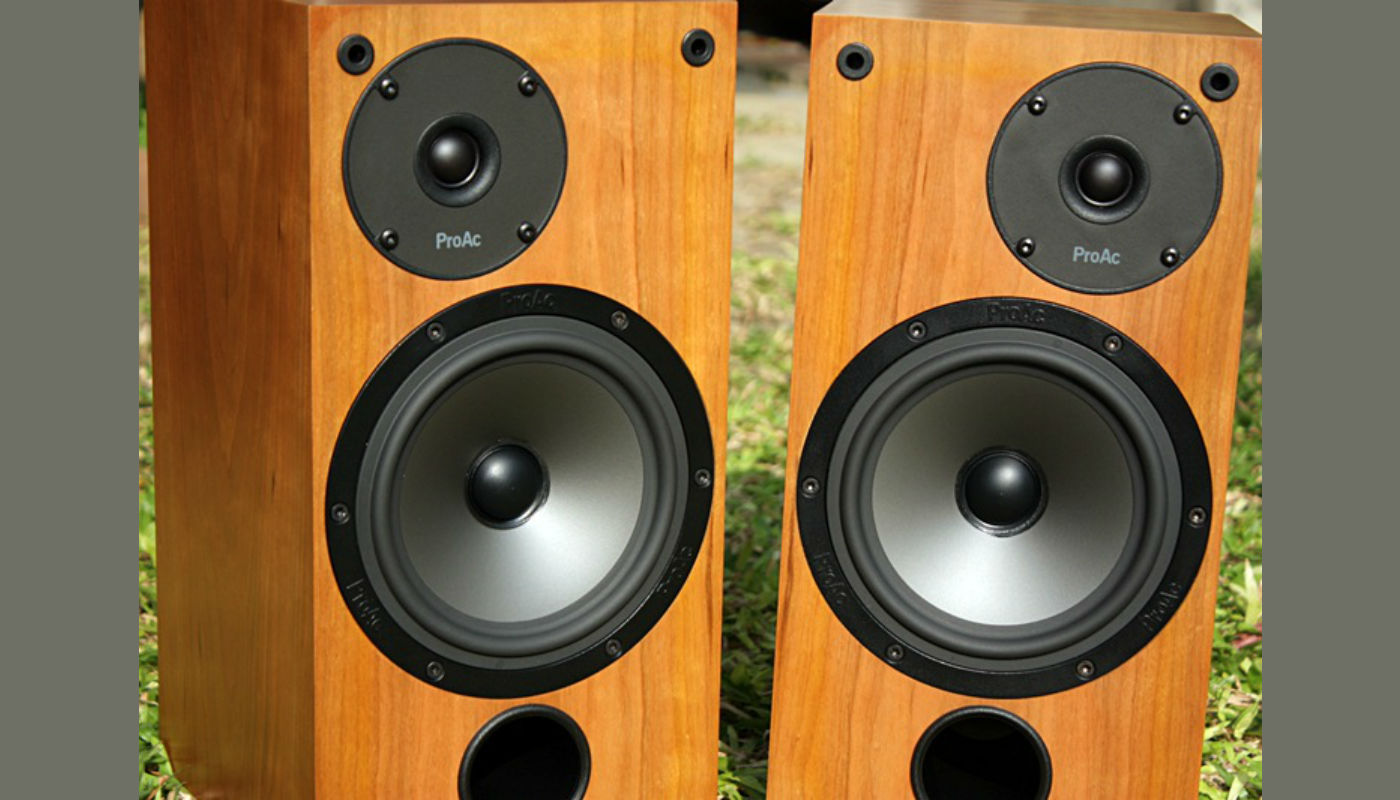
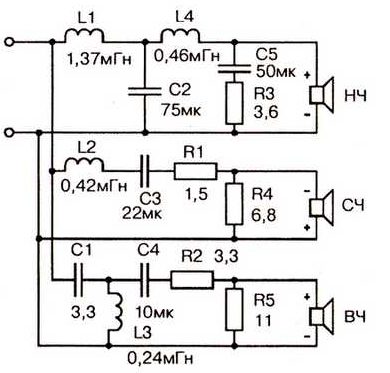
Crossover circuit
First we check the parameters of the speakers. It is necessary to carefully check the frequency at which they operate and the level of their sensitivity. The next step is to select an electrical circuit for connecting the crossover.
Advice! Experts advise focusing on second-order filters, since in small car interiors the frequency parameters rise.
If you connect the tweeters through a first-order filter, the hiss increases, and the woofers transmit more bright sounds. Therefore, together they form a confusion of their incomprehensible sounds. But the wide interior of the car can reduce this disadvantage.
Inductor
They need to be wound. If we choose a woofer, we must use copper wire 0.1 cm thick and coated with a special layer of insulation.In the process of winding the wire, you should make turns and secure them with glue.
Ferrite cores should be used to create the coil. They make it possible to reduce the weight and dimensions of the structure, and reduce wire costs (it is quite expensive). This also increases the open resistance of the coil.
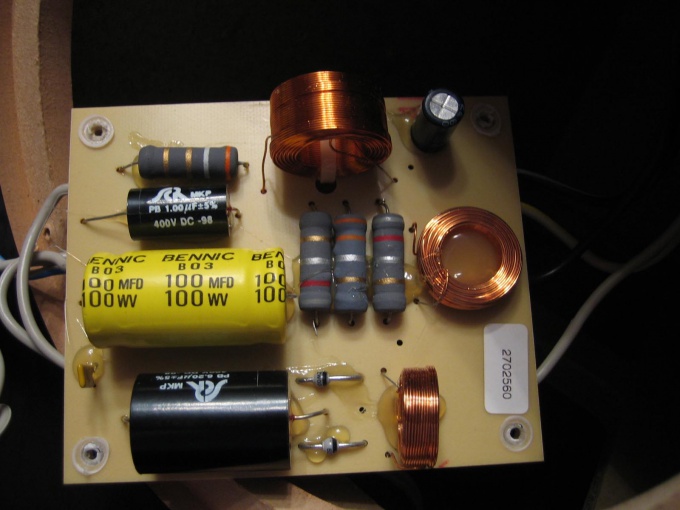
We get inductance, which can be controlled with a special measuring device.
How to make a PCB
Now you need to apply the board on paper. This is done by breaking away from the dimensions of the resistor and the coils that we wound in the previous step. After creating the drawings, the board is transferred to a special material (for example, foil fiberglass).

Now you need to drill holes to connect wires and parts. We also etch the board. To do this, a solution based on ferric chloride is placed in the semi-finished product.
Assembling and connecting the crossover: step by step
To assemble and connect, do the following:
- The inductors must be glued to the board. Don't forget about the capacitor. For this we use good glue. This is important because these parts often fall off due to shaking and vibration.
- Now you need to connect the speaker wires. To do this, use a standard soldering iron. Pay attention to the polarity and do not mix up the LF and HF speaker inputs.
- We fix the soldered wires with glue. They are also often damaged by shaking and vibration.
- Now you can connect the device. First, we make a test connection to make sure that the signal can be transmitted to the speakers.
- If necessary, turn on the resistor.
- You can use the device.
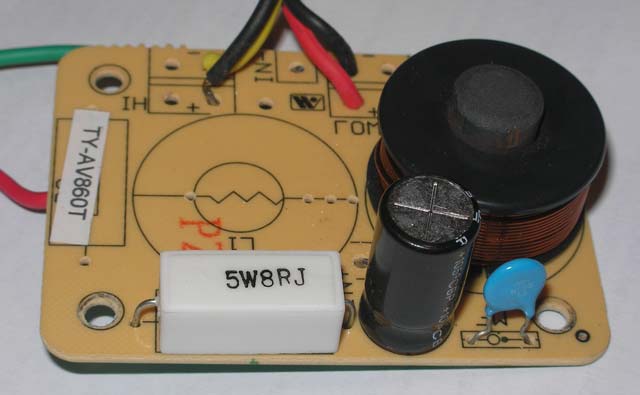
Attention! The sensitivity of tweeters is higher than that of woofers.
Thanks to the instructions presented, you can make a crossover without any problems.It is very important to choose the right materials for the device and install them.
Or this:
Advice! Experts advise focusing on second-order filters, since in small car interiors the frequency parameters rise.
How is the order of the crossover and the frequency response of the car interior connected?)))))))))))))))))))
Frequency has always been one of the signal parameters (as well as amplitude, phase, etc.), and what parameters can frequency have?))))))))))))))))))))) ))
If possible, the acoustics should have the maximum linear frequency in the entire audio range (in fact, like the entire amplification path); for other corrections there are appropriate modules that compensate for certain losses in the frequency response and the influence of the resonant properties of the premises (correctors for vinyl, equalizers, etc. ). Understanding and explaining the basics, unfortunately, is far from the truth. The division according to the power and sensitivity of the speakers is not taken into account according to this principle, but according to the physiological structure of the hearing aid (the human ear and the perception of frequencies) this has not been mentioned for a long time, but it is so. A person does not perceive different frequencies equally in volume. Please do not mislead when writing such articles and understand the process. The filter circuit works perfectly - I assembled it several times, but the photos were taken from the ceiling. This is not the right way to prepare material for publication.

Have you read what you write (We also etch the board. To do this, a solution is placed in the semi-finished product) is it like??????