How to remove keys from the keyboard
 Almost no computer user can avoid the problem of keyboard contamination. Because of this, the device may not work well. If a person uses the keyboard for a long time, and at one time it stops working, it is most likely clogged. For cleaning, you can turn to a professional, but he will charge several hundred rubles for his work, or you can do everything yourself.
The content of the article
Key design
The keyboard is one of the most important tools when working with a computer or laptop. However, it is she who constantly suffers from spilled liquid or food particles that get inside.
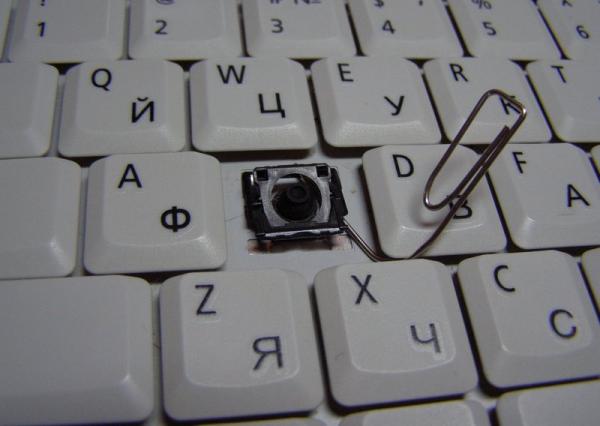
In all keyboards of laptops, netbooks and similar gadgets, the buttons have almost the same design. At its core is the so-called “clamshell”. It consists of two small frames, which are connected in the middle by two small pins. The button itself is attached to the upper parts of the frames with latches. The lower frames move on the device substrate. This is designed to ensure interaction between the button stroke and the substrate when pressed. Desktop devices have a slightly different operating mechanism.
Important points before removal
If crumbs are the cause of problems with the device, the device will need to be disassembled and the buttons cleaned of debris. However, before doing this, be sure to make sure that the computer is not connected to electricity.In addition, you need to photograph your keyboard several times so as not to forget where each button is located.
Attention! If liquid has been spilled on your computer, you should be even more careful when cleaning it. The device should be immediately disconnected from the computer and all water drained from it. After this, the device should be disassembled. It is recommended to wash the buttons and wipe the device itself to remove any remaining moisture.
To carry out repairs at home, you should first prepare the following tools:
- wire cutters;
- a needle from a small syringe;
- knife;
- thin soldering iron;
- small vice;
- tweezers;
- pliers;
- simple needle;
- Super glue;
- lighter.
It is not necessary to use all the tools - you can use only a few items from this list.
Removing keys from the keyboard: step-by-step instructions
The keyboard is cleaned according to the following algorithm:
- Disconnect the device from the computer.
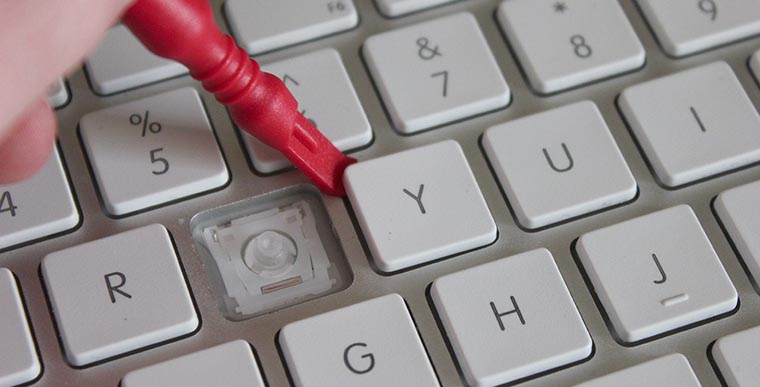
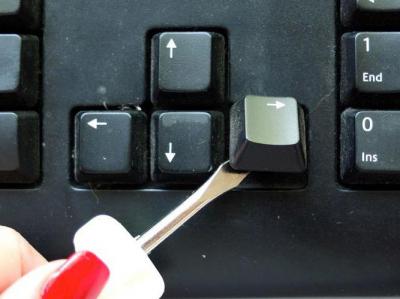
- After this, you can separate the keys. To do this you will need some kind of flat tool. On the one hand, the button should be held with a finger, on the other hand, it should be pryed, for example, with a knife. In this way, the keys should simply be removed from their seats.
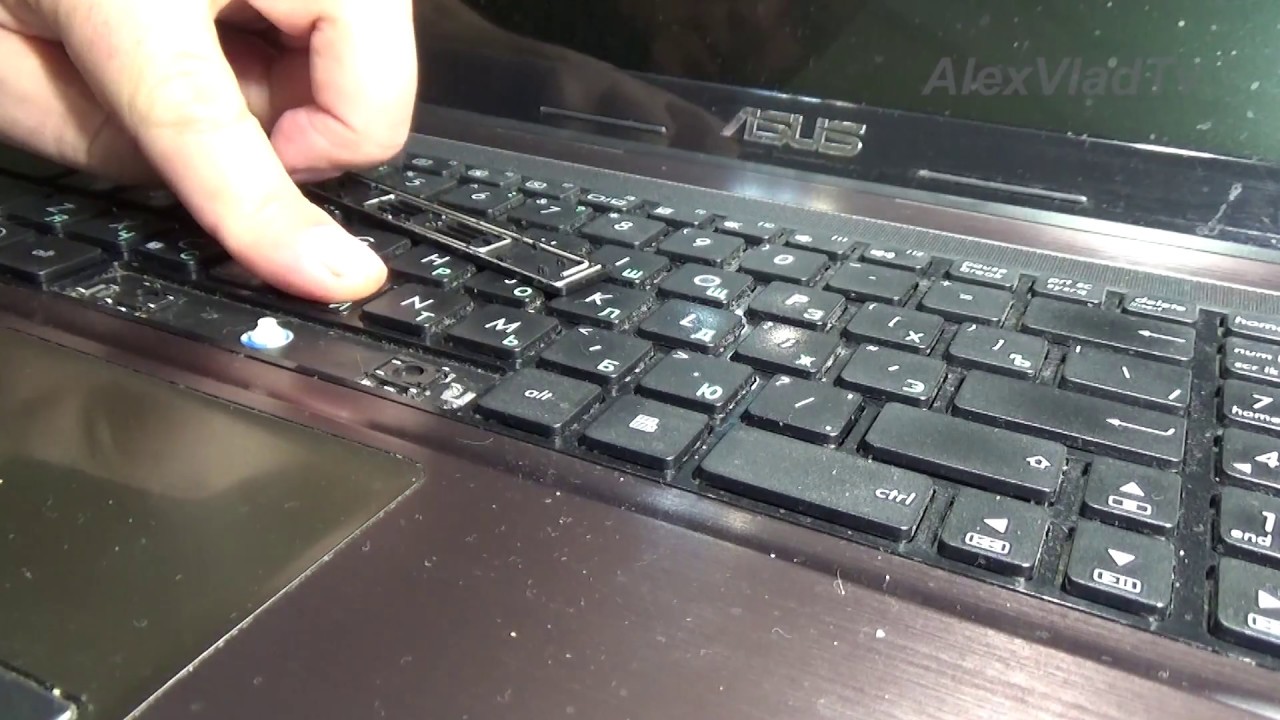
- The exception is long buttons (Space or Shift). Besides everything else, they have a metal retainer. For this reason, they should be removed very carefully so as not to break anything.
- Once all the buttons have been removed, you can begin to wash the device. You should start with each button individually. They need to be cleaned both outside and inside so that no residue remains.
- The device itself must also be cleaned. All debris should be swept out with a brush and the device wiped with a napkin. The same must be done with the delicate part and with the wire.
- When everything is cleaned and the buttons have dried well, you can begin to assemble the device.
The entire process takes approximately two hours and requires a lot of patience.
It is very important to ensure that the fastening elements are not damaged during cleaning - they will be needed when assembling the mechanical keyboard and returning the buttons to their place. To do this, take the button and attach it to the place where it should be located. Be sure to align the button and press down on the component. At the same time, a soft click should be heard, which indicates that the key has “sat” into place.
Important! If the button should be attached to 4 grooves, then exactly four clicks should be heard. If this does not happen, you should carefully inspect the key from all sides.
If the button cannot be put in place, or a click is not heard, it means that the technician assembled the mount incorrectly. In this case, you should repeat the procedure from the beginning.
If the fastening element is still broken, you should not immediately run to the workshop - you can fix it yourself. You can do it this way:
- take the broken fastening element and put it in place;
- take a thin soldering iron and a needle;
- apply the needle to the damaged area and push it a couple of millimeters into the fastening;
- heat the soldering iron and fuse part of the needle into the surface of the plastic button;
- Excess plastic can be removed with wire cutters.
Instead of a soldering iron, you can use a lighter to heat the needle. Use it to make a groove in the key where the lint from the comb is placed. The lint should be fixed and secured with glue. After everything has dried, you can try to see if the device works.