DIY PC joystick
A personal computer involves using a mouse and keyboard as control elements in games. But this is not enough for all users. There are individuals who prefer to hold a joystick in their hands rather than a mouse.
The content of the article
What you need to prepare
To create a joystick for PC you will need several items:
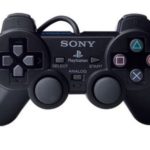
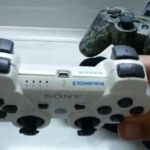
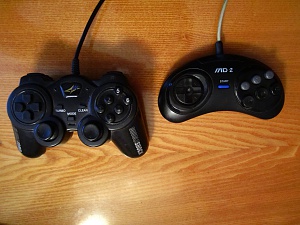
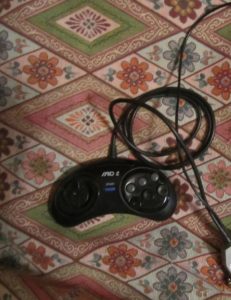
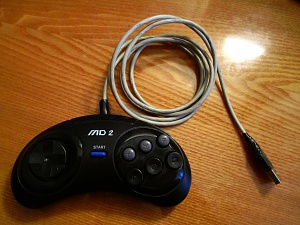
- Joystick from PlayStation, Sega, or any other.
- Any unnecessary device or other source of working USB output (for simple models, preferably a keyboard).
- Soldering iron.
- Scissors.
- LPT PORT with 25 pins (only for PlayStation gamepads).
In the case of a PlayStation controller, the connection method will be simpler, although you will need to twist the wires a little. When it comes to simpler things, like a Shogi gamepad, you will need an understanding of how the chip works with the buttons.
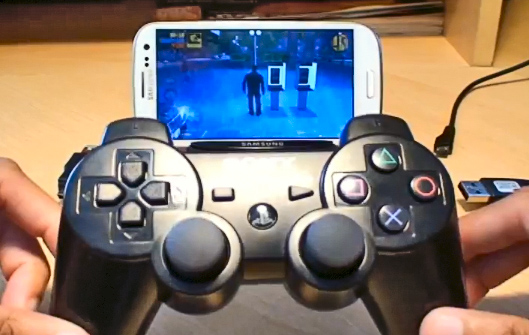
How to make a USB joystick for PC with your own hands
The first creation method is for PlayStation models. Take and cut off the very end of the wire from the manipulator. Solder all wiring except red to the LPT port with the following configuration:
- The upper 12-pin row: black from the manipulator and gray/black from USB - in the fifth and sixth (together) from the left.
- Bottom 13th contact row: orange - second from the left, yellow - third from the left, blue - fourth from the left, green - second from the right, brown - fourth from the right.
After this, you need to cut off the end of the USB cable from any unnecessary device, after which the black contact from there is soldered to the LPT port, as described above. Solder the red wires from the USB and joystick together. Insulate the wires. For the joystick to work, you will need to first connect the LPT port and then the USB cable. Disable in reverse order.
The second method is from joysticks for eight-bit consoles:
 Determine on the keyboard which buttons are required for normal operation (directional arrows, A, B, C, and so on).
- Trace and remember the contact paths to the controller (small rectangular chip on the keyboard) from the required buttons.
- Solder the wires to the necessary contacts of the keyboard controller.
- Solder the second ends to the button contacts on the board.
- Place the board and the beginning of the USB cable inside the manipulator.
- Key functions can be changed in the game or emulator settings.