How to solder a wire to a battery
Sometimes, when assembling even the simplest circuit that receives energy from batteries, you have to get so creative that your hair stands on end. And all for the sake of ensuring that the wires tightly touch the poles of the batteries. What kind of miracles did the homemade Kulibins come up with? For some, regular adhesive tape is enough, while others invent entire clamping devices.
But, whatever one may say, all this does not make the contact ideal, which greatly affects the functionality of the circuit. Sometimes the wires stop making contact or do not fit very tightly - this causes interruptions in operation. To prevent such situations from arising, it would be safer to simply take a soldering iron and solder the wire to the poles of the batteries.
The content of the article
What is needed for soldering
To reliably solder the wires to the batteries, you will need to stock up on some tools.
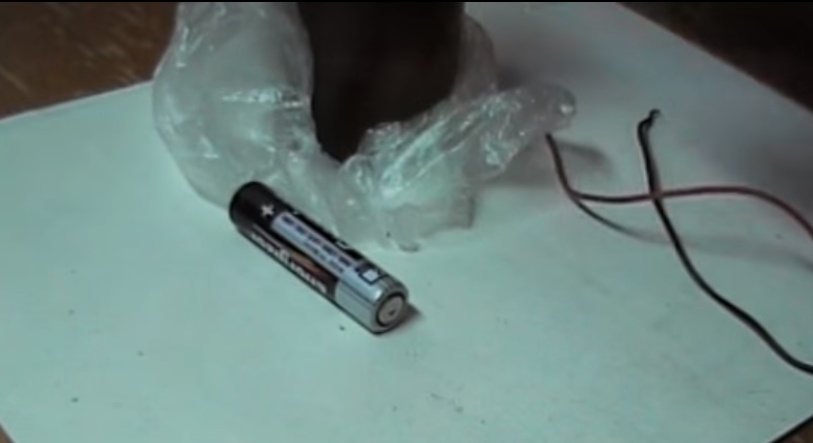
The task of soldering batteries to the poles will be somewhat more complicated than simply soldering two wires together, so you need to follow the recommendations described below. In the meantime, let's collect everything we need:
- Soldering iron. Its tip must be clean, and to clean it, you need a file or sandpaper.
- A sharpened knife. To rid the wires of the braid.
- Flux or rosin. In order not to think too much, we use soldering acid as a flux.
- Brush. For convenient application of flux.
- Solder.
How to solder a wire to different types of batteries
Despite the fact that the batteries all seem to be similar to each other, each specific case has its own soldering subtleties.
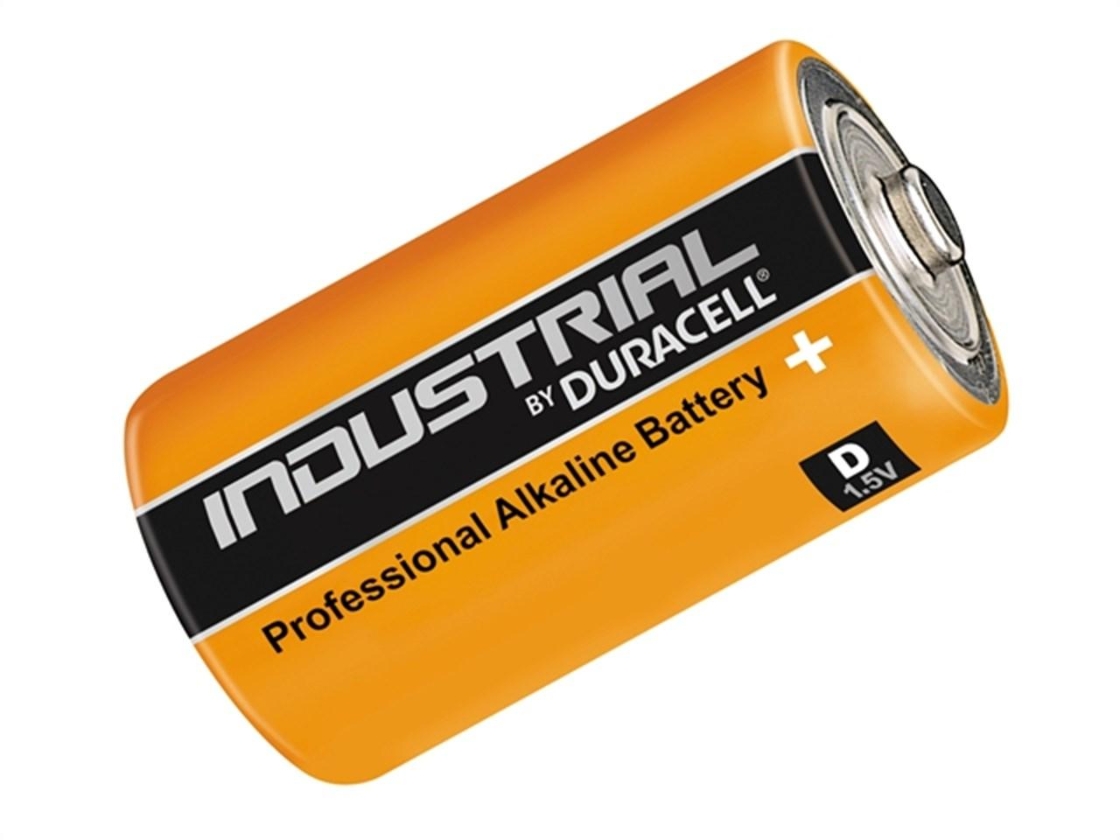
Solder it to a regular battery
How to solder a wire to a one and a half volt battery? Everything is very simple if the necessary tool is at the ready. To succeed, you need to adhere to the following sequence of actions:
- Before turning on the soldering iron, check its tip. If there is scale on it, it should be cleaned off. This can be easily done with sandpaper or a file. You need to clean until the metal sparkles.
- We connect the soldering iron to the network and place it on the stand. You need to wait a bit until it warms up. You can check the temperature by looking at the solder. If the solder responds to the touch of the tip by melting, then you can solder.
- In order to get high-quality solder, we won’t wait until the soldering iron heats up, but we’ll take it and process the place on the battery where the wire will be soldered. We take a brush and process it. This is necessary so that the solder holds better, since the battery material is poorly suited for such operations. Don't forget about processing the ends of the wires. If there is no brush, any match can replace it. We just need to drop a drop of acid to carry out the treatment.
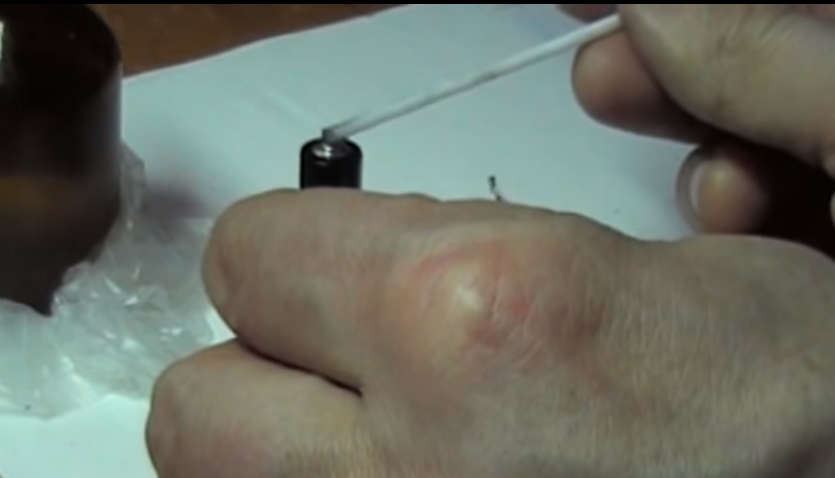
- Once you apply the acid, take a hot soldering iron and drop some solder onto the pole. We do the same with wires.
- If you use rosin, then first of all you need to tin the surface and clean the wire from varnish. But we can guarantee almost one hundred percent that the strength of soldering with rosin is much worse.
- If it was not possible to find acid, and the household only has rosin, the battery needs to be cleaned; the rosin will act as a flux. It should be applied to the surface of the element, after which we take solder with a soldering iron and tin the places where the wires will be attached. Don't forget to tin the wire too.
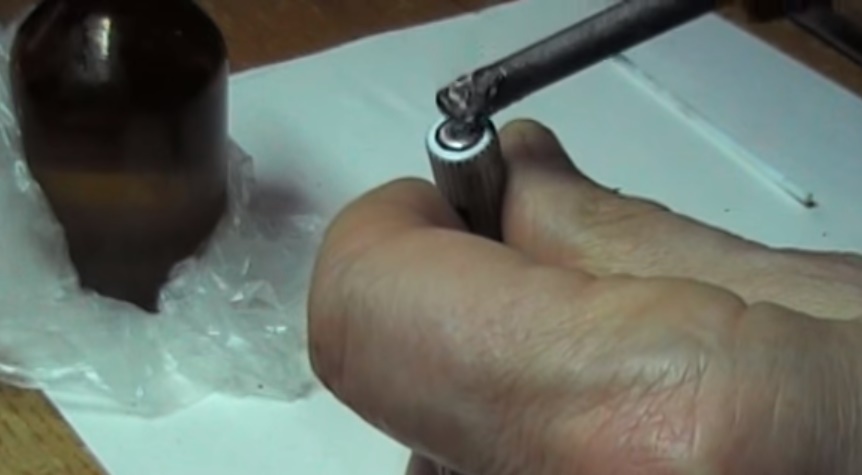
- If you tin it correctly, a fairly strong film will be formed on the battery, and you should solder on it.
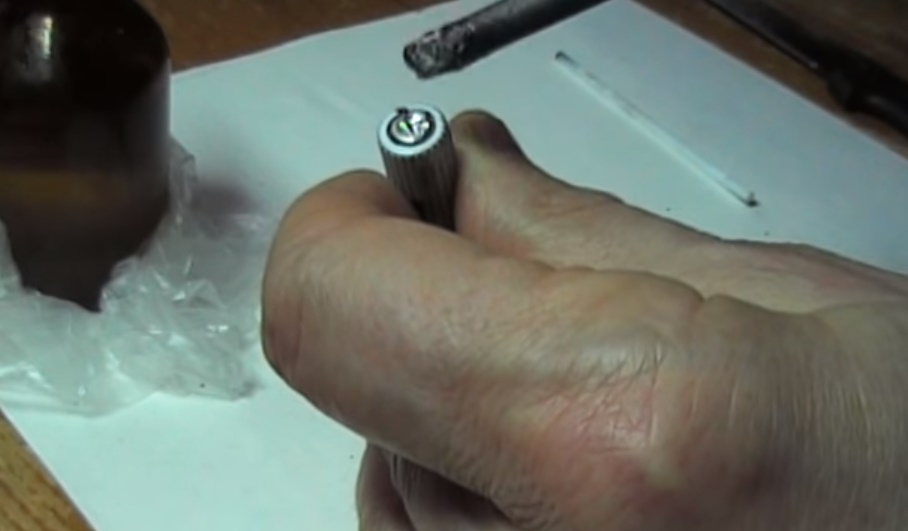
- The wire needs to be pressed against the battery that has already been processed, after which you take the solder with a soldering iron and solder it. We try not to move the wire so that it lies motionless in its place, then we can solder it tightly.
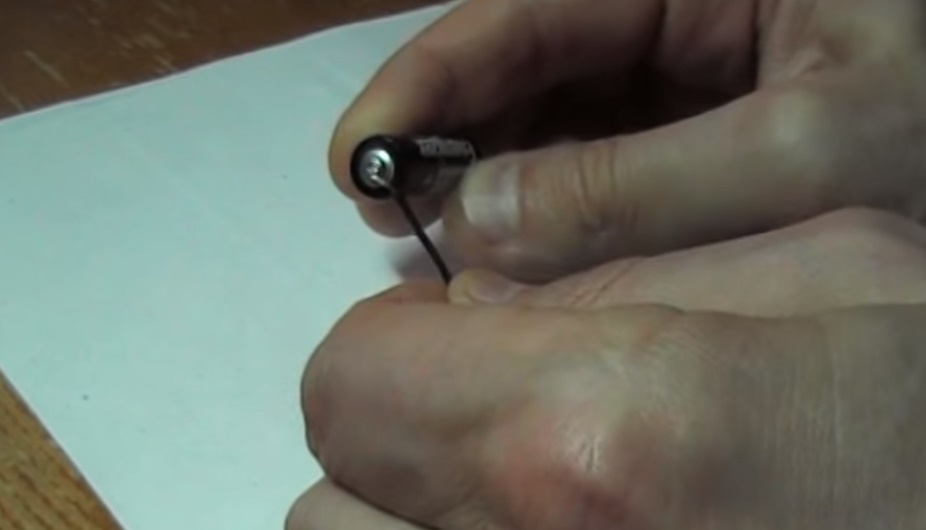
- After the solder has solidified, we act similarly on the other pole of the element.
The wires are now securely soldered.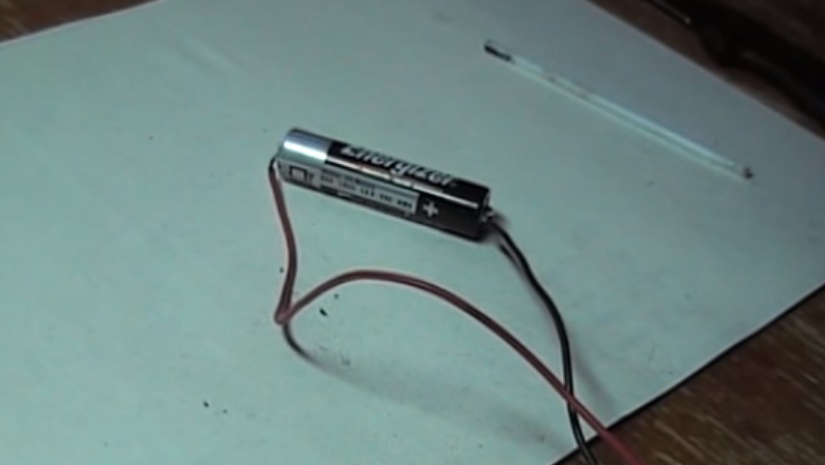
How to solder a wire to the crown
What to do if you need to solder a crown element? In fact, there are no differences in the soldering process between a regular battery and a “crown”. The only difference is that the crown contacts are located on the top cover and are located next to each other. There are the following subtleties:
- Opposite contacts need to be treated with acid. The wires will be soldered at these places.
- If you use rosin, you need to tin the opposite sides of the contacts. Why is this so? This way we will avoid the possibility of a short circuit.
- The crown contacts are made very inconvenient for soldering. In their upper part they expand, and in order to tin and solder well, you need a soldering iron with a very thin tip.
The soldering process itself is very simple. You need to treat the contacts themselves, as well as the wires, with acid, after which we apply the wire to the contact. Having collected solder on the tip of the soldering iron, drop it onto the wire and smooth it out. Actually, that's all.
4.5 volt square batteries
It is very easy to solder wires to these elements. Their contacts are quite long and flexible, which makes the task of tinning them easier. And soldering is much faster and easier. The main thing is to ensure that the wires do not move during the process.
Reference. In fact, you don’t even need to hold the wire, just wind it around the contact and then solder it.
Is it possible to solder wires to the battery?
It is better not to try to solder rechargeable batteries - if need dictates, it is easier to make a container for them that will allow the contacts of the batteries to adhere well to its contacts. Batteries are made from a material that behaves much worse when soldered than in the case of lithium cells.
But if it’s really “unbearable” and you still need to solder it, then this is done in the same way as in the case of lithium batteries. The only thing is that you need to use flux, not rosin. And you need to solder very quickly in order to touch the poles with the soldering iron as little as possible. Batteries really don’t like being overheated.

