Varnishing doors without a spray gun
Wooden doors are a really beautiful and environmentally friendly thing. Unfortunately, even though Russia is rich in timber, woodwork is not cheap these days. But in addition to manufacturing, you need to hang hinges with a lock on the door, polish it, and then install it. The price is still rising. Is it possible to save money by covering the doors with stain and varnish at home, without poisoning either yourself or your neighbors? Of course it is possible, and I will now tell you how to do it.
The content of the article
Why varnish woodwork?
Many, looking at a wooden door, are perplexed - why spoil the natural beauty with stains and varnishes? Yes, this is an argument - the texture of the wood is very beautiful even without any impregnation. But, Firstly, over time, the same pine withers without treatment and the difference in texture, especially on glued door panels, begins to be very noticeable. This leads to the answer: why do they use stain - to even out the color scheme of the wood.

Second — deep impregnation stain, as a rule, is an antiseptic, and the likelihood of fungus appearing after treatment is significantly reduced.
And third - with proper processing, the texture of wood with the help of stain can be very effectively emphasized.
As for the varnish, in addition to protection from moisture and ultraviolet radiation, it has good decorative properties. If you don’t want the door to shine after varnishing, like a cat’s eyes in the dark, then matte varnish will suit you.
What materials are suitable
Let's start from the fact that you don't have a spray gun or a workshop. But for your neighbors, and for you too, the smell of white spirit or 646 is not at all sweet or pleasant. Then we can safely cross out all these materials with caustic solvents.
What do we have left? Deep penetration alcohol stain and a whole line of acrylic materials. And this, my friends, is not so little. Let's start with advantages of acrylic:
- the possibility of using water as a solvent;
- non-toxic for humans and animals;
- undemanding to the room regarding dust;
- a spray gun is not required for work;
- acrylic varnish, unlike polyurethane or nitracellulose, practically does not change the natural color of the wood;
- acrylic film is elastic and durable.
As for cons, then there are few of them:
- The time for complete drying of the layer at +20 degrees can be more than a day. Do not be fooled by the fact that the whitish stains on the surface of the wood have disappeared - the varnish may stick for another two to three days.
- The operating temperature of acrylic materials is not lower than +5 degrees. Otherwise, they dry for a long time and painfully. And since water serves as a solvent for acrylic, you can end up with an ice crust on the surface of the wood instead of a layer of varnish.
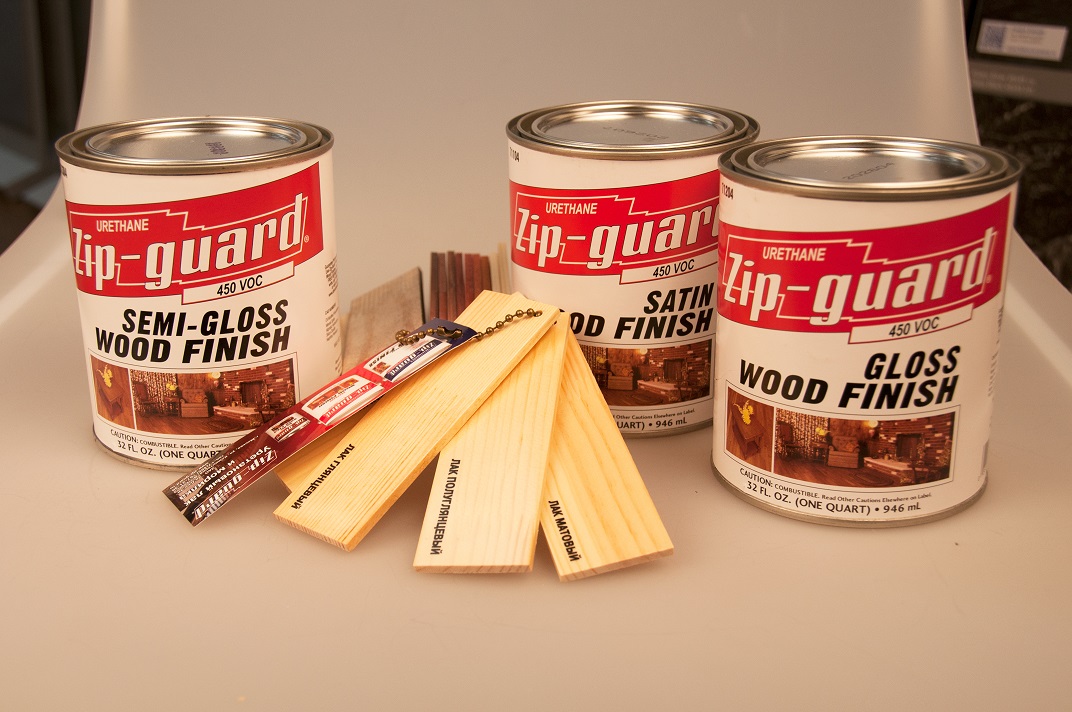
- Good acrylic varnish Tikkurila, Eskaro or Zip Guard, like any worthwhile thing, quite expensive. And take something domestic from paint and varnish materials - unless you are varnishing a door not for yourself.
The only thing you can save on is to use an alcohol stain for the first layer of tinting. It really costs a penny, but it just eats away tightly.But it can only be applied to bare wood - no preliminary primers! And this stain does not like putty; the stains can be very noticeable. Therefore, pay special attention pre-grinding door, remove all excess putty and wood glue from it.
Preparatory stage
Let's make a reservation right away - we are now talking about carpentry made from inexpensive types of wood - pine, alder, spruce. If you have enough money for doors made of oak or ash, and you are not a wood painter, refuse to varnish yourself, do not spoil the product. Hire a professional, he will polish everything as it should. Do not touch products with decorative veneer - they can be damaged irrevocably.
First of all, you need to find a table that is large enough, durable, and at a comfortable height. If it is too low, the back from the position bent over it will soon make itself known to you. A clean, soft, thick rag is spread on the table, and a door is placed on top to avoid dents and damage to it. This is especially true for joinery made of spruce, pine or alder.
If door with glass, and you can’t take them out (or you don’t want to), they are covered with masking tape. Be careful that the tape does not cover the wood; all overlaps are carefully trimmed with a utility knife.
To identify dents, cracks and other flaws, arrange several light sources in the room, and so that they illuminate the door obliquely, and not strictly vertically. View the plane and panels of the door from different angles, and Eliminate any imperfections before sanding. There are three main ways to do this:
- using a mixture of sawdust and glue;
- choosing a putty that matches the color scheme;
- or by caulking a crack or hole with a piece of wood placed on glue.
Attention! Putty under varnish can change color greatly. Check on some block to see how it will look. By the way, after it dries, you can (and should) finish drawing the wood texture on it with a colored pencil - it looks much more natural. These arts are practiced after the first polishing of the canvas.
door frame It is best to putty, sand and varnish when disassembled. This is simpler, and you can immediately check the color of its ends and casing. There is no particular problem with this - today boxes are assembled mainly with self-tapping screws, and not with dowels or nails, as before.
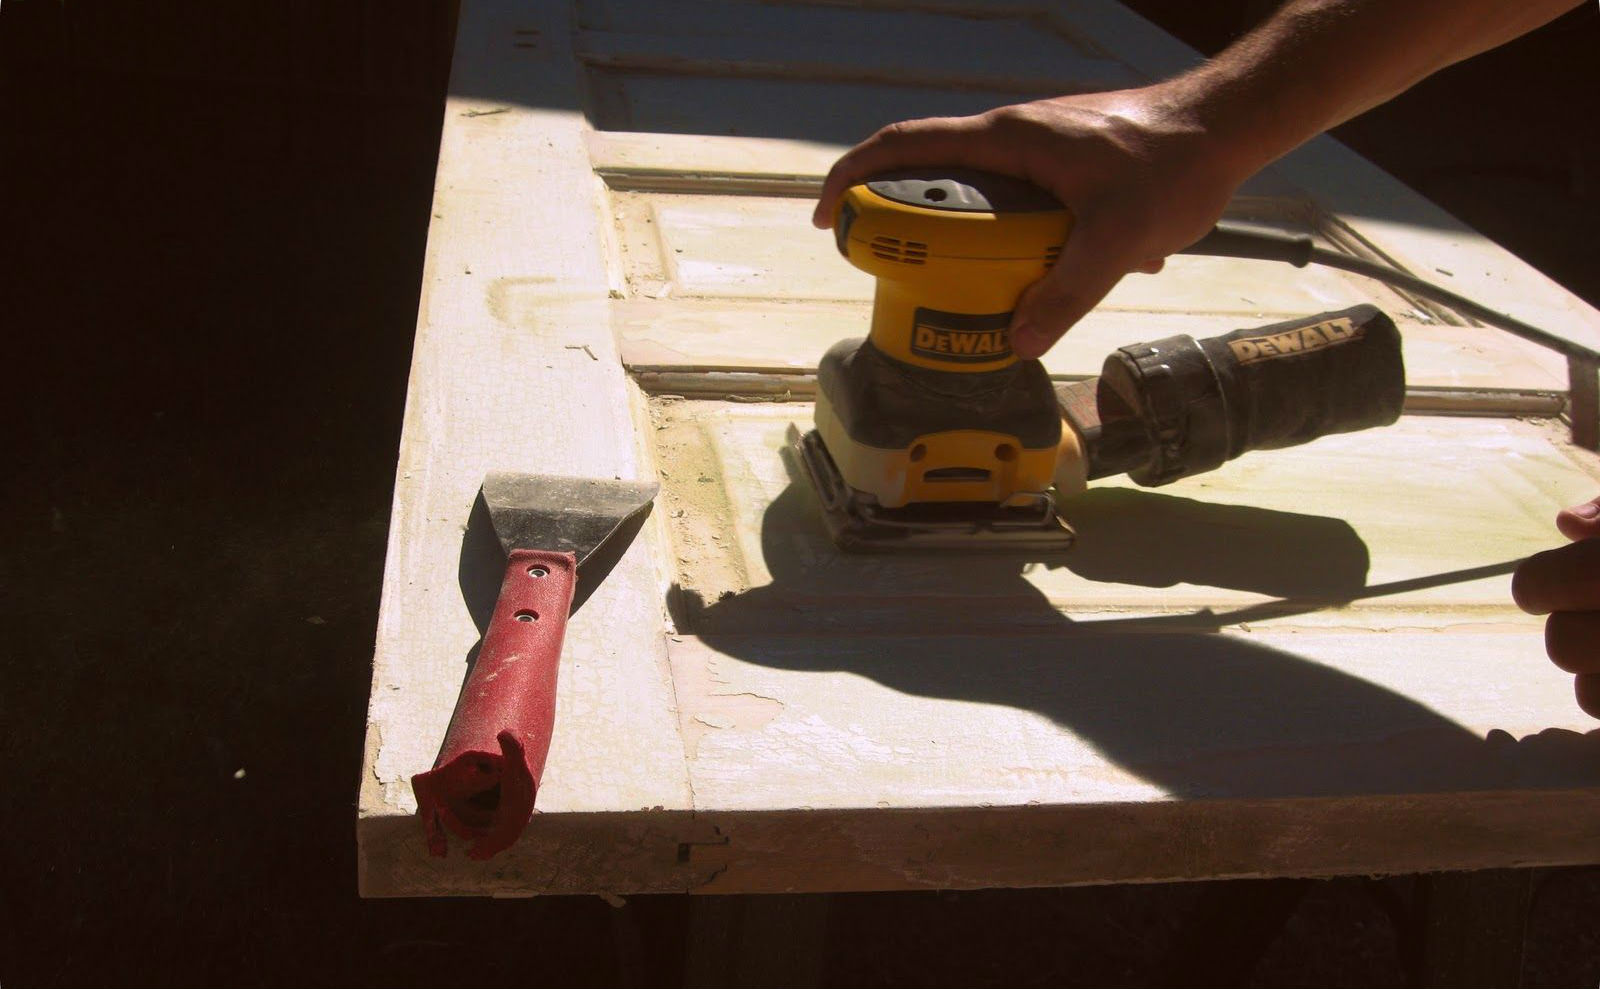
Grinding process
I will assume that you have a grinding machine (vibro or eccentric). A tape machine can also be used, but it leaves streaks on the wood. No need to use fine sandpaper! If this is done, a surface that is too smooth will not absorb the stain well. As a result, it will be easy to tear it off even by accident, and when tinting the door, drips cannot be avoided. Therefore, we take grain P100, you can even P80, and grind all surfaces with a machine. Then we manually go through the moldings and figari on the panels. Don't forget about side ends the doors are clearly visible.
Only the back sides of the boxes are not puttied or sanded. By the way, don’t forget to varnish them, otherwise they can take moisture from the wall.
Tinting
The preparatory stage is the most tedious in the varnishing process. When finished, carefully remove wood dust from the surface of the canvas. Then, from the lower and upper ends, a pair of nails 150-200 mm are driven into the door to a depth sufficient to hold it on the painting trestles (this is for sure, 3-4 centimeters). They are driven in at such a distance that the door on the trestles can be conveniently turned over.
On a note. If you drive in three nails (two on the sides of the lower end, one in the middle of the upper), the trestle door can be turned over without a partner.
Before use, it doesn’t matter whether it’s varnish or stain, they are filtered. This can be done by taking old women's tights and putting them on a container of varnish. I hope there won't be any problems with this.
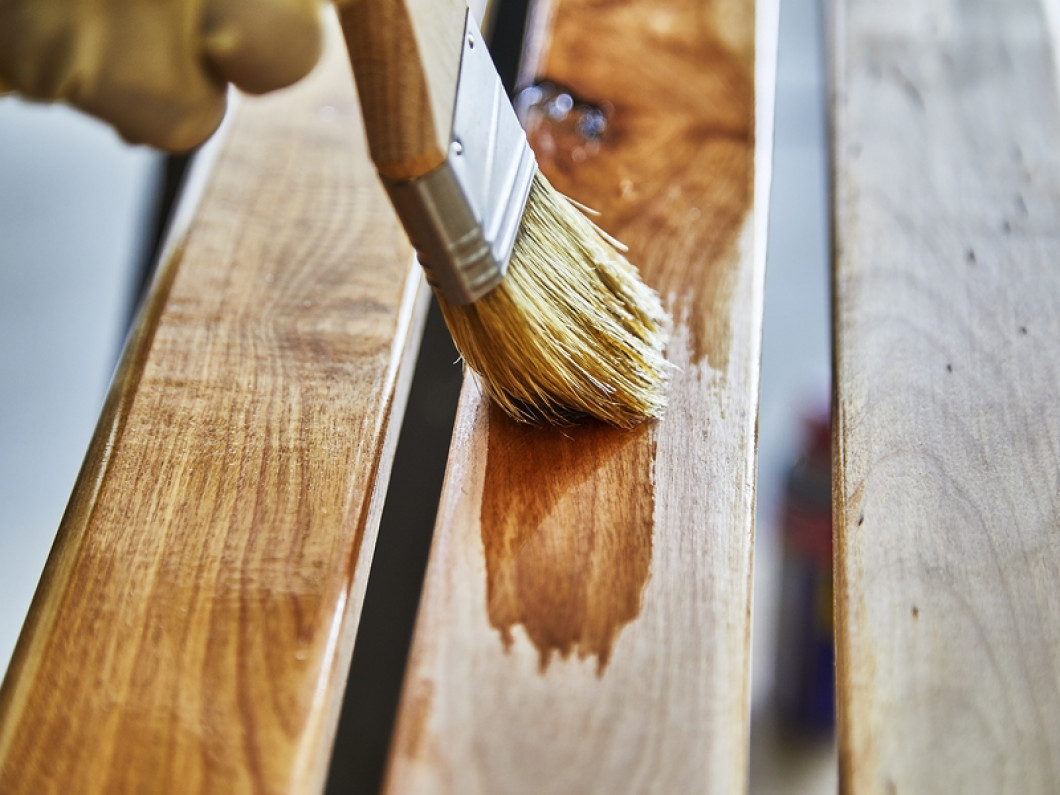
You can apply stain with a brush, but a regular one is better suited for these purposes. dish sponge. It is used to rub the stain into the wood and remove excess. Try how it lays down and dries on an unnecessary block, then move on to the “finishing” part.
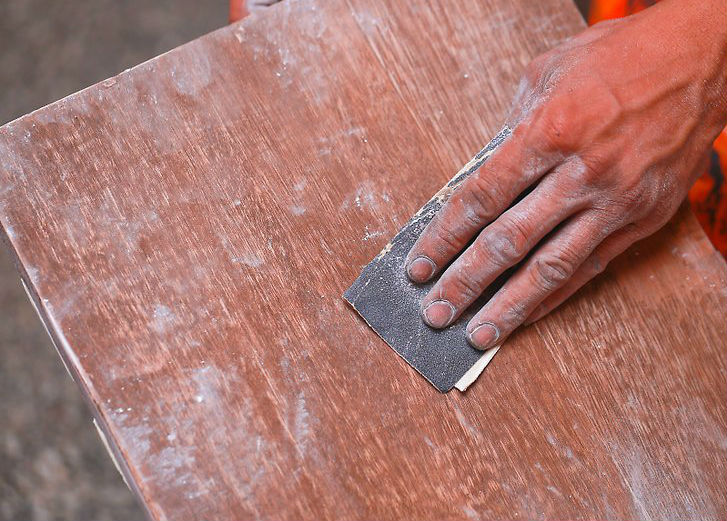
If necessary, apply several layers of stain and wait until it dries completely. Then the door is very carefully sanded with fine (P240) sandpaper and a second layer is applied.
Attention! After the last layer of stain, the wood is not sanded; the first layer of varnish is immediately applied to consolidate the result.
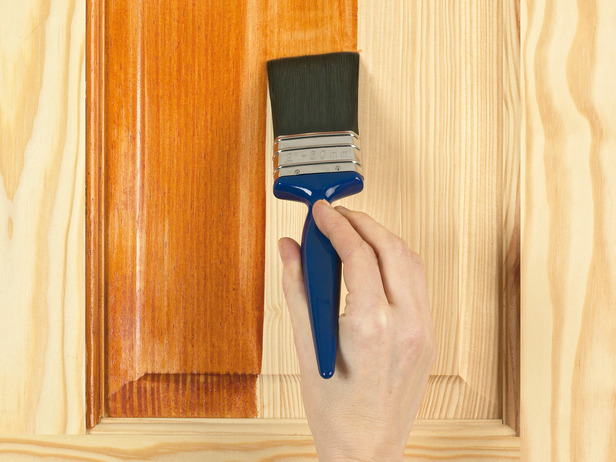
Varnish coating
It's a little easier here. The varnish is applied with a brush along the grain or with the same dish sponge. Before turning the door over on the trestles, the varnish is allowed to settle. How much - it all depends on the consistency of the varnish. You will understand by the drips that form on the door whether the varnish has stood long enough.
Between each layer of varnish, after it has dried, the door is sanded with fine sandpaper. During the sanding process, the sandpaper should not stick to the door and clog quickly, and the varnish should come off as powder and not roll off.
Usually three layers of varnish are enough, but sometimes this is not enough. You can determine whether the quality of the varnish is satisfactory purely intuitively. If the surface is smooth and there is a good layer of varnish to the touch, then there is no need to cover it further.
Don't forget to varnish the top and bottom ends of the door. Just because they aren't visible doesn't mean they won't take moisture from the air.