How to raise a shower stall for good drainage
By historical standards, showers appeared relatively recently. But very quickly they won their place in the sun, displacing the usual baths. However, they are often installed in violation of recommendations and technologies, which leads to the occurrence of dampness, mold and mildew. To avoid dampness, it is necessary to properly arrange the drainage of water. We will try to figure out how to do this.
The content of the article
What should be the correct drain for a shower stall?
Today, a shower stall has ceased to be something unusual and outlandish. Many are happy to give up baths in favor of this creation of engineering. When installing it, you need to pay special attention to the drain. Stores offer a huge selection of shower drains. Before you buy anything, you should decide what exactly you need.
If proper attention is not paid to the arrangement of the drain, this can be a source of some problems in the future.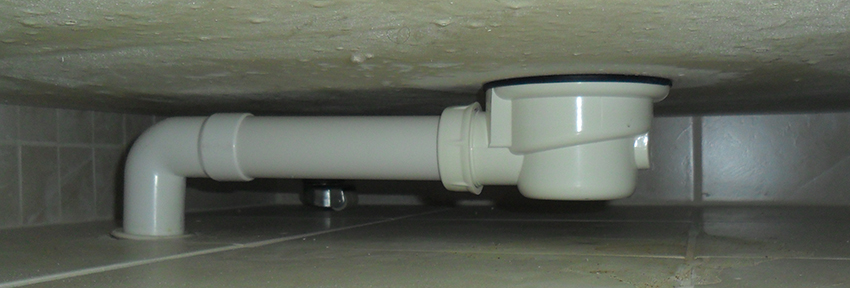
How to drain
There are various ways to drain water from the cabin. The choice of one option or another depends on the design features of the shower stall:
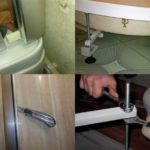
- If the cabin is raised above the floor, then water drainage does not raise any questions.The siphon and pipes are installed between the floor and the bottom of the cabin. When installing a very low pan, special attention must be paid to how the siphon passes water. This is important, as there is a high probability of blockages.
- If the cabin does not have a tray, you will need to install a drain or channel to drain water. The installation technology in this case will be slightly different.
The drain differs from the canal in appearance. The channels are elongated, and the ladders are shaped like a square or circle. To organize drainage, the easiest way is to install a siphon under the pan.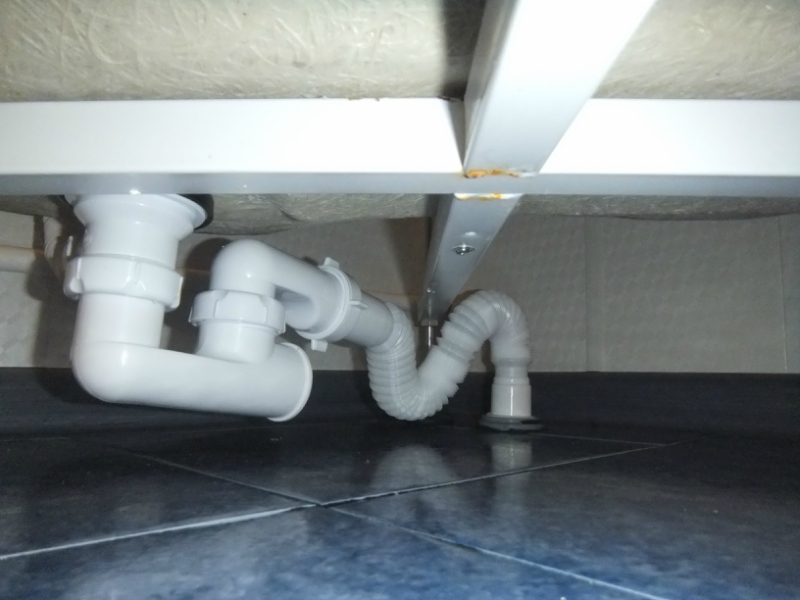
Ways to raise the shower stall so that it drains well
If the water from the shower stall flows very slowly, and there is definitely no blockage, then the problem is most likely that the sewer outlet is not installed at the required angle. It should be installed so that the height changes by three centimeters for every meter. The problem is that often such an opportunity is simply not available. All that remains is to increase the installation height of the cabin.
Adjusting the legs
The further the shower stall is located from the drainage system, the higher it should be placed. You may have to raise it ten centimeters, or even more. To do this, there is no particular need to dismantle the entire structure. If the cabin sits on a metal frame, it probably has legs. And the legs can be changed in height.
Reference. Cabin legs (in other words, studs) are a metal rod on which threads are cut. The leg on one side is fixed in the frame, and on the other side it has a stand made of plastic or rubber.
To increase the height of the cabin, regular paving slabs or timber are often used. Both can be placed under the legs.By increasing the height of the legs and placing something else under them, you can raise the cabin up to eleven centimeters. To increase the height, use timber from deciduous wood. To protect wood from mold, it must be treated with a protective compound.
Increasing the length of the studs
The length of the legs is often not enough to raise the cabin to the desired height, even though they can be adjusted. Sometimes, to ensure good drainage, it is necessary that the height of the cabin exceed ten centimeters. How can we be here? The solution may be to replace the studs.
This is done like this:
- you need to purchase new studs that match the diameter;
- measure the required length;
- use a grinder to cut them off;
- replace old studs with new ones.
Attention. If the length of the studs differs from the standard, then most likely the height between the floor and the pallet will increase. This, of course, will have a positive effect on the ease of cleaning, but it is not clear how it will affect the overall design. In any case, the gap can always be hidden, for example, by decorating it.
As you can see, the procedure is quite simple. But... The longer the legs, the less weight they can withstand. There is no need to forget about this. Do not try to make stilettos more than seventeen centimeters in height.
Construction of the podium
Sometimes a height of ten or even seventeen centimeters is not enough to ensure high-quality drainage. How to increase it? It's very simple - install the cabin on a pedestal. Before carrying out this undertaking, you need to measure the height that is enough for high-quality drainage.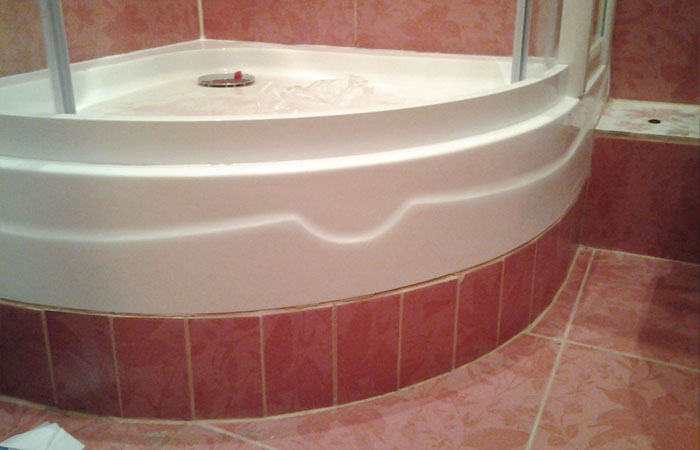
This is done in this way - take a corrugation, one end of which is inserted into the hole in the sewer drain, and the other end is connected to the drain of the pan. The pallet is placed in the right place.It is worth noting that the corrugation does not need to be excessively stretched or bent.
Water is poured into the pan, then it rises. It should be noted at what height the water flow is more intense. This parameter is measured and the pedestal is erected to this height.
The pedestal can be made from different materials. The most common are the following:
- Brick. Moisture resistant and convenient to use. Suitable for implementing various design ideas.
- Foam block. Durable, inexpensive and not afraid of water, the height of the block reaches fifteen centimeters - suitable for most pedestals.
- Wood. Strong and durable material. It must be treated with an antiseptic solution, then covered with drying oil and painted. Then he will not be afraid of moisture, and, accordingly, mold and mildew.
- Concrete. The material is durable, not afraid of moisture and lasts a long time, its only drawback is the duration of hardening.
Sequence of work on the construction of the pedestal
It would be most correct to adjust the dimensions of the pedestal to the dimensions of the cabin. To make laying easier and more convenient, a template is made. The easiest way is to place the pallet on the desired material and outline the outline. Since the template will be used more than once, it would be better to choose a dense material for it. This material could be plywood. It definitely won’t wrinkle or lose its shape. Sequencing:
- First stage. The prepared template must be placed where the shower stall will be located. The outline of the template is outlined. Now the template can be removed and the space inside the outline can be primed.
- Second phase. The adhesive composition must be prepared in advance: it consists of 30% assembly, 70% tile adhesive and water.All this must be brought to the state of sour cream. The solution hardens very quickly, so you don’t need to make a lot of it, but prepare it based on the consumption in ten minutes. If you are not sure of the speed of your own work, the glue can be replaced with a cement solution, just remember that it will harden for five days.
- Third stage. After the primer has dried, the inside of the contour is covered with a layer of glue and a foam block is placed on top of it. In this case, it is necessary to provide a place where the drain from the shower stall and the sewer pipe will be connected.
- Fourth stage. You again need to put a template on top of the foam blocks. Based on this template, you should apply a thick layer of glue to the walls, which then needs to be made even using a level.
- Fifth stage. Once the glue on the sides is completely dry, the template can be removed and glue applied to the top of the pedestal. After that, check the level and level it.
- Sixth stage. As soon as the pedestal is completely dry, tiles made of tiles or ceramics are glued to its surface. To ensure that the tile matches the shape of the pedestal, it is placed on top, after which a template is applied and the outline is drawn. The tile can be cut along this contour. The main thing is not to forget to provide a place for communications.
- Seventh stage. All seams need to be rubbed and embroidered.
After completing the finishing work, you need to wait a day and then install the cabin.