DIY fabric stretch ceiling
In matters of apartment renovation, people are increasingly choosing a suspended ceiling made of dense fabric. He's more reliable and durable, compared to ordinary stretch ceilings, however it costs more. In order to reduce costs at this stage of repair, people do the installation themselves.

The content of the article
Do-it-yourself fabric stretch ceiling installation
Suspended structure and its construction at home will require a set of tools, basic knowledge of a finisher and the presence of an assistant.
It is difficult for one person to cope with the task. If you are not confident in your abilities, turn to professionals.
What you need for work
In addition to the fabric kit, you must have the following equipment:
- ladder;
- Phillips screwdriver (screwdriver);
- hammer;
- stationery knife;
- hacksaw;
- pencil;
- measuring tape;
- level;
- spatula (ordinary);
- screws, dowels.
With this set of tools and an assistant, you will be able to install the tension covering relatively quickly.

Surface preparation
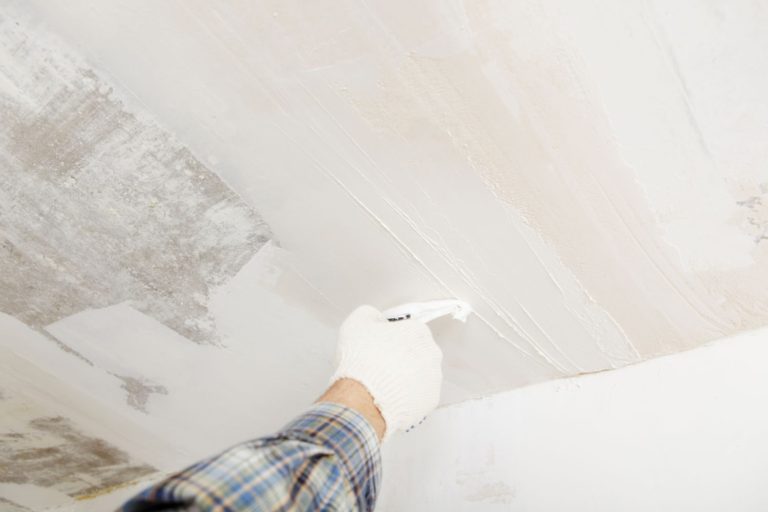
Careful removal of the old coating from the rough surface is not required. All imperfections will be hidden during installation. If the plaster is crumbling, elements are hanging down, all this is removed. Otherwise, a perfectly smooth canvas can be seriously damaged. It is also necessary to disconnect the chandelier, having first completely de-energized the apartment.
Remains of old plaster and paint are removed from the surface, and areas affected by mold are removed. Next, the ceiling is impregnated with a composition that prevents the further appearance of fungus and mold.

Room layout
The next stage of installation is marking the room. It is necessary to determine in advance what type of lighting will be used. If these are built-in lamps, 10 to 15 cm retreat from the draft ceiling. If there is only basic lighting in the form of a chandelier - from 3 to 5 cm.
Marks are made at the corners of the room in accordance with future lighting fixtures. Using a level, you can set the same distance from the floor, which will make the tension fabric perfectly horizontal.

Fastening the baguette
The thread is pulled along the walls according to the marked marks. A straight line is obtained on the surface. Holes are drilled along the drawn line (at a distance of 10 cm from each other), then the baguette is attached. At the corners of the room it is cut using an ordinary hacksaw. This will allow you to get an even joint. The baguette is secured with screws.

Installation of the canvas
Installation of the fabric should begin from the middle of the wall surface. Initially, the material is tucked into the profile using a spatula, after which the tool is removed. Further the canvas is installed in the corners, gradually covering the entire ceiling. When the fabric is stretched and aligned, the excess fabric protruding from the profile is cut off using a stationery knife. After this, small allowances are tucked inside.

Attaching masking tape
The plinth is necessary to hide the gaps formed during installation.The decoration of the desired color is selected, after which it is inserted inside with light pressure. The process does not involve the use of glue or tools, which allows you to replace it if necessary.

Features of fabric stretch ceilings
Fabrics made from synthetic threads have a number of advantages. Among them:
- High temperature resistance.
- Strength.
- Easy to install.
- Fire resistance.
- Durability.
- Excellent sound insulation.
Due to these characteristics, fabric ceilings are very popular. The fabric is environmentally friendly, stretches easily and looks great in any interior.
Tensioners fabric ceilings are slightly more expensive than classic ones, but they have a number of advantages, they are less susceptible to physical and thermal influences, and are easier to install.


