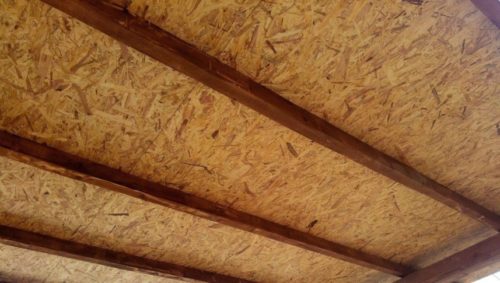
Ceiling lining with OSB board
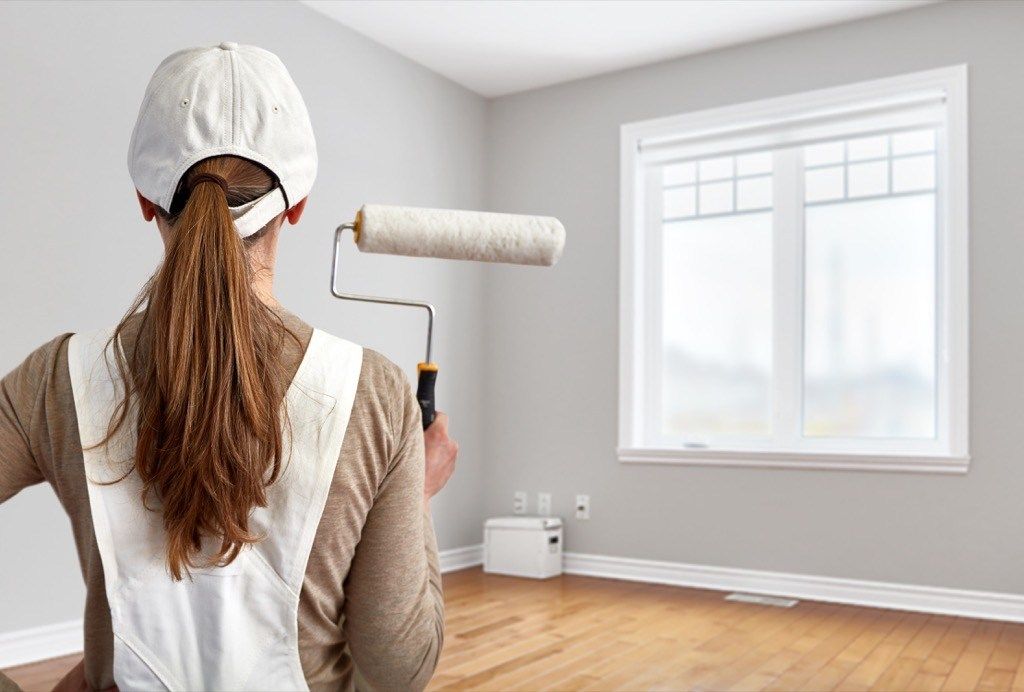
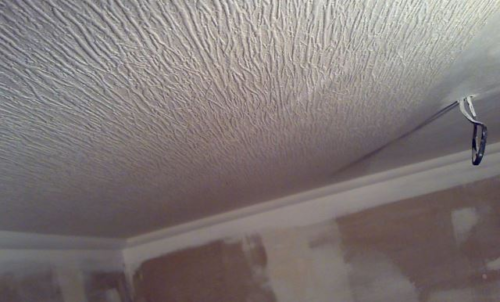
Most people treat repairs like a natural disaster. And in many cases, these fears are completely justified. As a rule, having started one, you soon have to fix something else. This process can be compared to a snowball rolling down a mountain. But if you approach repairs in an organized manner, then they cease to be frightening. It is better to start from the ceiling and gradually move to the floor. This way you can get rid of excess dirt.
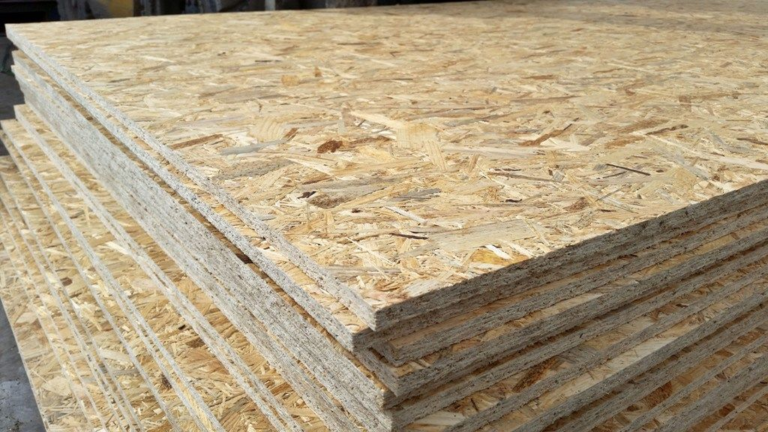
There are many options for ceiling cladding, and one of the best is OSB boards. The material is environmentally friendly, and working with them is simple and pleasant, since the process does not generate a lot of dust. In addition, its price tag is quite low.
The content of the article
How to make a ceiling from OSB
The most difficult thing in any repair, and even more so in lining the ceiling, is accurate marking and calculation. Everything needs to be calculated. Take into account every little detail. What is the distance from wall to wall, how is the ceiling arranged. If you have to hem a narrow and long room, then a large OSB sheet should be cut into squares. The main thing in this process is to achieve a separation of the seams. This will make the filing as durable as possible.
On the ceiling, the slabs are laid so that the sides with bad joints are not visible. It happens that the leftovers need to be cut into pieces and hemmed symmetrically.
Preparation
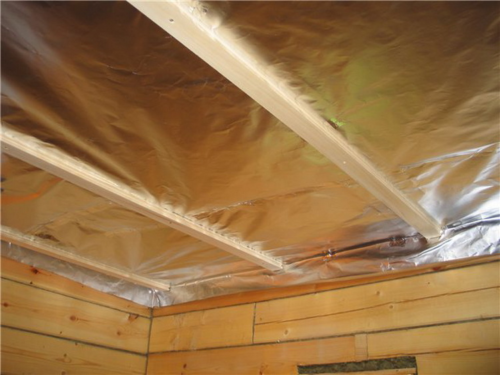
First of all, check the entire surface with a level.This will allow you to determine the high and low points. If the slabs are sewn onto beams, they must be leveled and a vapor barrier must be applied.
Concrete ceilings should be coated with a primer and marked for lathing. All planks are trimmed and adjusted. This is necessary so that the slabs fit as tightly as possible.
Frame installation
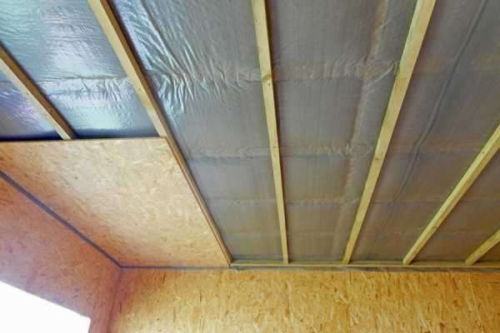
Once the sheathing is ready, it’s time for the frame. If insulation is also being done at the same time as its installation, then steam insulation should be installed under the slats.
The process is not particularly complicated:
- According to the markings, it is necessary to make holes into which plugs for self-tapping screws are installed. The fasteners must be so long that they enter at least forty-five millimeters.
- The sheathing is secured to the plugs with self-tapping screws, adjusting the fixation of the frame; a small space is required between the ceiling and the sheathing.
- By loosening or tightening the screws, the sheathing strips are aligned to the plane.
They are adjusted using a screwdriver, and the horizon is checked with a level. After assembling the sheathing, the cracks are sealed with foam.

Attention. The sheathing does not need to be nailed to the ceiling, but rather leveled. Only in this case will it be possible to lay OSB boards efficiently and without defects.
OSB fastening
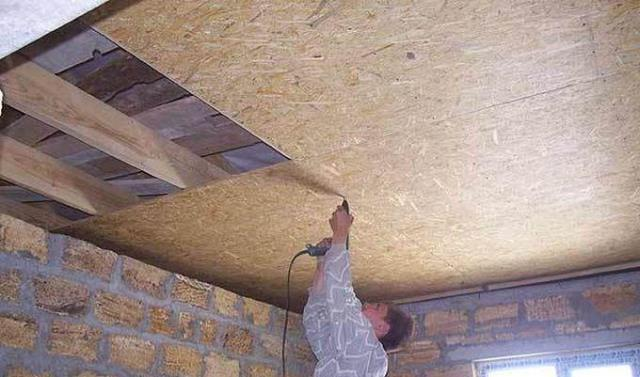
It is difficult to lift a sheet to the ceiling alone; it is better to have an assistant here. If you do everything yourself, you will need to stock up on supports that will hold the slab.
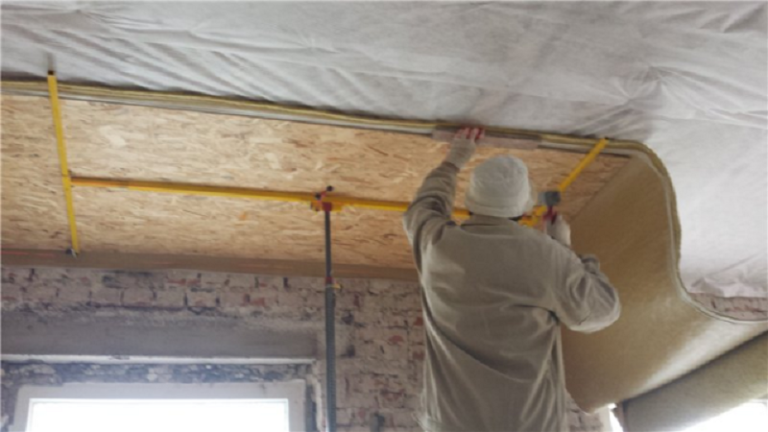
Next, the plate is secured with self-tapping screws. Fixing should begin in the center and gradually move towards the edges. Where you are going to tighten the self-tapping screw, you should first mark the hole with a drill. Then the slab is leveled in accordance with the markings, and the fasteners are tightened.
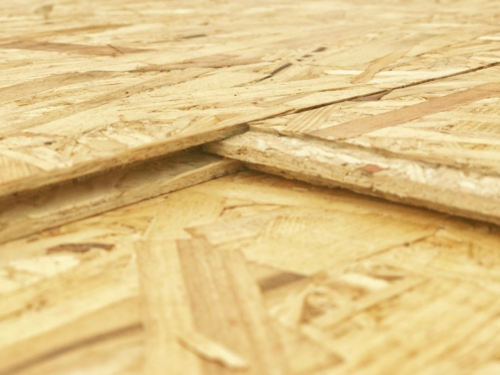
If the humidity and temperature in the room can change, then specially small gaps are left between the joints.
OSB ceiling design
A regular OSB panel without any treatment does not look very nice. To make it more attractive, it is coated with varnish. They make decorative ornaments from slats and various materials. There are a huge number of options - it all depends solely on your imagination.
The easiest and most inexpensive way to improve the look is to apply paint. For greater aesthetics, the seams should be puttied and sanded. After this, enamel or acrylic-based varnish is applied to the surface.
Often, dark-colored coatings or multi-colored paints are used as decorative treatments.
The simplest coffered beams allow you to give the panel a more decorative look.
archdaily.com
Selecting OSB sheathing
To finish the ceiling in a room intended for living, it is better to choose OSB-2. This type of material is dense and of good quality, which allows you to use the entire sheet. The dimensions of the canvas are 125x250 centimeters.
If condensation is possible in the room, it is better to choose an OSB-3 panel. It is more expensive and its use is justified only in rooms with probable humidity. Type four is intended for very wet rooms.
The OSB-1 variety includes simple, inexpensive materials. Their strength is low and they are afraid of dampness. They can only be used where it is dry.
The facing material should be selected based on the load on it, as well as the dimensions of the floor.
Pros and cons of OSB ceilings
The slabs have been actively advertised lately. However, developers are quite wary of this material.Despite the fact that panels have been on the construction market for more than twenty years and are used in many areas, they have not yet been able to replace plywood.
The wariness of experts towards this material is explained directly by the technology of its production:
- it does not use resins or glue;
- the material does not have a fibrous or layer structure.
Important! In simple terms, OSB panels are produced by pressing shavings and sawdust under high temperature. The manufacturing technology is somewhat similar to chipboard.
This means that OSB is not as stable in its structure as plywood or even boards. If the question arises about using this material for cladding, then you should immediately find out about all the advantages and disadvantages.
Minuses
There are two main negative properties of this material:
- The panel is not shock resistant. It cannot be fixed to beams or nailed. All this makes filing a very lengthy procedure.
- This material does not tolerate moisture well. In any case, when using panels, it is a good idea to take care of moisture protection.
If you want to check how resistant the material is to moisture, you can put several sheets in the garage for the whole winter. In the spring, all the edges will delaminate and cracks will appear.
Important! Due to the structure of the slabs it is difficult to process. You can cut them, but the quality will not be ideal.
The best way out of this situation is to buy panels that already have grooves and tenons.
pros
There's not much positive to say about this material. It is environmentally friendly and does not create dust. It's a pleasure to work with him. To summarize, we can conclude that the material is easy to use and has a low cost. It is very comfortable for living rooms.These characteristics make it the main competitor for drywall and plywood.
It is this material that is used to line the walls and hem the ceilings in modern houses.
It's very easy to do. You don’t have to call a team of workers: everything can be implemented on your own. The only difficulty that may arise is lifting the slab and installing it on the ceiling.