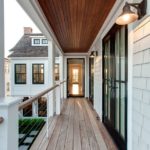
Ceiling finishing with plywood
One day we were faced with a problem - how to sew up the ceiling with something practical and inexpensive. The most affordable materials were plasterboard or plywood. GCR is convenient and inexpensive, but does not withstand moisture well, deforms, sags and goes in waves. Therefore, we firmly decided that we would cover the ceiling with plywood. If all the preparatory work is done responsibly and correctly, it will delight the eye for a long time with the warmth of natural wood and durability.
The content of the article
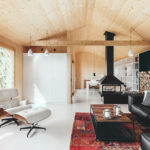
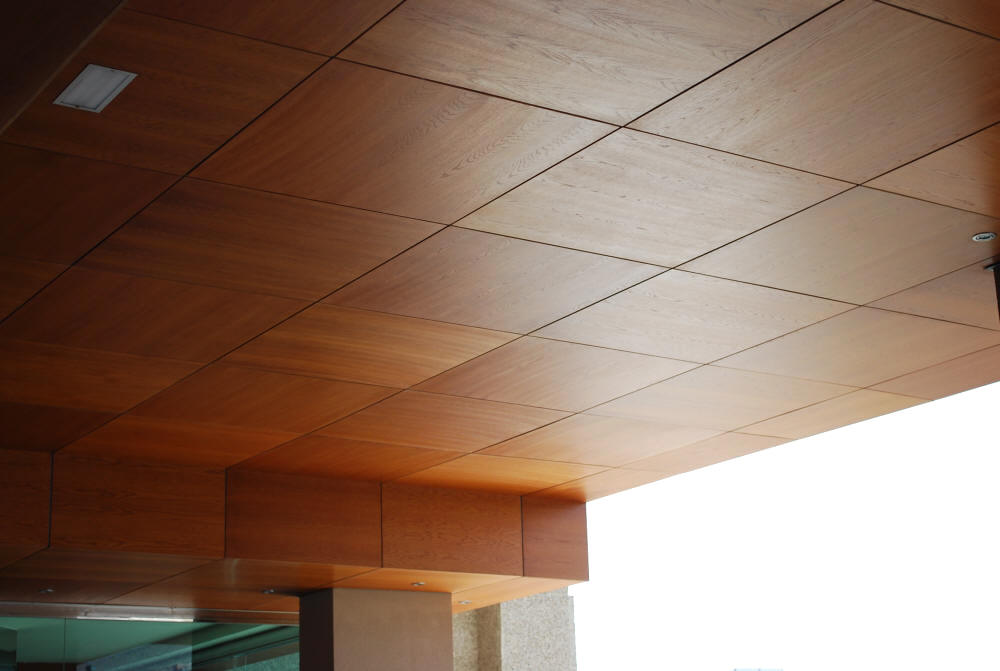
Plywood ceiling cladding with photo
The finishing method has been undeservedly forgotten. But this natural and high quality coating. It looks aesthetically pleasing and complements any modern interior.
Advantages of the method
Plywood is very easy to prepare for installation, cut to the required dimensions and installed without any outside help.
- Protection against mold and rot by treating the internal surface with antibacterial and antifungal compounds.
- Prepared joints for further sealing with wood putty to match the background will make them invisible.
- Coating the front side with water-based varnish ensures fire safety of the room.
All this taken together distinguishes plywood very favorably from slats or boards.
Disadvantages of the material
If you install guide profiles with small pitches, not exceeding 30 centimeters, and use plywood of insufficient thickness, less than 6 mm, for lining, soon there will no longer be a smooth surface. Sagging is inevitable. The ceiling will go in “waves”. Therefore, even at the preparation stage, it was decided to use metal profiles as lathing for the installation of drywall. They are not expensive, and when installed in a single plane they will reliably hold the entire structure in the required perfectly level form.
Step by step guide
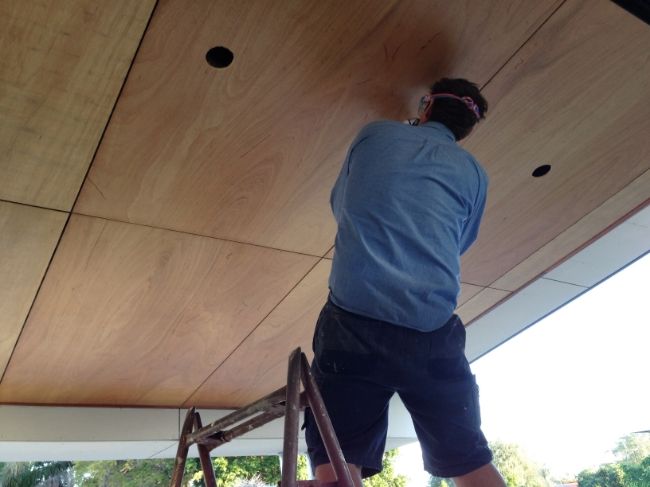
Today I will tell you about the features of finishing the ceiling with plywood with your own hands. My family and I went through this stage of renovation. I can say that It’s not difficult to do the job inside and out with your own hands and quite simple.
Tools
So, before starting work, you should make sure that you have the necessary equipment:
- Laser level or spirit level.
- Hammer or impact drill.
- Screwdriver.
- Stepladder or scaffolding.
- Cutting pliers.
- Hammer.
- Sandpaper.
- Paint roller with extension handle.
- Putty knife.
- Metal scissors or cutting machine (small grinder).
Armed with everything we need, we begin the repair.
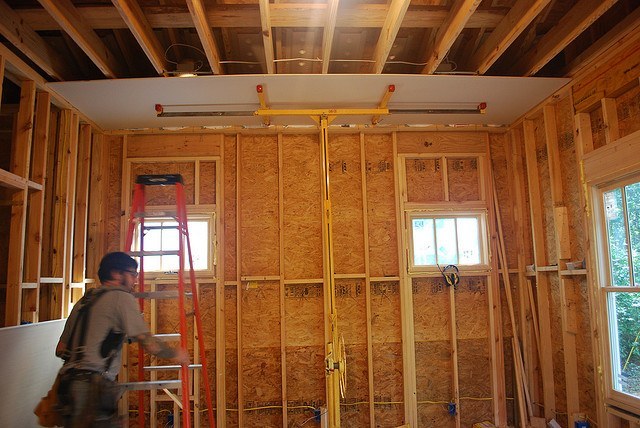
On the sheathing
To screw the guides, you first need to set the level. There are no professional laser devices at home. Therefore I had to use a spirit level the old fashioned way. This is a long and flexible tube with special containers at the ends to determine the horizon line. There is another name - water level. Here we couldn’t do without an assistant, but everything was quickly and accurately marked on the walls, just below the ceiling, taking into account the thickness of the profile and with a margin for adjustment along the mounting strips.
Then, slowly and carefully, we used a drill to drill holes at the required distance from each other in the profile intended for installation on the wall. And then in these places already using a puncher we prepared holes for dowel-nails and secured the desired profile around the perimeter of the wall with a regular hammer. Everything is strictly along the lines previously marked with a spirit level.
After this, a main profile of the required length was prepared along the short side of the room and installed along the previously secured wall blanks. Fastened them between each other using special cutting pliers. When you press the handles in the right place, they cut through the metal with their teeth and bend it to the sides. Thus ensuring reliable fixation of the two parts. There is another way to fasten these parts - with special self-tapping screws, called “bugs” because of their size.
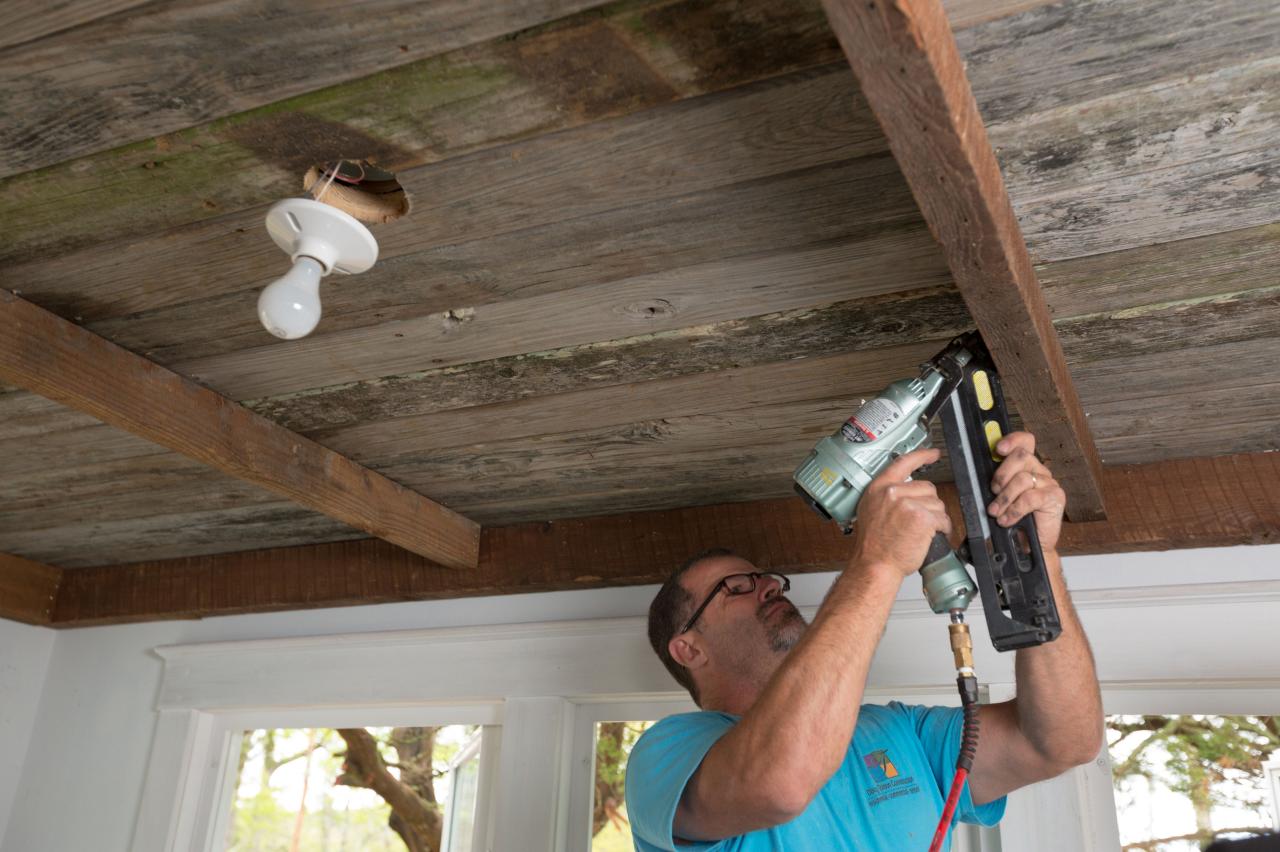
Between the main guides (from wall to wall) it is necessary to install a transverse profile. Especially this important at sheet jointsto avoid the occurrence of cracks. All edges of the sheet must be securely secured to the sheathing with self-tapping screws.
After that, using a hammer drill (at a distance of half a meter from each other), I secured special height-regulating strips, or “crocodiles,” as experts call them, with dowel-nails. They provide reliable fastening of sheets with a rough ceiling.
For adhesive composition
It is allowed to attach sheets with special glue. But such installation of sheets was abandoned even at the stage of preparation for work and the purchase of material. Self-tapping screws are much more reliable.
Along the beams
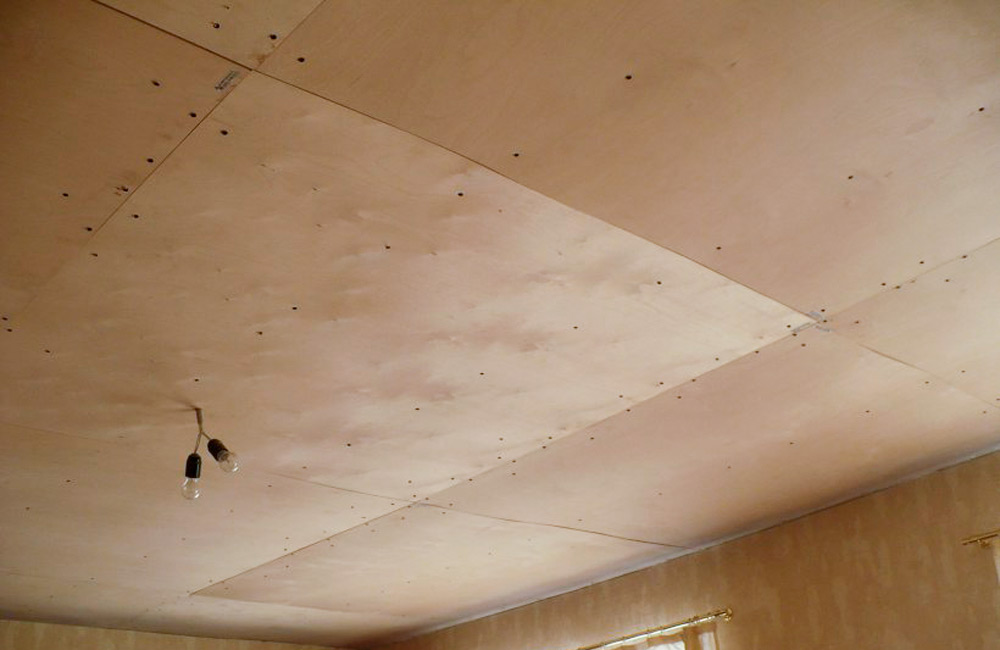
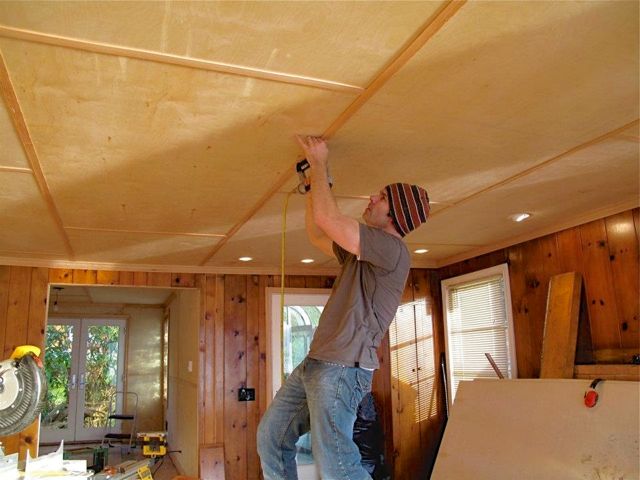
If our ceiling in the house was equipped with wooden beams, it would be enough to use screws with a length of 50 mm or more - for strength and reliability.After attaching the sheathing or preparing the base, begin installing the plywood sheets.
To do this, all edges and future joints are processed with a rasp. A rough surface remains, providing adhesion between the wood and the putty.
Do not forget about the mandatory treatment of plywood with antiseptics. They will not change the color of the wood, but will protect it from the formation of mold and mildew.
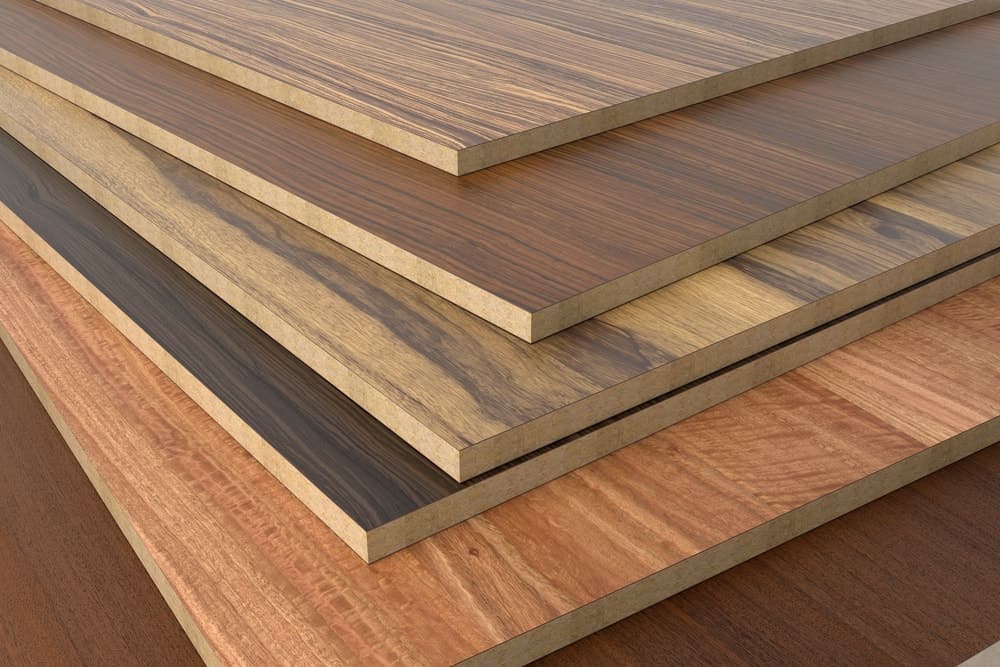
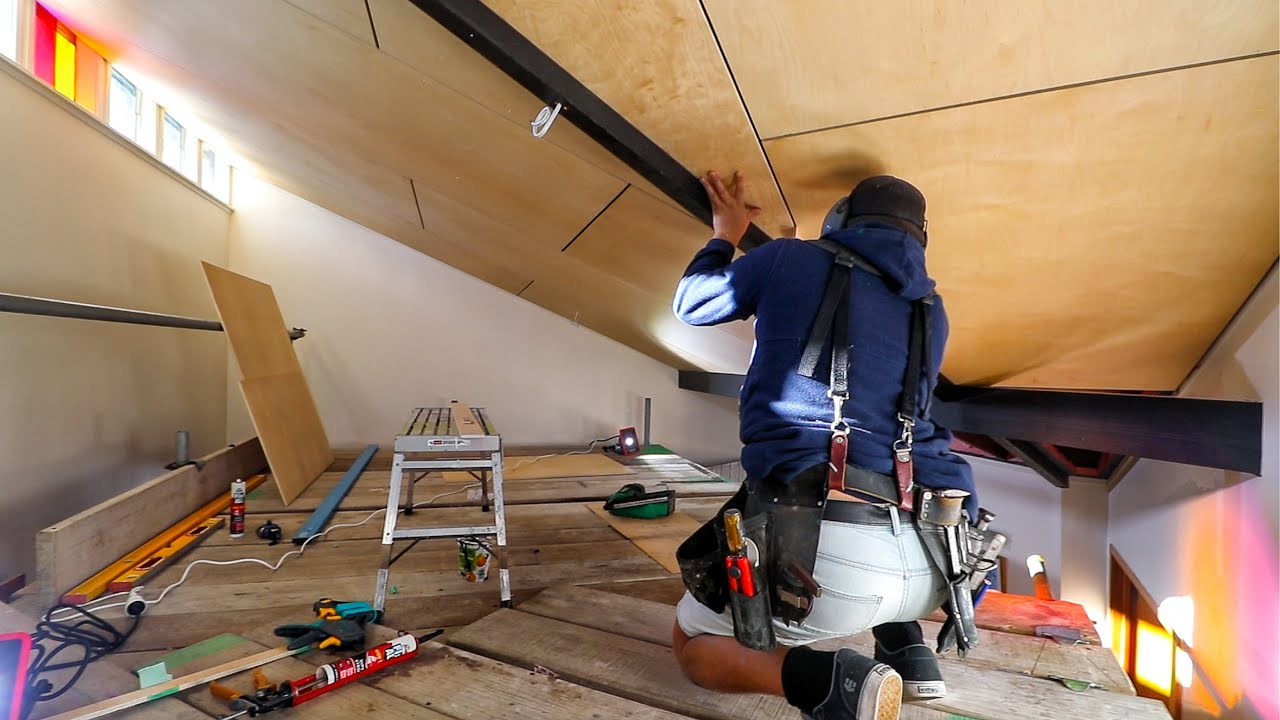
Plywood with a thickness of 6–8 mm is not too heavy and it is quite possible for an adult man to hold it in the right place on his own and secure the edges with a pair of metal screws.
Expert advice and finishing
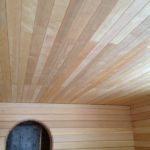
Upon completion of installation, the joints were covered with putty of a matching color. We waited until the composition hardened and treated it with medium-sized sandpaper. Then we coated the finished ceiling with water-based varnish. It took three thick coats.
He acquired a pleasant matte shine and highlighted the interior of the room after the situation. So much time has passed, but my family and I couldn’t be happier. The finish turned out to be pleasant and aesthetically pleasing, ideally suited to the chosen design.