How to attach laminate flooring to the ceiling
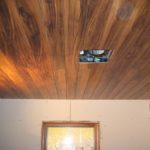
Laminate on the ceiling is a relatively new, and for many still unusual, trend in interior design. There are nuances in working with it that distinguish the process from working with other coatings or laying finishes on the floor. Let's try to figure them out.
The content of the article
Methods for attaching laminate flooring to the ceiling
There are two of them: glue and frame. At first glance, fixing with glue seems simpler. However, in practice it turns out that the preliminary work on leveling the ceiling is much more difficult and labor-intensive than if the second method was chosen, for which this is not required. For this reason, laminate can only be attached to a ceiling with height differences of more than 5 cm using a frame.
Attention. If the height of the room matters, then preference should be given to the adhesive method, since the frame method reduces it.
How to attach with glue
The process can be divided into three stages: leveling the ceiling, attaching the laminate and decorating the edges with baseboards. Let us remind you again: it is undesirable to resort to this method without experience, so we strongly recommend that you turn to professionals if possible.
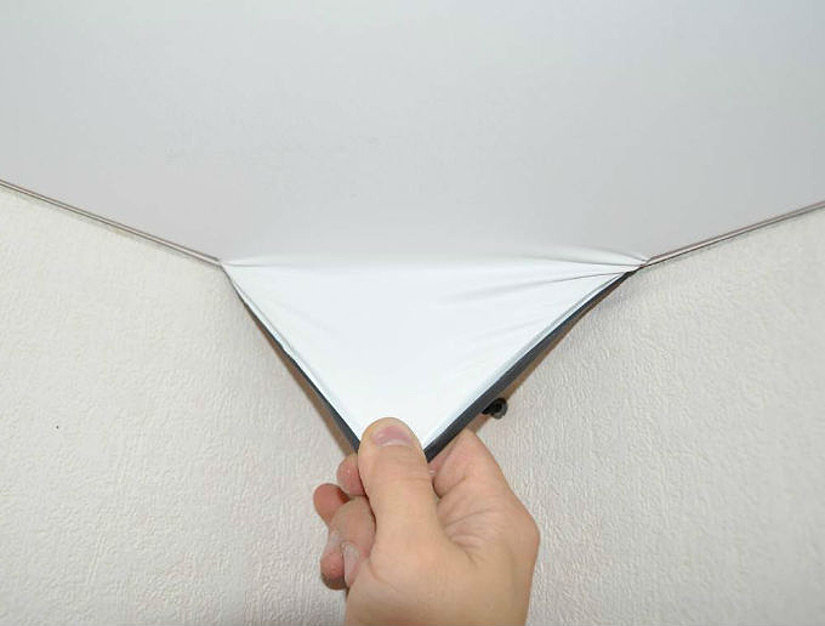
For the first stage - leveling the ceiling - you will need a spatula, which should be used to carefully scrape off the old finish (remaining paint, whitewash or plaster).If there are depressions - potholes and chips - then they are sealed with putty, which also corrects minor differences in height. Owners of concrete ceilings are recommended to additionally fill the joints of the slabs with foam, and then cut off the excess and also putty. For final leveling, the surface is treated with fine-grained sandpaper and a deep penetration primer in two layers. Be sure to wait for it to dry completely.
Reference. Using a plasterboard base will help to avoid such work, but this will reduce the height of the room.
Before the second stage, you should first select high-quality glue. The main properties it should have:
- water resistance;
- high adhesion;
- resistance to thermal shocks;
- non-toxic and environmentally friendly.
For all these indicators, it is best suited two-component polyurethane adhesive, but not all types are environmentally friendly. Does its job well too one-component polymer superglue.
Important! The latter dries out very quickly, which is both an advantage and a disadvantage. Working with it requires experience, high speed and accuracy.
Another option is “liquid nails,” which are usually used for panels no thinner than 14 mm and as a joint sealant.
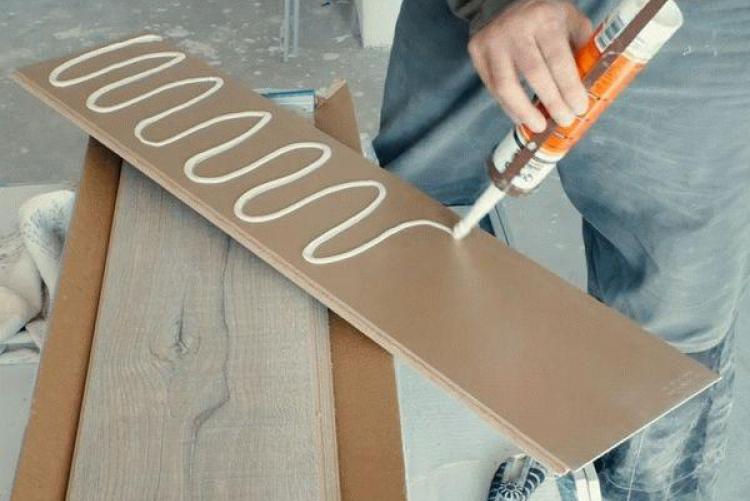
It is best to start work from the corner farthest from the entrance, on the left side of the door. Apply glue to the board and ceiling and apply. In further work, we apply sealant to the lock. After waiting for complete drying, we proceed to the next panels, each of which is located in relation to the other according to the same principle as brickwork.
How to attach to a frame
In a nutshell, the scheme of action is as follows: the laminate is nailed to the frame, and the latter to the ceiling. Thanks to this, there is no need to level it, and height differences are regulated using the thickness of the frame boards.
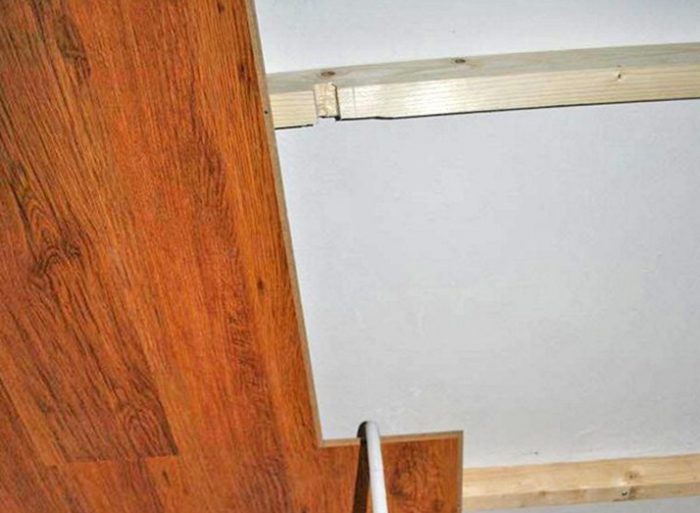
First of all, the sheathing is marked - the lag pitch is 40–60 cm. Holes for dowels are drilled in each of them - no more than 4 mm. Then the panels are attached - the tongue is inserted into a special groove and knocked down with a hammer, and after that a nail is driven into it diagonally. For reliability, you can cover the joints with “liquid nails”.
Reference. An alternative option is clamps, but they are more difficult to work with than nails. But the result is better - the caps are not visible.
The last step is to attach the frame to the ceiling. The best option for this is still the same “liquid nails”, but you can also use self-tapping screws.
2proraba.com
Choosing a laminate for ceiling mounting
Before deciding on such a design, it is important to know its advantages and disadvantages.
The advantages include the following qualities:
- laminate is lighter than plank flooring, and therefore easier to work with;
- it is easy to clean - just wipe with a damp (but not wet!) cloth;
- a huge variety of colors, patterns and textures, so you can choose an option for any style;
- good heat and sound insulation.
But it is not without its drawbacks. For laminate they are as follows:
- High moisture absorption, which is why craftsmen do not recommend placing it in the kitchen and bathroom.
- The phenolic resins in the composition emit toxic substances, so in the first month after renovation the room must be ventilated all the time. For the same reason, it is not recommended to install laminate flooring in apartments where children, allergy sufferers and the elderly live.
- Low resistance to temperature fluctuations.
When choosing a material, neither wear resistance nor strength matters - all this is necessary only for those who plan to cover the floor with laminate. And for the ceiling, unlike the floor, it is better to choose a smaller thickness. Accordingly, you don’t have to be afraid to take cheaper models. However, there is a property that is no less important for the ceiling (and perhaps even more) than for the floor - this moisture resistance. The higher it is, the better.
After the calculation has been made, it is worth purchasing laminate with a reserve (about 15–20% more than the required quantity). Non-professional craftsmen often encounter unforeseen situations when it turns out that more lamellas are needed, but the required color and texture can no longer be found.
It is important that the boards are long enough to have a minimum number of joints, but not too wide - for convenient work. For the same reason, it is desirable that the material be flexible and light. And of course, there should be no manufacturing defects on it - chips, cracks and damage (both on the surface and on the locks).
Installation Tips
To ensure a satisfying result, you need to take into account the following:
- Before attaching the laminate to the ceiling, you need to let it sit in the room for a couple of days and “get used” to its temperature and humidity. Otherwise, after installation it may become deformed, which will lead to unpredictable results, including the collapse of the ceiling.
- Before hammering nails into the lamella, it is better to pre-drill holes for them, otherwise they can be damaged.
- When installing, you need to leave a gap of 1.5-2 cm between the laminate and the wall to compensate for thermal expansion and other deformations. You can use wedges for this.
- It is physically easier to use a hammer and nails when working on the ceiling than a screwdriver.
- Before laying the laminate, you need to install waterproofing, especially if the room is on the top floor.
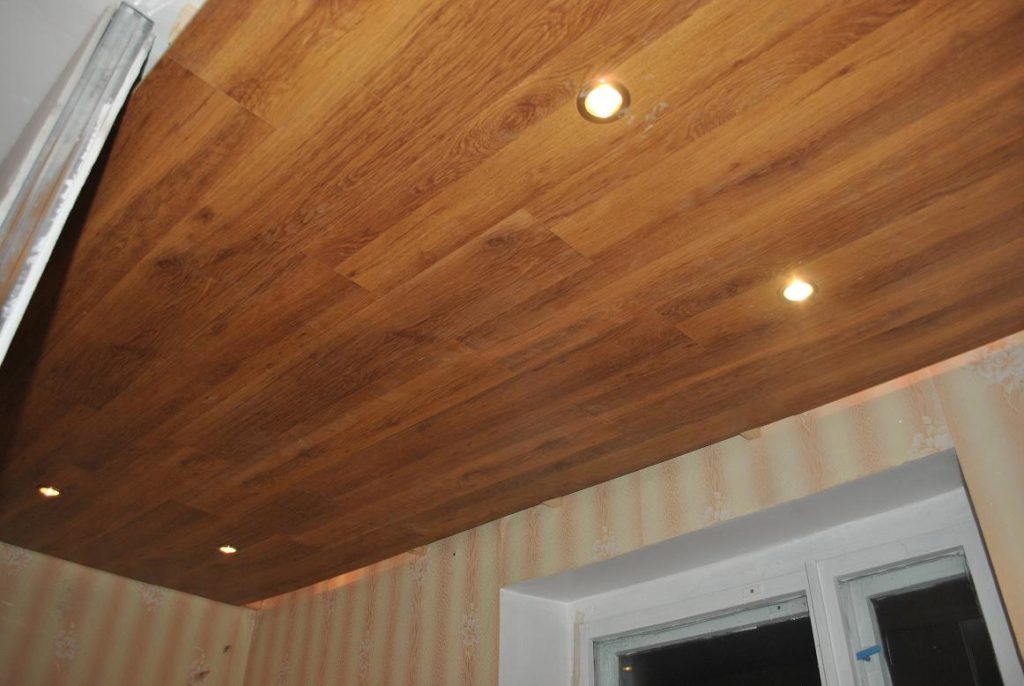
- An important point that many people forget about is installing lighting (laying wiring, cutting holes in the laminate, attaching light bulbs).
- In elongated rooms, two- and one-and-a-half meter boards look better, and in square rooms, equilateral tiles.
- Before attaching the laminate to the concrete ceiling with dowels, it is advisable to drill a test hole to understand how much the concrete crumbles and select a suitable drill.
When installing laminate flooring on the ceiling, it is important to correctly assess your strengths and, if possible, turn to professionals. If this is not possible, then it is quite possible to study the issue on your own, but in this case it is better to give preference to the frame method of fastening.

