How to level the ceiling
Not every home has a flat ceiling. It can be so twisted that any cladding will only make the situation worse. Therefore, they decide to level the ceiling. There are several effective methods - puttying, plastering, plasterboard lining. Let's take a closer look at them.
The content of the article
Alignment methods
There are several methods to obtain a smooth and even surface. Among them:
- Puttying. Used for differences of up to 2 cm. Copes with small cracks and defects.
- Plastering. Suitable for differences of no more than 5 cm. They differ in composition and can be with cement, gypsum or polymer.
- Plasterboard cladding. In difficult cases, with strong differences and significant defects. Additionally, the sheets increase sound insulation and insulate the room.
Also, the stretch fabric can hide some flaws in the ceiling area. It is necessary to choose the appropriate method based on the condition of the surface. A laser level allows you to evaluate the degree of differences.
Reference. The gaps between the ceilings can be treated with plaster, even if their depth is more than 5 cm. The main thing is that they are narrow. The composition will fill all the voids.
Ceiling preparation
Before starting work, the old coating (including whitewash) is removed. To do this, use a spatula and water. It is worth taking into account the characteristics of the coating. For example, for water-based paint, you will need a good solvent.
When the base is ready, begin processing the seams between the panels. Polyurethane foam will do. They fill the voids with it and wait for it to dry. Excess mass is removed with a construction knife. Afterwards the seams are treated with a primer.
Important. In order for the selected leveling composition to lay more evenly and last a long time, it is recommended to cover the entire area with a primer. If the room has a high level of humidity, only materials with additional waterproofing are used.
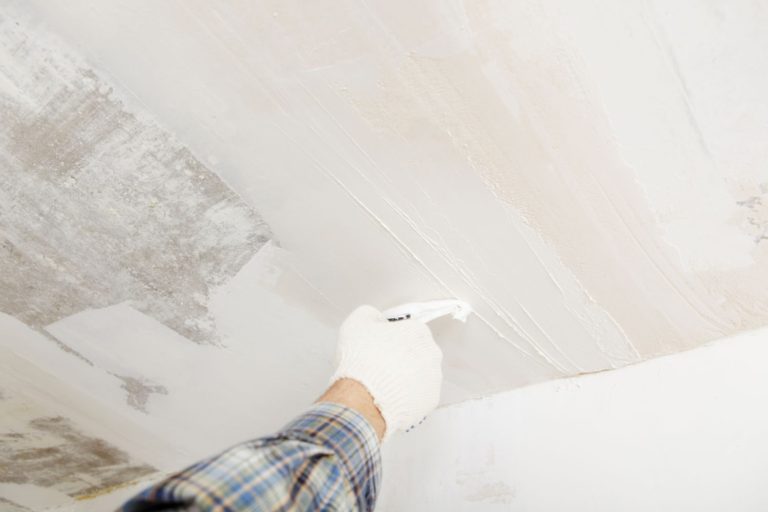
Leveling the ceiling with putty
Puttying is suitable for minor unevenness. It seals shallow cracks. Also used as a finishing coat before painting. The maximum layer thickness is 2 cm. Otherwise, over time the finish will crumble and crumble.
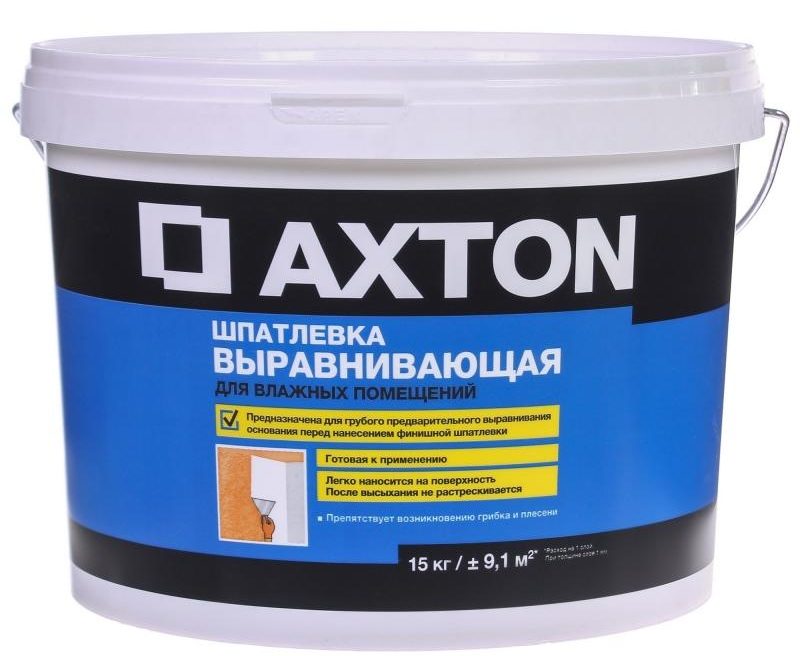
Composition selection
The putty mixture can be starting and finishing. The latter is more fine-grained, which allows it to lay down thinner. The starting one usually has a thickness from 10 to 30 mm.
You can purchase the mixture ready-made or dry. In the latter case, you need to mix it with water yourself, observing certain proportions. Ready-made options are easier to apply in a thin layer, but they are not suitable for long-term storage at low temperatures. Dry ones are optimal for rough leveling.
An important selection criterion is operating conditions. If the humidity is high, then gypsum putty will not work. It is recommended to choose one that uses cement as its base.
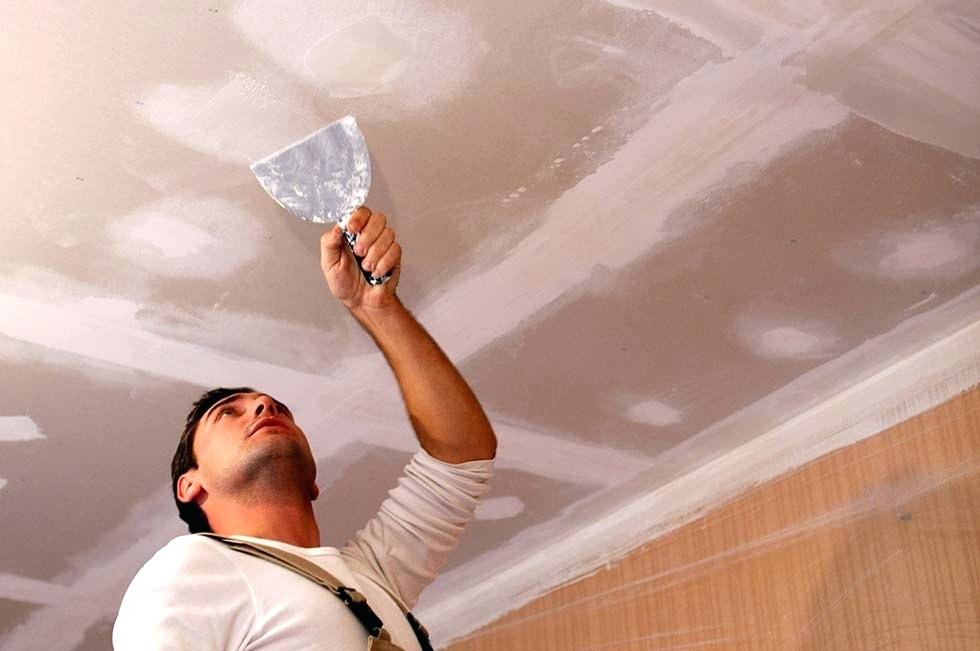
Putty
It can be applied using beacons or without them. Often used as a finish after plastering before painting. But if it becomes the basis for leveling, consumption will increase. This should be taken into account when calculating the required quantity.
When using the starting option, it is applied in several layers. Before applying a new one, the previous one must dry. After that, they are sanded over them. For convenience, it should be wrapped around a small block. The entire area is treated with the tool made, making circular movements.
It is more convenient to apply the composition using several spatulas. Some of them are narrow, the other is wide. Movements with instruments are made diagonally. This will allow the seams to overlap.
If further painting is not planned, then finishing putty can be abandoned.
Leveling the ceiling with plaster
With an average level of differences, plastering is used. The work is carried out on lighthouses. Under normal operating conditions, where humidity and temperature are within normal limits, it is recommended to use a mixture that contains gypsum. It has lighter weight.
Cement plaster is suitable for difficult operating conditions, if it is too humid or there are regular temperature changes. It's heavier. The mixture is applied along the beacons, which are pre-installed.
Important! Applying plaster is a more labor-intensive process than puttying. Therefore, before work you need to carefully prepare and take into account many nuances.
Installation of plaster beacons
Begin by preparing a solution of the selected type of plaster. It is then applied in small quantities, covering small areas.It is recommended to move along the applied markings, which are also pre-made. This is necessary in order to accurately indicate the places where the beacons will be attached. Laying is done in increments of 30 cm.
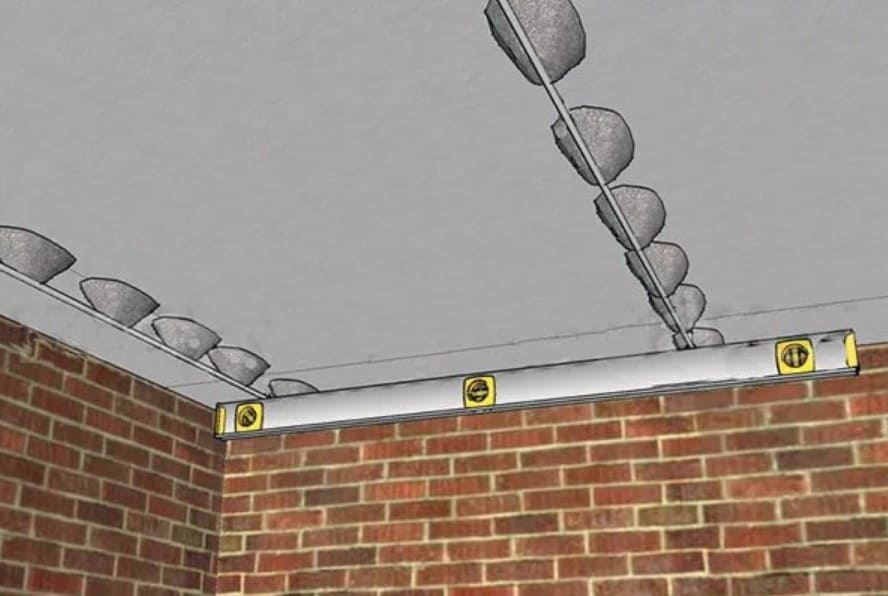
Then they take the beacon and apply it to the surface, pressing it into the applied solution until it reaches the level of the guide rows made of threads. When all the parts are installed, it is important to check their horizontal position - whether they are in the same plane. To do this, use a bubble level. It is recommended to check everything at once, before the plaster has had time to dry completely.
Identified inaccuracies are corrected on the spot. You will need to either press the beacon harder or add mixtures underneath it, depending on the identified deficiencies.
Plastering works
It is recommended to start finishing from the lowest angle. Using a wide spatula, the composition is applied over the mesh. Press it in so that it can completely fill all the holes. It is not recommended to immediately try to level the surface if the differences are significant. It is more effective to make several layers. The first of them is needed to create good adhesion between the mesh and the base.
Plastering is carried out over the entire area, leveling everything along the control line. The main thing is that the layer thickness should be a maximum of 2 cm, no more. When the first one dries, apply the plaster again. The second layer allows you to hide the mesh completely. You can apply it a third time if the base requires it. It is important that fresh plaster must be prepared for each layer. While the work is going on, the composition begins to thicken. It cannot be used in this form, nor can it be added water to make the mass more plastic.
The last layer must be treated with a trowel to achieve perfect smoothness.
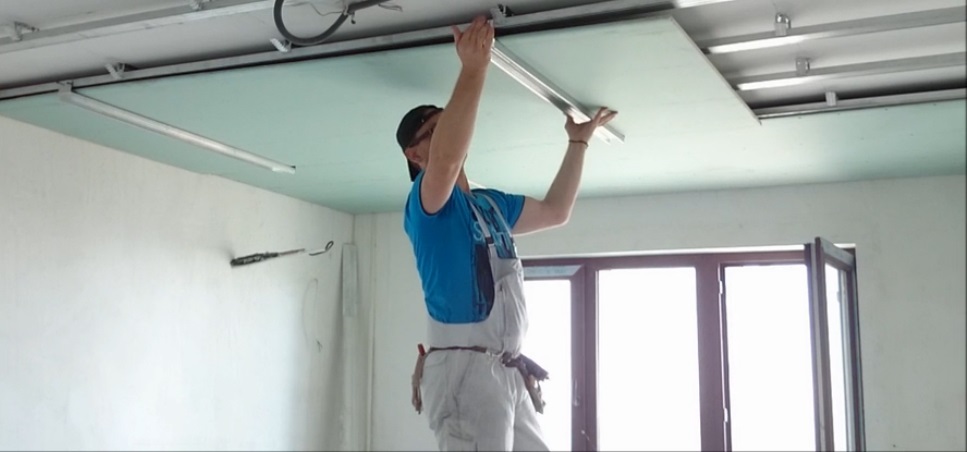
Leveling the ceiling with plasterboard
This is an excellent option when differences and defects are too significant. Ordinary soft mixtures will not cope with such problems. Drywall allows you to completely cover the area with flaws. In addition, sound insulation in the room improves and more heat is retained inside. But the work will be more labor-intensive.
There are several options for performing alignment this way. To secure the sheets, hanging technology is used, which uses a special frame. They start by assembling the metal structure. It is secured using brackets. Then the plasterboard sheets are installed. For reliability, self-tapping screws are used as fastenings.
It is worth noting that this option reduces the height of the walls by 5-10 cm. Therefore, it is not suitable for low rooms.
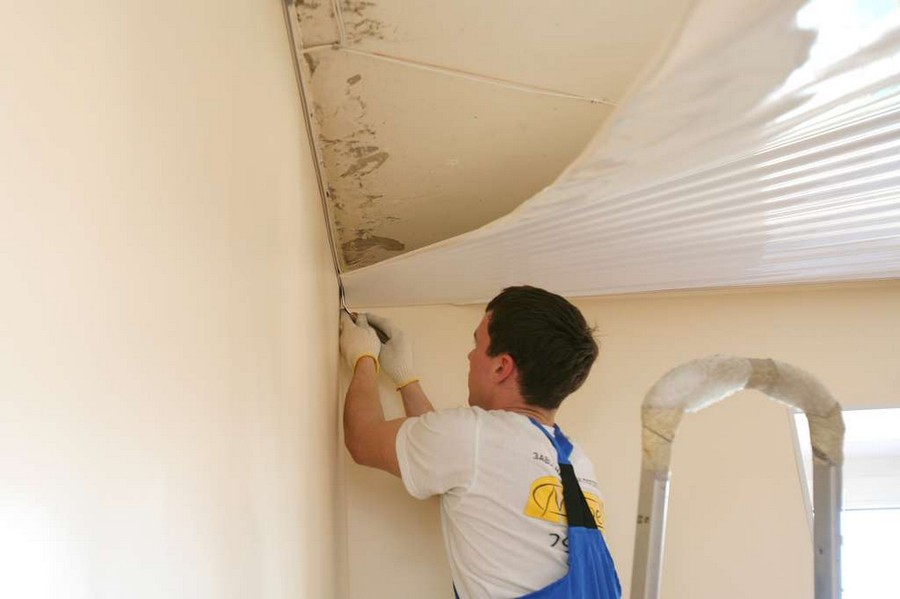
Installation of stretch ceiling
Its advantage is the ability to disguise existing flaws and immediately obtain a finished cladding. No additional manipulations are necessary. The technology is safe and requires professional skills. You just need to choose the right model. The canvas can be matte, glossy, multi-level, with various designs and patterns. The structure of several levels hides serious irregularities. Any stretch fabric perfectly masks surface defects, and no additional preparation of the base is required.
An uneven surface can cause a lot of problems. Some types of cladding become unavailable, and defects spoil the appearance. But the situation can be corrected by choosing one of the listed methods, based on the surface characteristics and operating conditions.The result is a high-quality, smooth area with an attractive design.