How to glue tiles to the ceiling
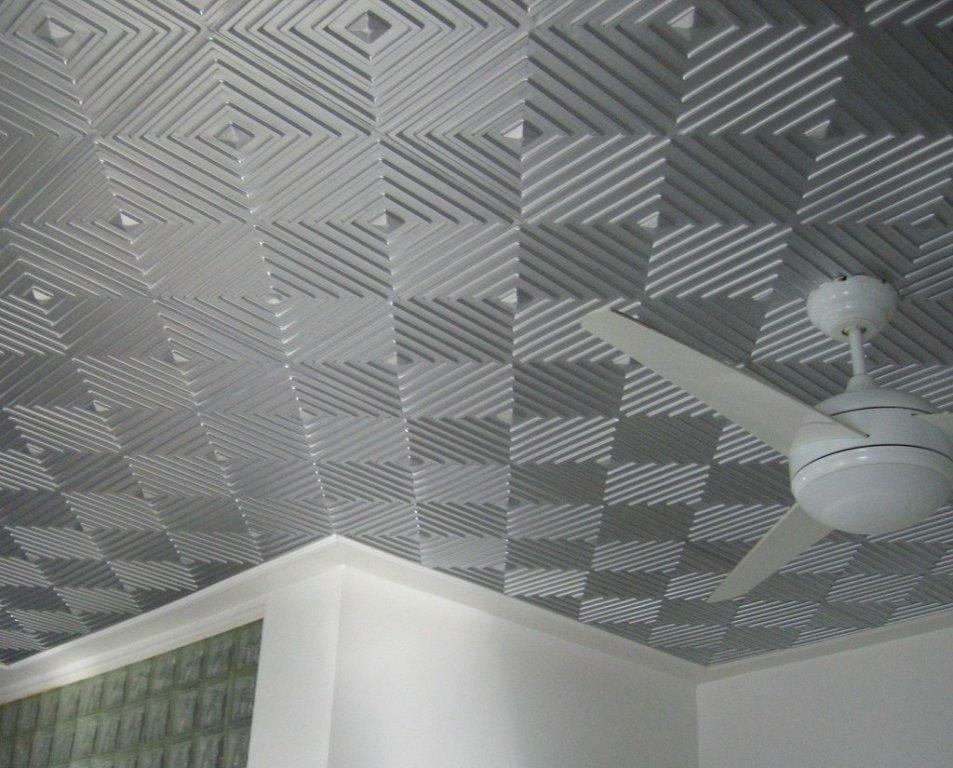
A beautiful, neat ceiling is an important part of a quality renovation. To do this, some limit themselves to whitewashing; some install tension or suspended structures. An equally interesting option is cladding with ceiling tiles.
This is a budget-friendly and simple finishing method that even an inexperienced homeowner can handle. Installation does not require special skills or special tools, so many people carry out the work themselves. But even such a simple option has features that need to be studied. After all, to prevent the finish from falling off after a few days, you should choose the right materials, prepare the base and decide on the most suitable installation method.
The content of the article
Technology: how to glue tiles to the ceiling
To avoid having to do the repair again, you need to strictly follow each stage of the work. Ignoring even one step can result in one day ending up with the entire structure on the floor.
Preparing the base
The first step is to prepare the ceiling. To do this, use a puncher or spatula to remove old whitewash, paint, plaster or any other unnecessary coating.
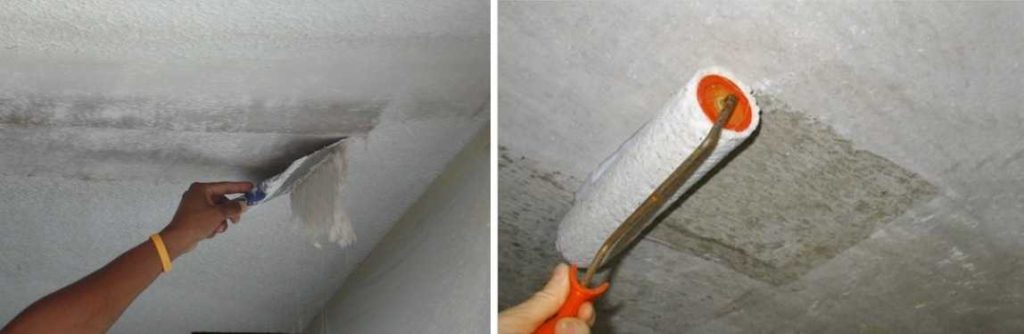
The second step is to remove defects that remain after cleaning. Cracks, chips, and joints between parts are filled with putty and left until completely dry. This usually takes at least 12 hours. After this time, the base is thoroughly primed. The product is applied in several layers, and it is important to give each of them time to dry completely.
Reference. The primer is needed to achieve uniformity of the ceiling - this improves the reliability of adhesion.
If the base is well plastered, the whitewash does not flake and is well fixed, then there is no need to remove the old coating - you can immediately apply primer. However, this is only allowed for urgent repairs: over time, the finish will fall off the untreated surface.
The priming method depends on the substrate:
- the concrete surface is treated with concrete contact;
- gypsum requires a deeply penetrating composition;
- in a room with high humidity, before application, the primer is mixed with an antiseptic - this prevents the appearance and development of pathogenic organisms.
Placement methods and markings
There are several types of fixation. You need to decide on the gluing scheme before going to the store. This is the only way to choose the right type of product and design.
Parallel
Traditional fixation method. Work should begin from the center of the room, because this minimizes the visibility of seams. With this gluing you can create a complete surface.
There is a second type of cladding. In this case, each fixed part is shifted by half its length. This makes the ceiling visually weightless and airy.
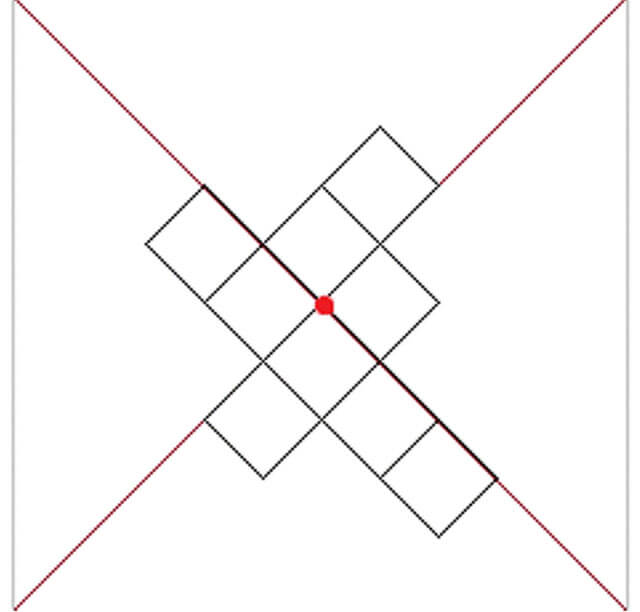
Diamond
It is considered universal, as it is suitable for rooms of any size and geometry.First of all, you need to take care of marking the base, and then the fragments will be fixed along the lines.
Reference. The main disadvantage is the large amount of waste.
To make the diamond-shaped styling look attractive, and the seams are not visible:
- work must begin from the center, making sure that each part is placed strictly along the marking line;
- lay the first square at an angle of 45O relative to each wall;
- Apply the next one to the previous one until the entire area is filled.
Checkerboard
This is how cladding is done with materials of different colors. Typically, models of two contrasting shades are chosen - this way the interior turns out stylish and original.
Installation begins from the center of the room. Each square is fixed parallel to the walls. To create a checkerboard effect, parts must be alternated.
Reference. Using the checkerboard laying method, you can hide small defects.
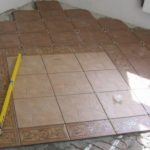
Marking
Needed to neatly fix the squares. Usually starts from the center. To determine it, you should stretch two threads between diagonally located corners. Where the strings intersect, there is a center.
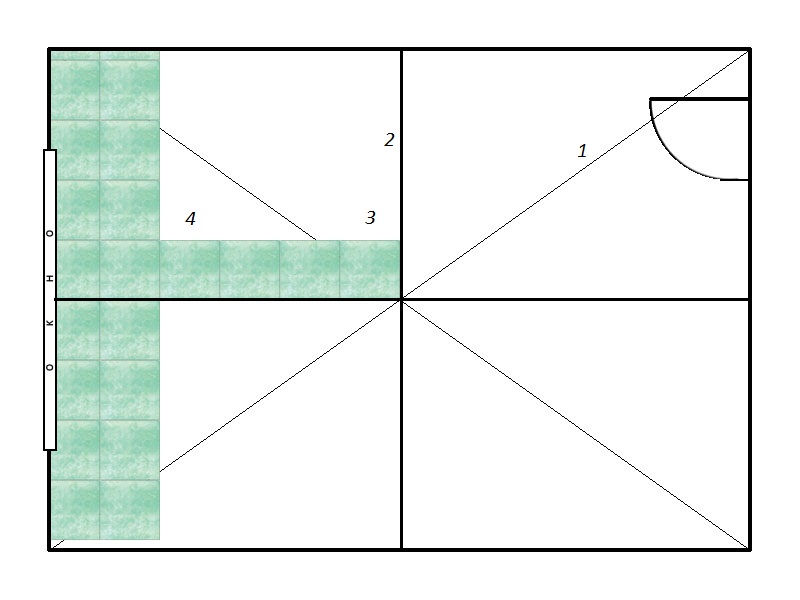
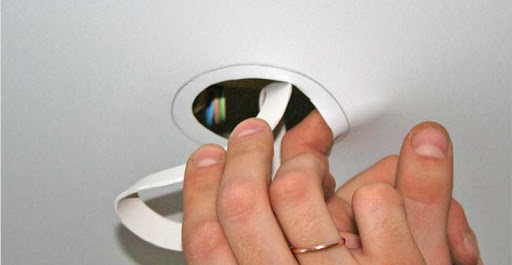
If there is a chandelier in the room, markings are not needed - in most cases, installation starts from the lighting fixture. However, for the diagonal laying method, you will need to pull the threads from the corners towards the lamp.
On a flat ceiling
When choosing a fixation method, the quality of the surface plays a significant role.
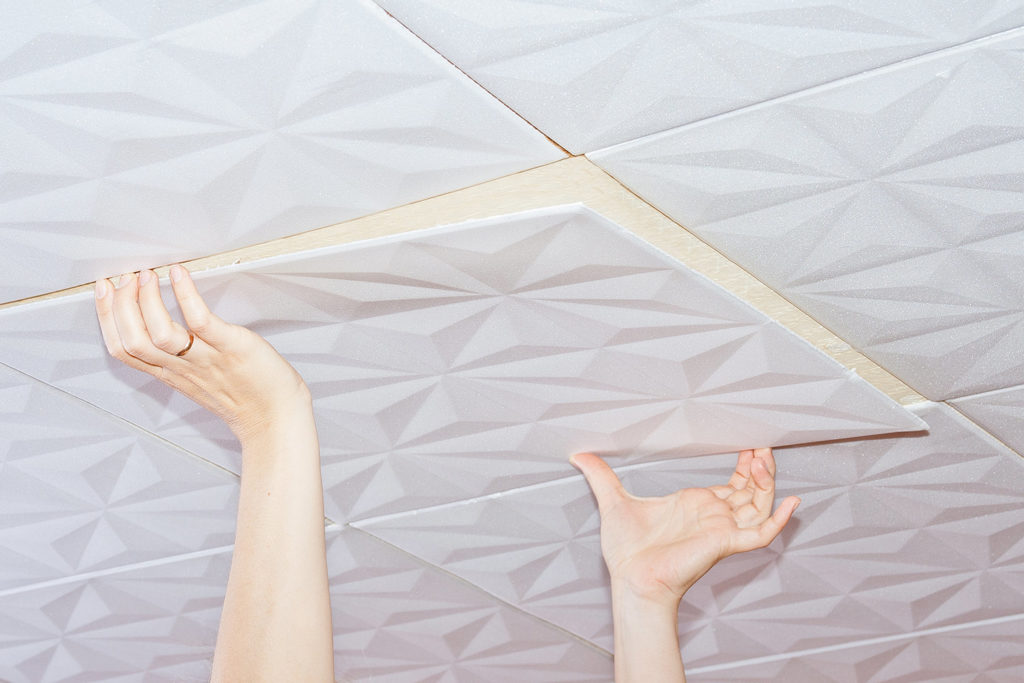
The flat one is pasted over as follows:
- Glue is applied to the bottom of the trim.
- The square is applied to the base, lightly pressed until the composition first sets.
- The next fragment is fixed as close as possible to the previous one.It is important to pay attention to the matching of the patterns and the fit of the side parts.
- To veneer complex and hard-to-reach places, fragments can be trimmed to give the desired shape.
Uneven ceiling
To cover uneven surfaces, instead of an adhesive composition, putty or a base in the form of a plasterboard structure is used.
Applying the mixture begins from the place with the smallest difference. The area covered should not exceed the size of four fragments. When the first squares are laid, they are leveled using a level. The device must be applied to the area and the squares should be lightly pressed on uneven sections to give the area an even position. The rest are fixed in the same way.
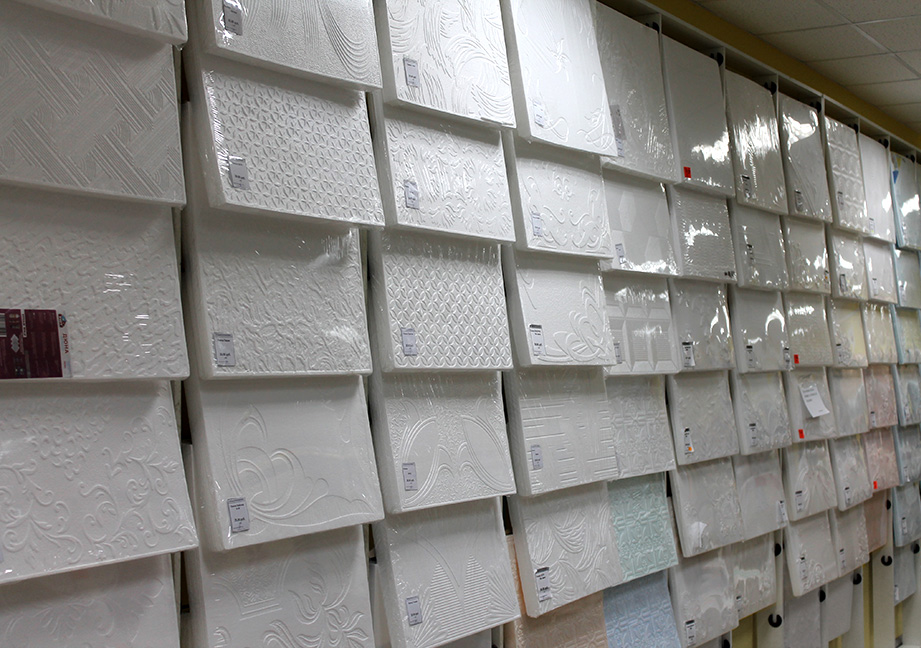
Which tile to choose
There are several varieties:
- Extruded. The product is smooth, without noticeable grain. The sheet thickness does not exceed 3 mm. The material is dense and tolerates staining well. The advantages include easy care and ease of installation, while the disadvantages include high cost.
- Stamped. It is made of foam plastic, therefore it has a loose structure and clearly visible grain size. It is inexpensive and perfect for budget renovations. However, laying the fragments is difficult: due to the fragile structure, the squares can break. Therefore, it is recommended to buy finishing with a reserve. Due to the grain size, it is difficult to care for the parts; they quickly become clogged with dirt. After finishing the work, it is advisable to cover the sheets with acrylic paint.
- Injection. Made from baked polystyrene foam. The main feature is a clear drawing. It is easy to work with, inexpensive, and tolerates staining well.
How to calculate how many tiles you need for finishing
Knowing the total area of the base, you can easily determine the amount of material:
- If the space is non-standard, it should be divided into equal parts and the area of each of them should be calculated. The results obtained are summarized.
- When using squares of standard size 50x50, it is important to consider that per 1 m2 4 fragments will be required. For other sizes, the area is calculated individually: the width of the sheet should be multiplied by the length.
- A simple method: the surface area must be divided by the size of one fragment. The result will show how many pieces will be needed to cover the entire ceiling.
Reference. Since tiles may become deformed or break during operation, 10–15% should be added to the results obtained.
What to glue on
Typically, sheets are fixed with special adhesives such as “Moment”, “Titanium” or liquid nails. The stamps do not cause any complaints, however, after applying them, the squares must be held until the substance sets.
There are also special mastics on sale. They are a thick paste packaged in small buckets. It’s easy to work with the composition: the substance is very sticky, sets instantly, you don’t need to keep the finish on.
The options listed are only suitable for flat surfaces. If the ceiling has differences, you will need gypsum putty or Perlfix adhesive. Should I buy a starting or finishing solution? It depends on the quality of the surface. The finish is suitable if the depth of the unevenness does not exceed 5 mm. In other cases, you will need a starting option or an Armstrong type system. With its help, you can bring even a frankly uneven surface into proper shape.
Decorating the ceiling is an important stage in interior decoration.Successful completion of the repair is only possible with properly selected adhesive, correct arithmetic and carefully performed installation.