Two-level plasterboard ceiling
Today, plasterboard is one of the best materials for decorating ceilings. The sheets are perfectly cut and mounted together, creating a perfectly flat surface. Decorative finishing and covering of joints is minimal and does not require construction skills. That is why gypsum boards are increasingly being chosen for the construction of ceilings in a living room, hall or kitchen on several levels.

The content of the article
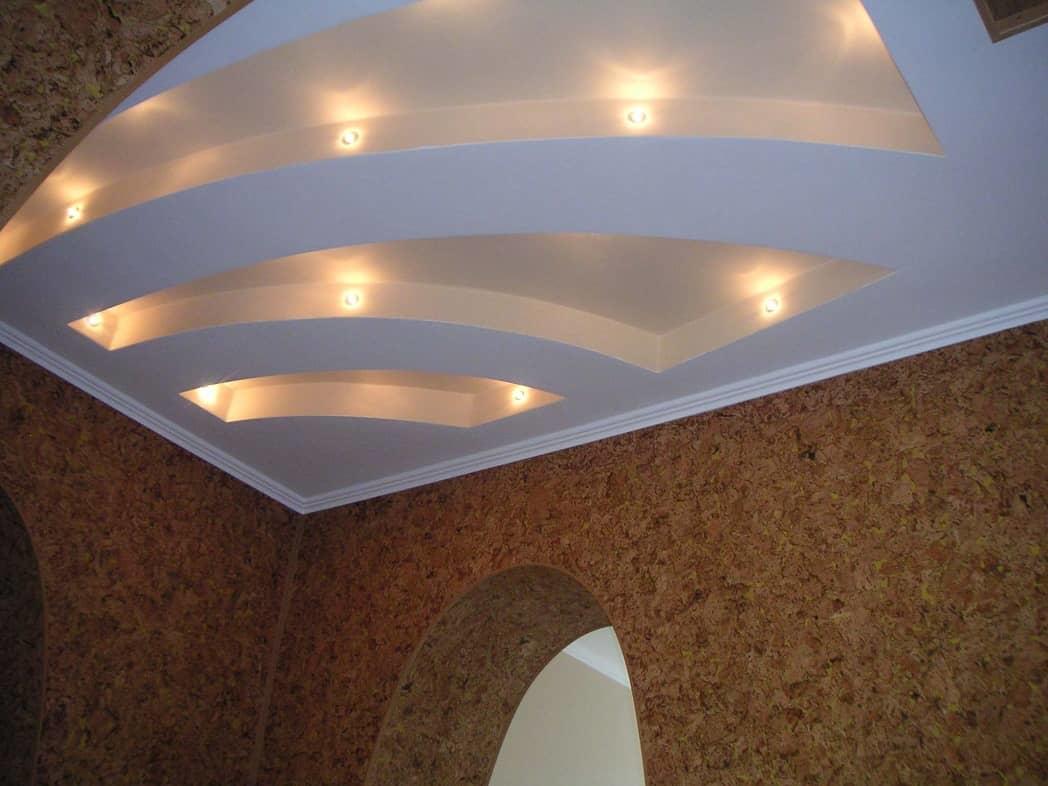
Two-level plasterboard ceilings with photos
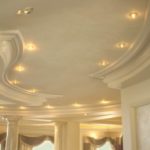
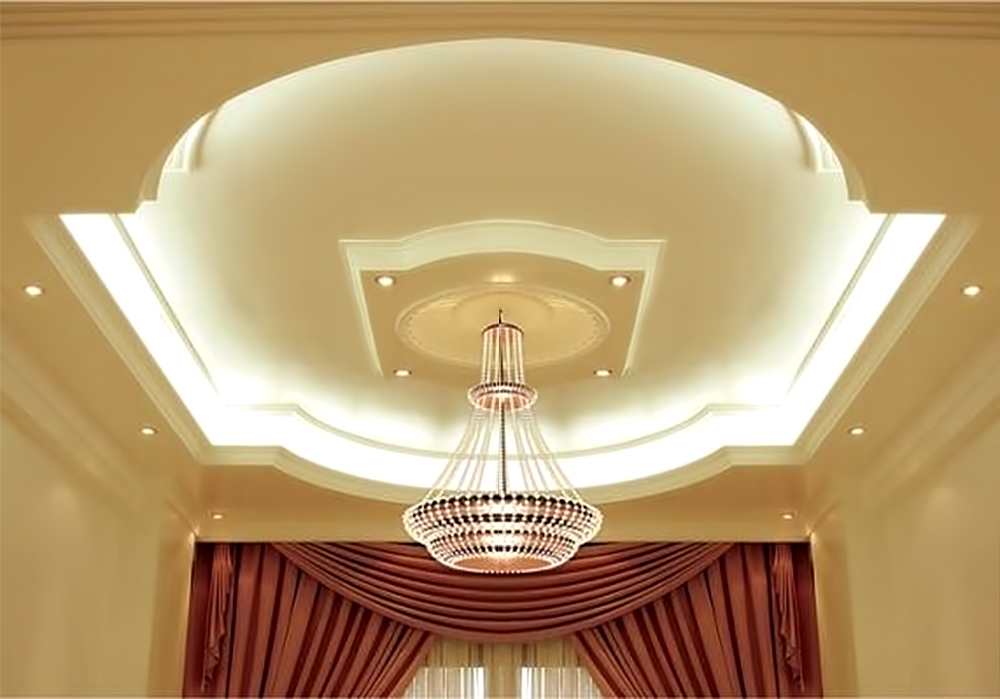
A suspended structure will be an excellent solution for any room in the house if the height allows for the installation of multi-tier systems. Can create original shapes or settle on geometrically straight lines - whatever the imagination of the master and the owners of the premises suggests.
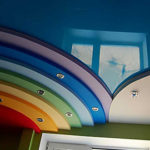
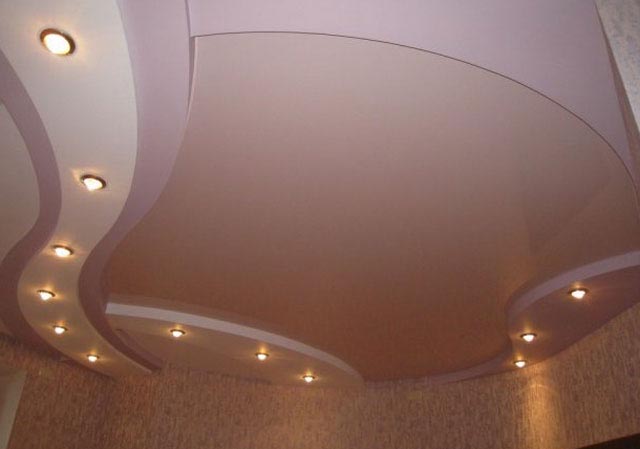
Drywall is versatile and flexible. With its help, you can create arched structures and decorate the environment in an unusual way.
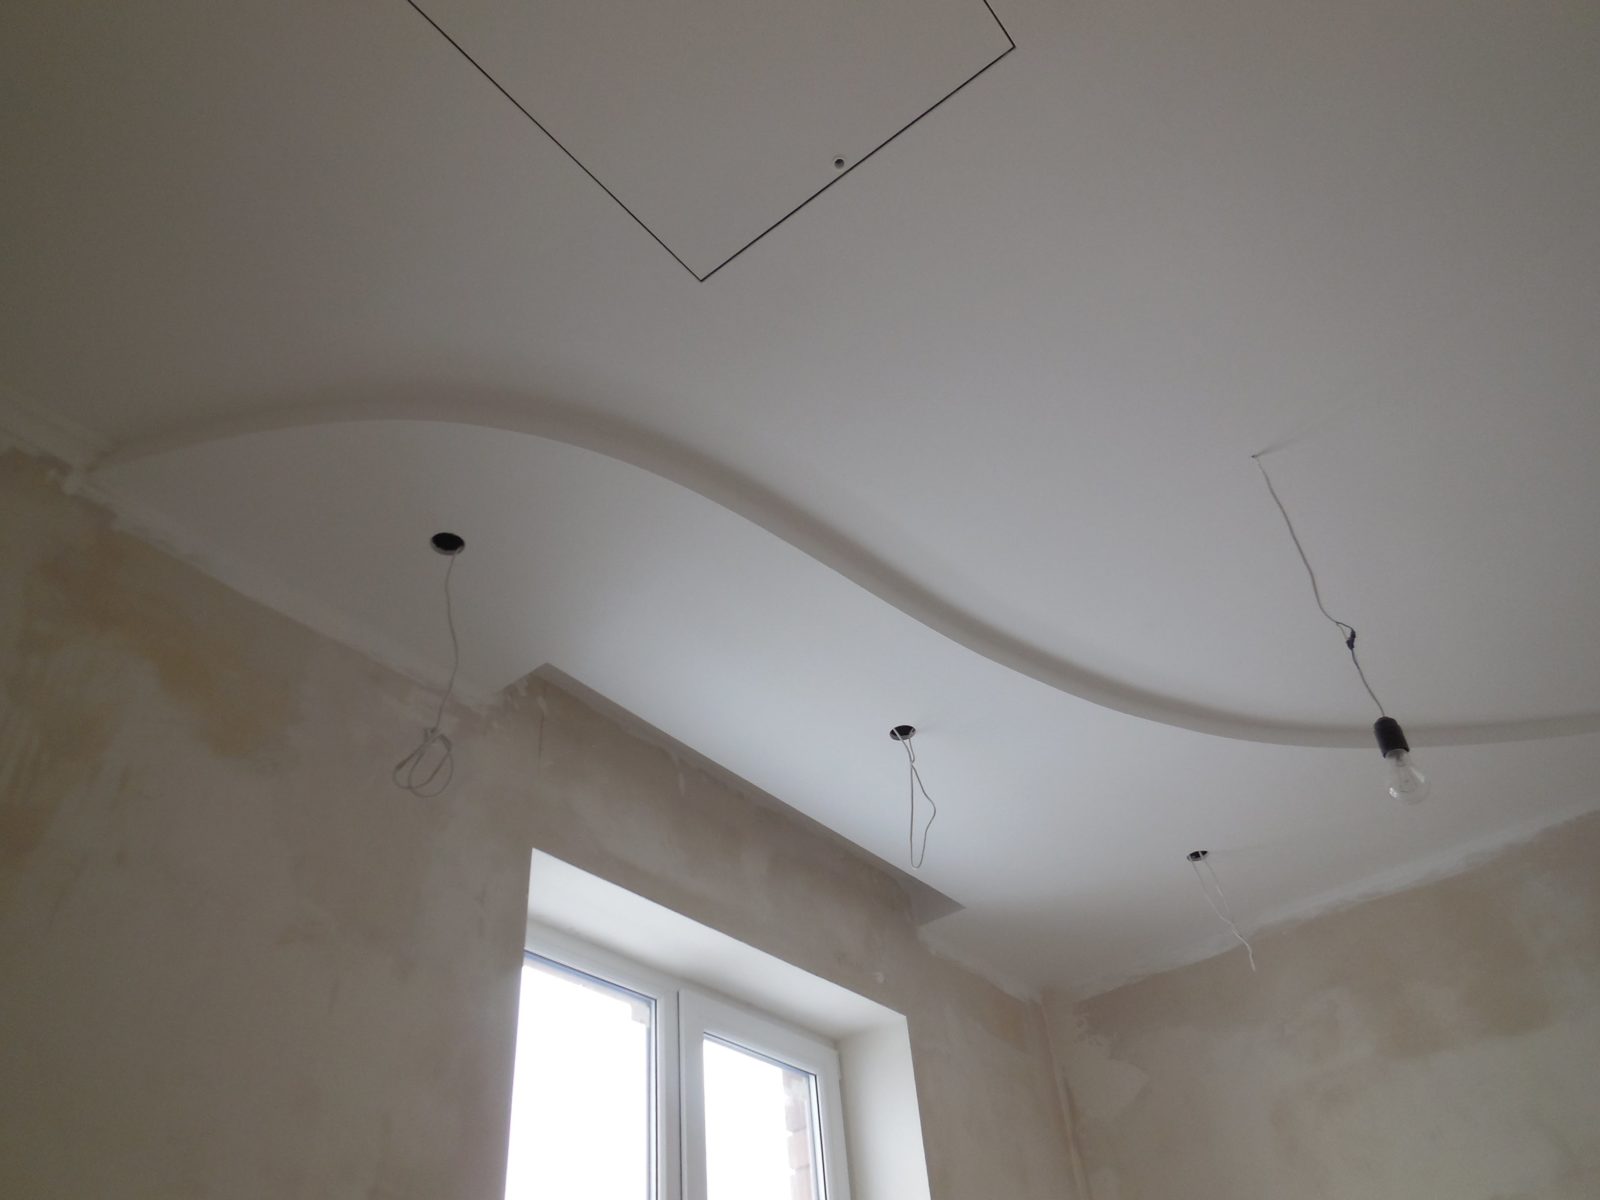
There are a great many options for two-level ceilings. They fit into the interior of the apartment. Simplest: ¾ of the central space is placed above, ¼ of the ceiling remains at the edges, placed 250–300 mm lower. Light bulbs, electrical wiring, ventilation, and LED strips are placed between the first and second tier.
DIY plasterboard ceiling with lighting
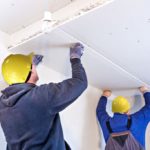
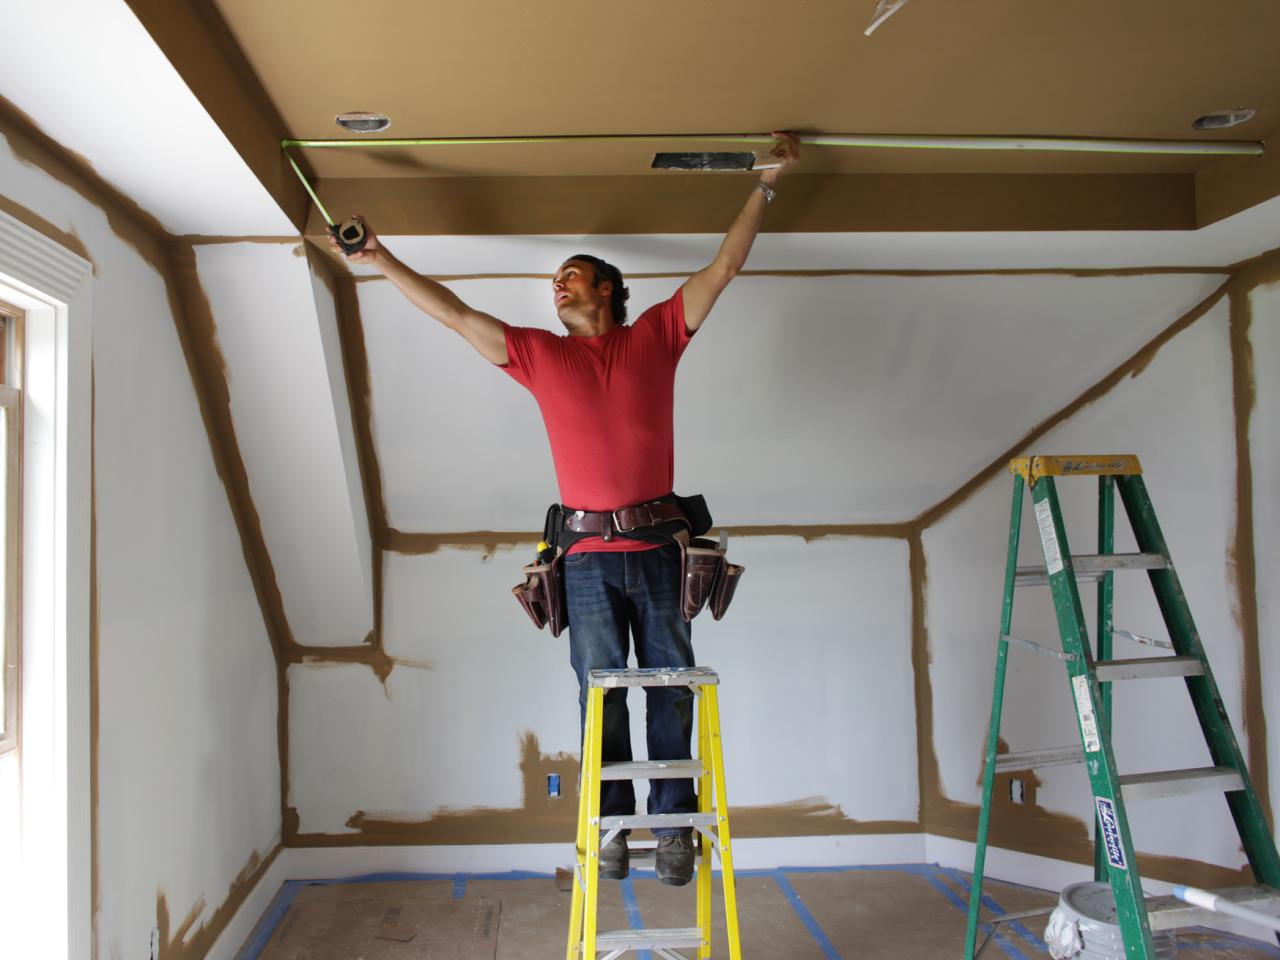
Installation of a similar design on your own - a troublesome task. Stock up on patience, basic knowledge and equipment. If you act carefully and according to the instructions, you will get an original decor.
Necessary tool
To install a two-level plasterboard ceiling, assemble the following equipment:
- screwdriver or drill with two functions;
- 2 m rule;
- level 1.5 m;
- tape measure 3–5 m;
- upholstery cords;
- ladder;
- metal scissors;
- wood saw;
- hammer;
- construction knives.
Every self-respecting man will most likely have everything he needs in his home.
Preparing for work
First of all, they draw a project for the future ceiling on paper. Here it is important to take into account the cutting of the material, the spacing of the fasteners and the joints of the sheets. Subsequently, you will simply take the plan and assemble the ceiling like a huge puzzle.
Installation materials:
- Primer.
- Plaster putty.
- Serpyanka.
- Damper tape.
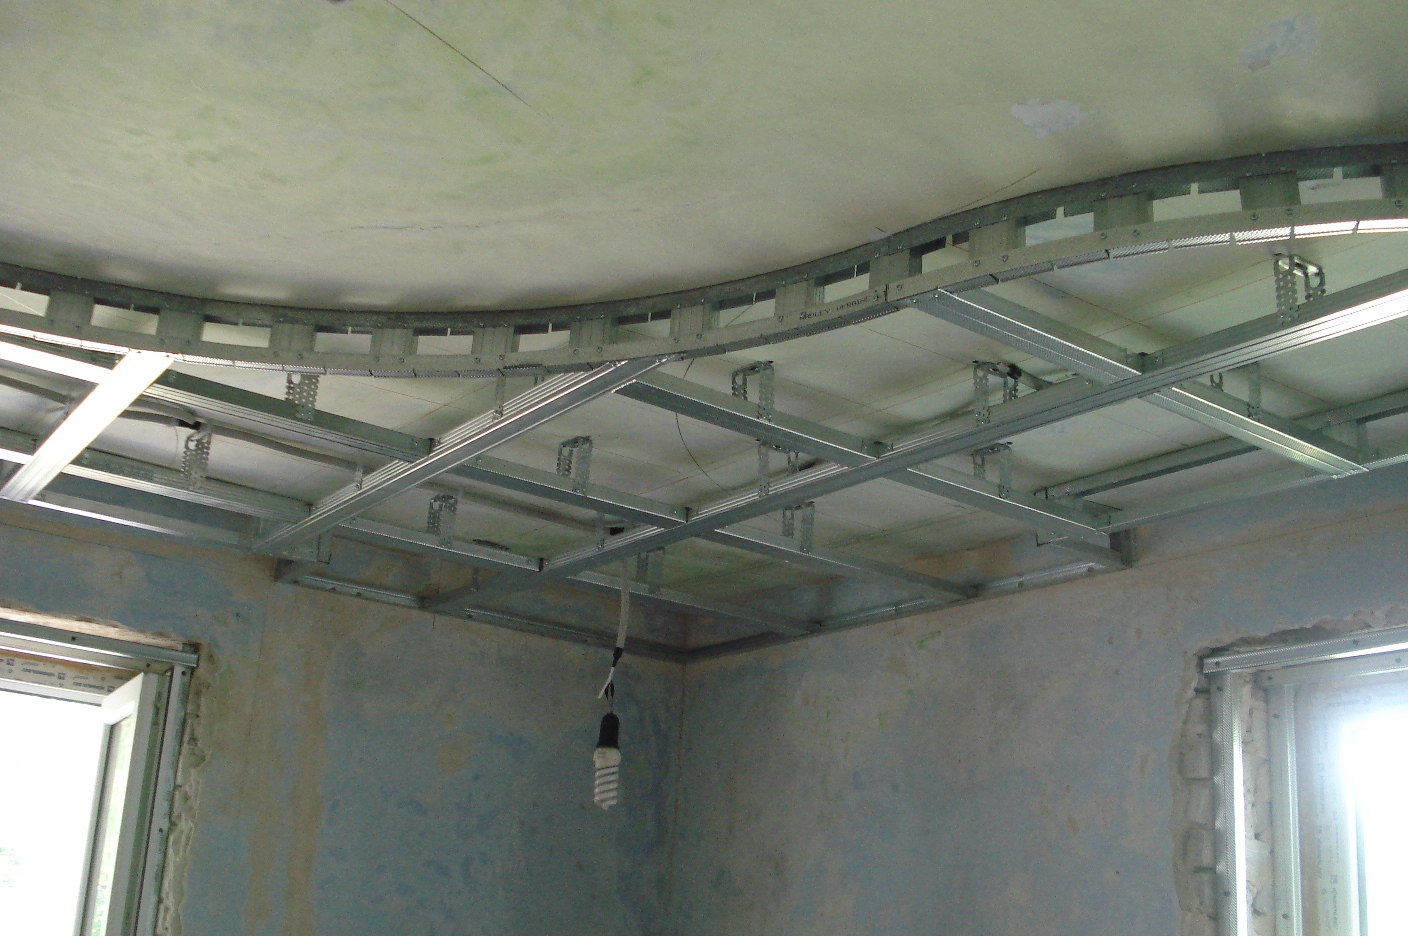
- Guide profiles (PNP) - installed at a width of one meter.
- Transverse (PP) - mounted between the PNP frame.
- Arched - installed along the edges of the second tier of the slab, length - 400 mm.
- Direct hangers - calculated for an installation distance of 500 mm.
- Single suspension (crab type), pitch - 400 mm.
- Dowels, anchor wedges, metal screws.
The calculation of the amount of fasteners is carried out according to profiles of about 40 cm, according to gypsum boards - 60 cm, the reserve of the total plus ten percent.
Surface marking
According to the drawing, gypsum board sheets are measured and cut. They cut off PNP and PP products and prepare materials for the entire ceiling. Profiles are attached to the floor to the gypsum board of the second tier according to the sketch. Sheet thickness 9.5 mm, dimensions 1200x3500 mm, arched wall thickness 6.5 mm.
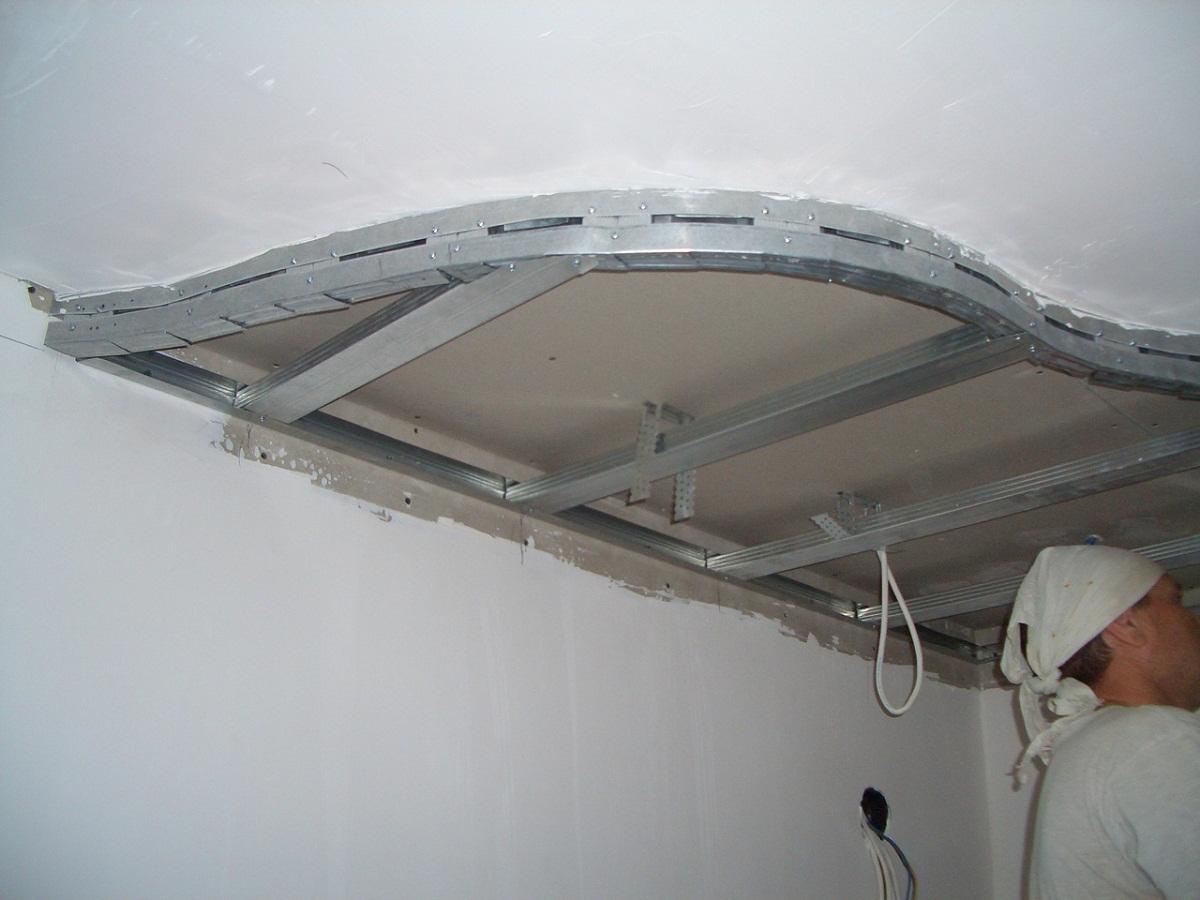
Frame installation
According to the sketch, PNP and PP parts are screwed in for fastening the first and second tier of gypsum boards. After the sheathing is ready, the frame of the main structure is mounted.For accuracy verified with TS 1.073.9-2.08, issue. 1–3. Drywall is screwed onto the base. Reliability and strength are provided by the use of three types of ceiling profiles, fine spacing of PP and PNP parts, screwing screws no further than 40 cm onto the guides to the ceiling.
Sheathing with gypsum board sheets
Drywall sheets are attached to the frame in increments of PNP and PP in sections. Self-tapping screws are tightened at a distance of 250–400 mm. The installation width of one “crab” is selected based on fasteners no further than 25 cm, taking into account eight screws for each product. The suspension is attached to the profile PP no less than six screws. When sheathing with sheets, the gaps between the joints are minimized. Seams larger than 0.2–0.5 mm should not be allowed.
Reverse fixation method
A finished two-level ceiling is installed using prefabricated sections that were previously assembled on the floor. The connection is made on suspensions, placed in advance on the surface. First, the outer ones are attached to the wall, then the elements closest to the arch. The best solution is through three suspensions. All missing fasteners are installed on the hinges of the second tier.
Proper installation, selection of necessary materials and tools guarantees high quality assembly. It is important to know all the installation details.