Installing a built-in hood in the kitchen
 When equipping a kitchen, it is important to take care of air purification and odor absorption. A hood, a device for forced ventilation, copes with these tasks. It can be built-in or domed.
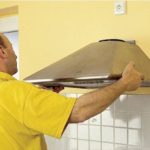
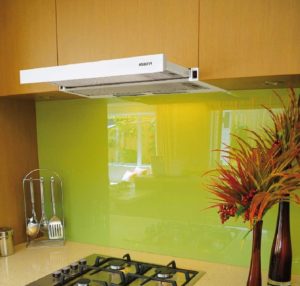
Built-in household appliances in the kitchen are not only stylish, but also convenient. The hood, built into the kitchen furniture, is ideally positioned evenly above the hob. Its function is to purify the air, as well as protect cabinet facades from pollution.
Additional benefits:
- reliable fastening;
- all wires and pipes are hidden;
- stylish and neat look;
- ease of use and cleaning;
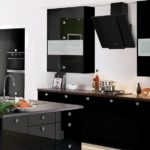
- suitable for any interior.
Most built-in models are equipped with backlighting, which is very convenient for additional illumination of the work surface.
The content of the article
Preparing to install a built-in hood

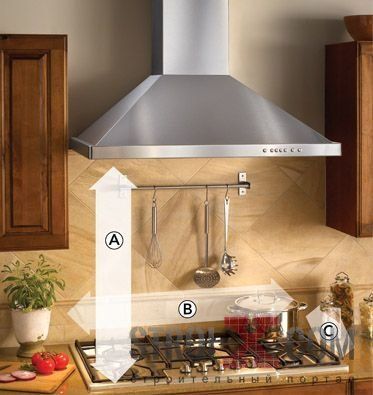
Before installing the appliance, it is important to check that the installation height is at least 65 cm above a gas stove or 75 cm above an electric hob.
If the height is greater, then you need to pay attention to models with more power.
Materials and tools will be needed for self-installation
To install built-in equipment, you will need the following tools:
- drill;
- long drill;
- level;
- roulette;
- screwdriver;
hammer; - laminate file or jigsaw;
- air duct;
- ventilation grille;
- check valve for air duct.
As well as a set of self-tapping screws, dowels, and mounting screws.
What should a built-in cabinet be like?
The built-in hood is attached to a custom-ordered cabinet. If the cabinet has been hanging for a long time, then you can refurbish it yourself.
Important! The cabinet should hang at such a distance from the hob that the minimum distance to the electrical appliance is maintained.
If the cabinet is too low, it will have to be shortened. If the cabinet hangs high enough, the hood can be mounted either inside it or under the cabinet. And fix it to the wall regardless of the furniture.
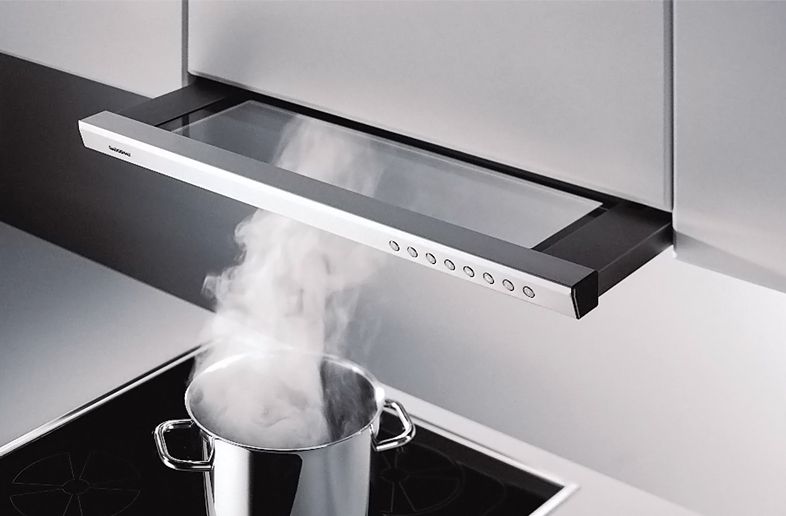
When installing a telescopic hood, it is important to check that the cabinet doors do not interfere with its extension.
How to prepare a cabinet for installation
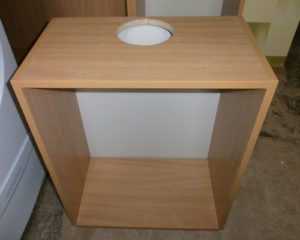
If the hood is installed in a cabinet, it needs to be prepared. To prepare a hanging cabinet for installation of a hood, you need to perform the following steps.
- Take the bottom out of it.
- Measure the distance to the nearest shelf.
- If the shelf interferes with the placement of the hood, then it must be moved.
- Cut a hole in the shelves and top surface for the exhaust pipe of the required shape and size.
- Prepare an outlet for the power cord on the rear wall.
To process the edges of the cutout for the air duct, you can use a plastic furniture profile. It needs to be placed on glue; it can be temporarily fixed with tape. Once the air duct passes through the hole, the profile will no longer fall out.
The front or cabinet doors are installed after the hood is fully connected.
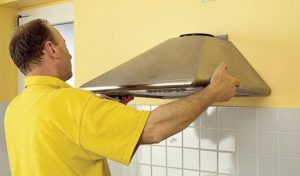
Installation of a built-in hood
The installation process should not be difficult. If the device is selected correctly, installation can be completed by one person in a few hours.
Methods for attaching hoods
To Wall
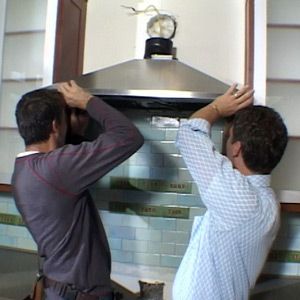
There are 4 holes on the back wall of the hood and 2 holes on the side walls. The kit should also include a template for marking. If there is no template, then it is easy to make it yourself:
- prepare a sheet of paper that covers the size of the back wall of the electrical appliance;
- transfer the holes to it.
Then, having attached the template to the wall, you need to transfer the outline using a level and tape measure.
Next, you need to drill holes of the required diameter and insert dowels into them. After this, hang the electrical appliance and check the horizon level.
Important. If there is a gas pipe passing through the place where the hood is attached, then installation on the wall is impossible.
In this case, you will have to build a structure from bars, use a bracket, or build the device into a cabinet.
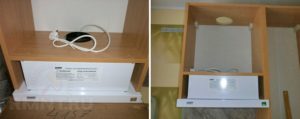
To the closet
To install a built-in hood in a cabinet, you need:
- remove the locker.
- Mark on its walls places for installing fasteners.
- Drill holes.
- Hang the cabinet in place.
- Secure the hood with screws.
Duct passages must be ready when the cabinet is hung.
Air duct installation
Types of air ducts
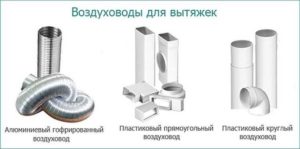
There are three types of ducts.
- Aluminum corrugated sleeve. It is easy to bend to give the desired shape, but the air flow through it is quite noisy, and it is also difficult to wash soot and dust from its fins.
- Round PVC air duct. It is assembled like a construction set from bends, elbows, and curves of the required size.Such pipes are quiet in operation and easy to care for.
- Rectangular PVC air duct. This is an alternative to a round pipe. It is preferable to use it when the ventilation shaft is far from the stove, as it is easier to hide and save space. It is assembled in the same way as a round one; adapters from round to rectangular cross-section are provided.
Pipe
It is important to select a pipe whose diameter will coincide with the diameter of the hood outlet.
When using PVC pipes, it is better to glue them together at the joints or fasten them with self-tapping screws.
An anti-return valve must be put on the end of the pipe that will be connected to the air duct to avoid unpleasant odors being sucked from the ventilation shaft into the apartment.
You can fasten the air duct to the wall with clamps, ties, or latches. They need to be installed at a distance of 60 cm to ensure fixation.
Important. The fewer bends the pipe has, the higher the power of the system.
Power connection
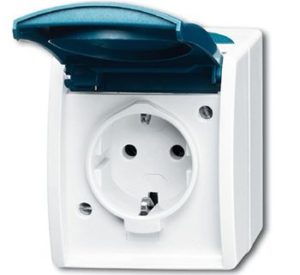
Before installing the hood, it is necessary to organize a separate grounded outlet for it.
If there is such an outlet nearby, you can use it. But to avoid stringing wires across the entire kitchen, as well as heating them, it is better to do it directly behind the cabinet.
Important. If the selected hood model does not come with a plug, but with wires for connection, then you need to ensure a reliable and safe connection. To do this, you will need terminal blocks - factory-made electrical installation products that connect the wires.
You need to take as many wires as the design provides (3 pieces: phase, neutral, ground) and connect the ends of the same color.
Useful tips for installing a built-in hood
The hood located directly above the hob will be most effective.
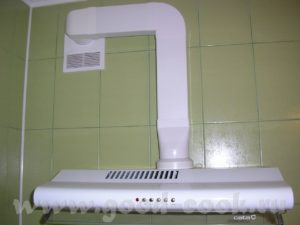
The shorter the duct, the faster the polluted air will be removed. There are apartments in which the ventilation shaft and the hob are located on different walls. In this case, the air duct will be a whole system of pipes and elbows.
A few more tips.
- If a corrugated pipe is used, it is advisable to stretch it during installation to reduce the level of noise produced.
- Often, owners do not lead the pipe into the ventilation shaft, but directly into the street. To do this, you need to provide a hole in the wall of the house in advance.
- When installing the hood, the power supply must be turned off.
After completing all installation work, you should connect the device to the network and test its operation.