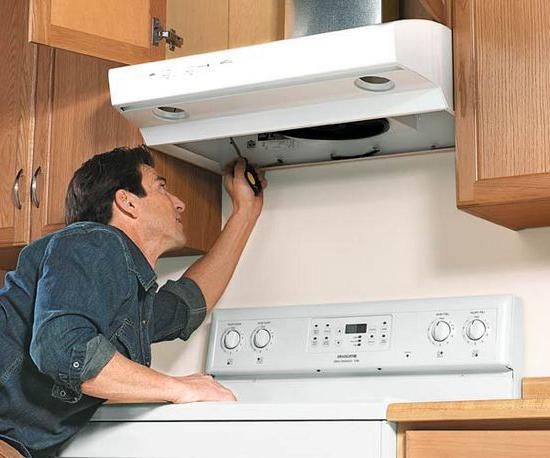
How to connect a kitchen hood to electricity
 A range hood is a household appliance needed in every kitchen. Like any electrical device, this equipment must be connected to an electrical outlet. Below we discuss the features of connecting the exhaust device to electricity.
The content of the article
General requirements for connecting a kitchen hood to electricity
The hood is usually connected to electricity through an outlet. These household appliances are low-power devices, which consume no more than 500 W at maximum load. For this reason, there are no special requirements for the presence of a dedicated electrical line to the panel solely for connecting the exhaust device - if there is no outlet specially provided for this purpose, you can connect to the nearest neighboring one. The cross-sectional area of the wires should preferably be 2.5 mm.
An important requirement when connecting a hood is the presence of grounding. If it is not in your house or apartment, you need to call an electrician to resolve this issue. Operation of the hood without a grounding system is prohibited, as it is accompanied by a risk to life in the event of a phase short circuit to the device body.
Since the outlet will be installed in the upper part of the kitchen wall near the stove, it is subject to increased requirements for protection from moisture and dust. It is better to use models with a degree of protection of at least IP14.
Stages of connecting the hood to the electrical network
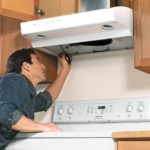
The main task of connecting the hood to the electrical network comes down to the optimal choice of location for the outlet. It should not be located in a visible area of the wall for aesthetic reasons. The eyeliner should also be hidden from view.
To perform electrical preparation work, you will need the following tools and materials:
- set of screwdrivers (slotted and Phillips);
- indicator screwdriver;
- a hammer drill with a pobedit drill (if you plan to install a new socket);
- crown (for a hidden socket);
- narrow nose pliers;
- nippers or pliers;
- mounting hardware: dowels, self-tapping screws;
- wires 3 x 1.5;
- socket and box (for indoor installation).
If it is necessary to lay a section of hidden wiring, you will have to use a wall chaser or a special attachment for a hammer drill. For open lines, a plastic cable box is useful.
There are three options for organizing the connection:
- using a loop;
- by replacing a single socket with a double one;
- connecting a dedicated electrical line from the distribution panel.
Let's look at each of them in more detail.
How to connect a kitchen hood to electricity using a cable
This method is the simplest and most flexible if an outlet was not initially provided for the hood. To do this, you need to find the household outlet with grounding closest to the selected location.To the newly installed electrical connector from the adjacent one, route a three-wire cable in an open or closed way. Connect it to the contacts on both sides. If the distance is short, it is permissible to use a cable with a cross-section of 1.5 square meters. mm.
Attention! Before carrying out connection work, it is necessary to de-energize the corresponding electrical line using the circuit breaker in the panel. Do not forget to check that there is no voltage on the contacts using an indicator screwdriver, only then remove the socket housing.
Connecting the hood by replacing the socket with a double one
If there is already a grounded electrical outlet in the immediate vicinity of the device being installed, but it is occupied by another consumer, there is no need to use a daisy chain connection. It is enough to replace the installed socket with a double one and stretch the wire from the hood to it.
When using the first and second power supply options, make sure that the electrical line to which the new outlet is connected is capable of providing the required level of power, taking into account the additional consumption of the hood.
Installation of a new exhaust line
 For a number of reasons, sometimes you still have to choose the most difficult path and stretch a new line from the distribution panel to the installation site of the exhaust device. This method is the most reliable, since the operation of the device will not be affected by any other consumers, and if necessary, you can always turn off the power to it, maintaining the functionality of other equipment.
Attention! If you perform disconnection work in the electrical panel, be sure to turn off the input circuit breaker supplying voltage and check the absence of current using an indicator screwdriver.
In this case, you can place the outlet in the most convenient place for this, for example, above the hood, in an invisible area, at an accessible distance for the standard power cord. Run the wire to a separate differential circuit breaker. When using a conventional circuit breaker, connect the line to the circuit of the protective grounding device. Having connected the wiring to the socket connectors on the other side and applied voltage to the panel, you can connect the plug and test the hood!

