Do-it-yourself installation of a hob into a countertop
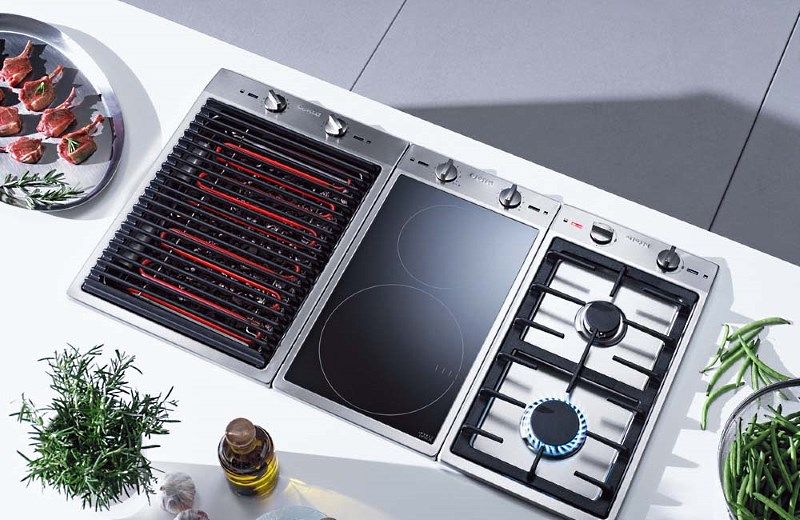
If you need to save space in the kitchen, there is no point in installing a gas stove, which takes up quite a lot of space. Moreover, not everyone uses the oven that comes with it, especially with the advent of a large number of microwaves and electric ovens at an affordable price. For the most part, the cooking surface is used directly for cooking. There is no fundamental difference in the installation of gas and electric hobs, only some nuances that will be discussed later in the article.
The content of the article
Necessary tools, materials
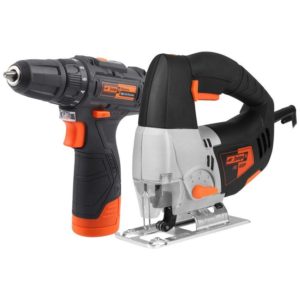 To install the panel, you do not need any expensive or outlandish tools or special courses. Everything is quite simple; anyone who is more or less handy with their hands can master the process. During the work you will need:
- roulette;
- a drill with a drill with a diameter of 8 mm or more to drill a couple of holes into which a jigsaw file will fit;
- electric jigsaw (you can cut it by hand, but it will be longer and more tedious);
- sealant;
- special plasticine, self-adhesive sealant or aluminum tape.
This list includes accessories that you will definitely need.Also, depending on the type of surface, other materials will be needed, for example, Teflon or tow for winding threads, terminals, and electrical tape for contacts. The main thing is to get involved in the battle, and then it will become clear what else is needed.
Measurements
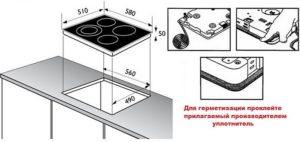
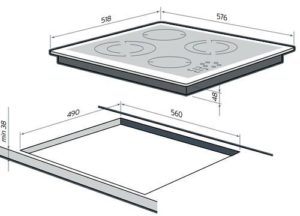 The easiest way to mark is to carefully trace the contours of the panel directly on the tabletop, ensuring an equal distance from its edges. You can go another way:
- first transfer the contours of the shelf above which it is located to the tabletop;
- find the center of the resulting rectangle, mark it with a cross on the tabletop and make it the middle of the contour under the stove;
- after measuring the dimensions of the slab using a tape measure, give an additional 5 millimeters of allowance on each side to the hole being prepared, the marked cross is the point of intersection of the diagonals and the middle of the hole (it is advisable to verify the accuracy of the markings by drawing the diagonals in the image).
Pruning
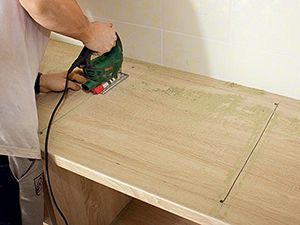 To cut with a jigsaw, you need to drill holes in the corners of the intended contour using a drill so that the file fits into them freely. It is enough to make two holes located diagonally relative to each other. Two cuts are made from each hole according to the markings. Most clearly, such cuts are made using a hand router, but not everyone has one, so a jigsaw is a more realistic option. Carefully, according to the markings, at medium speeds, slowly move the jigsaw clearly along the markings, making sure that it does not go to the side. It is highly recommended to try to make several cuts on some unnecessary block.
Important nuance – some advise marking and trimming on the back side of the tabletop.The problem is that the laminate that covers the front side may chip, and the slab will not cover the chip. Therefore, it is easier to mark with a marker on the front side, and drill and saw with the front side up.
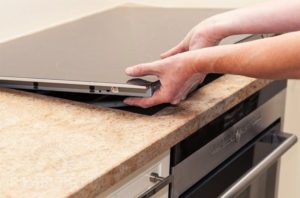
Installation and sealing
 After the cut has been made, the edges of the slot are treated with silicone or other sealant to protect it from moisture. Along the perimeter of the hole prepared in this way, glue the sealant that is usually included with the plate on the upper side. Then the plate is inserted and aligned along the contour of the hole, after which the fasteners located on the back side are tightened. If the seal protrudes beyond the edges of the surface, carefully cut off the excess with a knife, being careful not to scratch the countertop.
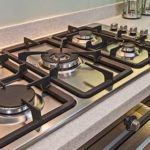
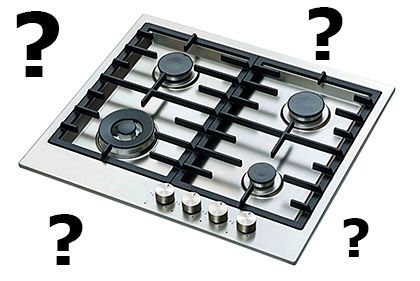
Features of installing gas and electric panels
Important! According to safety regulations when using gas appliances, unauthorized connection of gas appliances, including hobs, is PROHIBITED.
This provision is enshrined in current legislation. The connection is usually carried out by Gorgaz employees for an appropriate fee. You can install the device yourself at your own risk, but you should expect possible sanctions from the organization supplying the gas, up to and including turning it off and sealing the valve. All installations of gas equipment must be carried out in agreement with the relevant organizations.
If, however, there is a desire to manage things on your own, they act in the following sequence:
- a flexible hose is connected to the gas valve through a squeegee or fitting;
- prepare a hole in the furniture for the hose;
- the presence of jets for the main connection of the stove is checked; if they are not installed, they must be installed;
- the gas supply nut is connected to the stove, and always with an o-ring; the connection angle is usually included in the kit.
 Checking for gas leaks is carried out by applying a soap solution to the joints. It should not bubble; if there are bubbles, this indicates a leak, as well as the presence of a characteristic smell of gas.
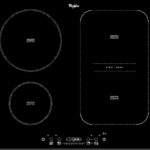
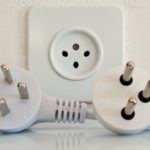
Installation of an electric hob is carried out strictly according to the diagram given in the instructions. If you have little experience working with electrical appliances, you shouldn’t experiment; it’s better to turn to specialists. If the power supply is connected incorrectly, it is possible that the device will not operate properly or that it, as well as the wiring in the apartment, may fail. The power supply is connected before installing the tiles into the socket prepared in the countertop.
Various models provide options for connecting the wire either to an outlet or directly to an electrical panel. It should be remembered that an electric hob consumes quite a large amount of electricity, and make sure that the wiring meets the requirements for power consumption.